Develop in Eclipse
Table of contents
DBeaver is an Eclipse RCP application. It consists of a set of Eclipse plugins, features, and products.
Opening workspace in Eclipse
You will need to set up Eclipse IDE for RCP and RAP Developers. The current default Eclipse version is 2023-12. As the
build may fail on older and newer versions, you will need to install a few additional Eclipse plugins which DBeaver
depends on (and which are not included in the standard Eclipse distribution):
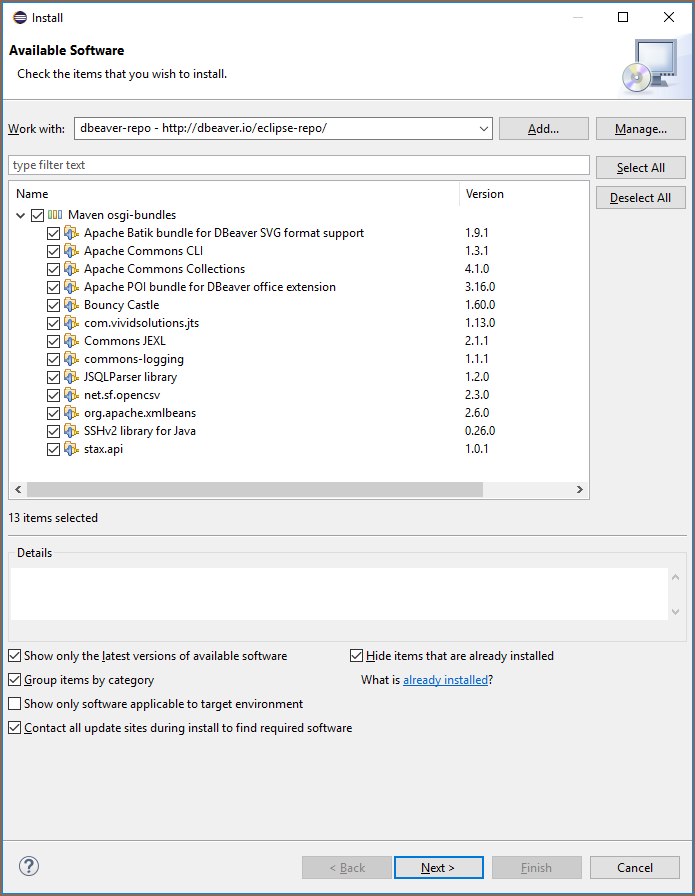
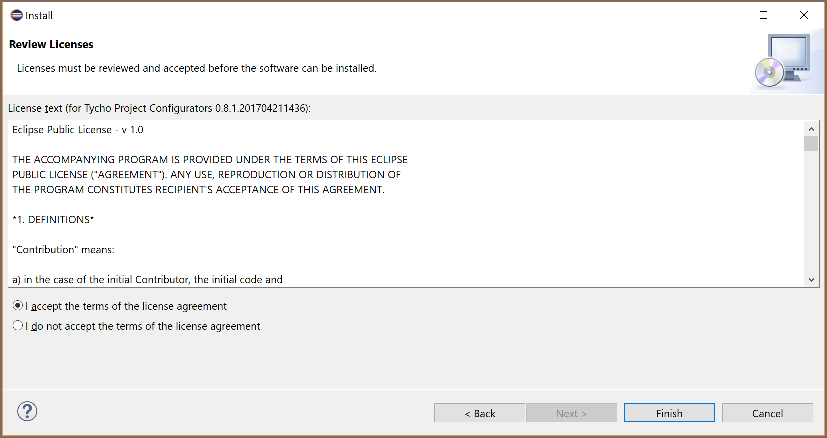
Open the menu Help -> Install New Software.
Copy
https://p2.dev.dbeaver.com/eclipse-repo/into the "Work with" field and press Enter.Check all plugins and finish the installation process:
Do the same for
https://eclipse-color-theme.github.io/update(optional).Restart Eclipse.
Check out the DBeaver repository somewhere with the command
git clone https://github.com/dbeaver/dbeaver.git.Check out additional dependencies with the command
git clone https://github.com/dbeaver/dbeaver-common.git.Before importing the projects, proceed to
Window -> Preferences -> Maven -> Lifecycle mapping, pressOpen workspace lifecycle mappings metadata, then switch to text by pressingSource: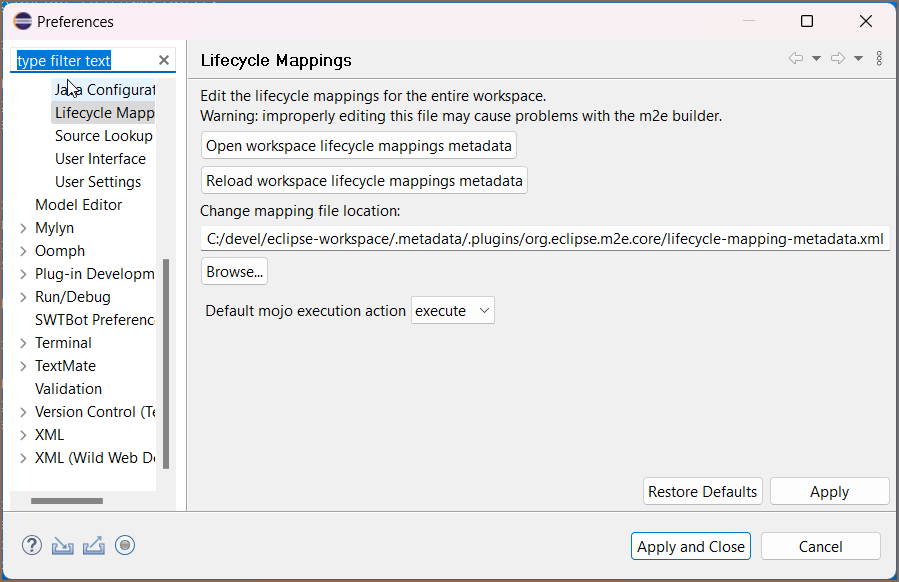
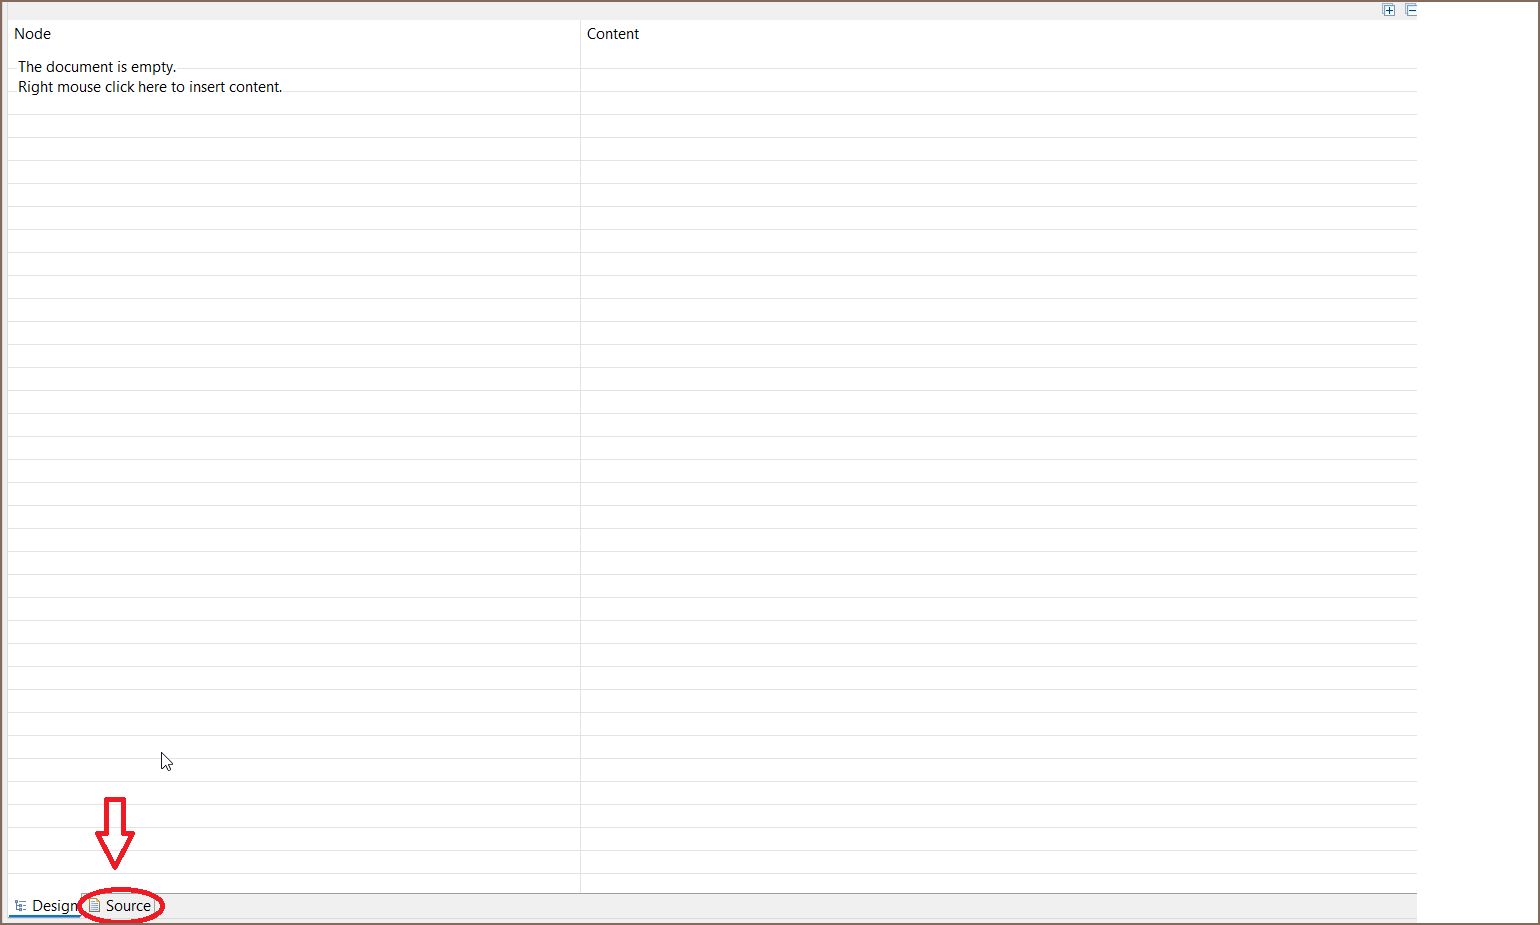
Insert the following configuration and save it by pressing
CTRL + S:
<lifecycleMappingMetadata>
	<pluginExecutions>
		<pluginExecution>
			<pluginExecutionFilter>
				<groupId>org.eclipse.tycho</groupId>
				<artifactId>tycho-packaging-plugin</artifactId>
				<versionRange>[1.0.0,)</versionRange>
				<goals>
					<goal>package-plugin</goal>
					<goal>package-feature</goal>
				</goals>
			</pluginExecutionFilter>
			<action>
				<configurator>
					<id>org.apache.m2e.pde.connector.configurator.tycho</id>
				</configurator>
			</action>
		</pluginExecution>
		<pluginExecution>
			<pluginExecutionFilter>
				<groupId>org.eclipse.tycho</groupId>
				<artifactId>tycho-surefire-plugin</artifactId>
				<versionRange>[1.0.0,)</versionRange>
				<goals>
					<goal>test</goal>
				</goals>
			</pluginExecutionFilter>
			<action>
				<configurator>
					<id>org.apache.m2e.pde.connector.configurator.tycho</id>
				</configurator>
			</action>
		</pluginExecution>
		<pluginExecution>
			<pluginExecutionFilter>
				<groupId>dev.aspectj</groupId>
				<artifactId>aspectj-maven-plugin</artifactId>
				<versionRange>1.13.1</versionRange>
				<goals>
					<goal>compile</goal>
				</goals>
			</pluginExecutionFilter>
			<action>
				<ignore />
			</action>
		</pluginExecution>
		<pluginExecution>
			<pluginExecutionFilter>
				<groupId>org.apache.maven.plugins</groupId>
				<artifactId>maven-assembly-plugin</artifactId>
				<versionRange>3.3.0</versionRange>
				<goals>
					<goal>single</goal>
				</goals>
			</pluginExecutionFilter>
			<action>
				<ignore />
			</action>
		</pluginExecution>
	</pluginExecutions>
	<lifecycleMappingFilters>
		<lifecycleMappingFilter>
			<symbolicName>org.eclipse.m2e.pde.connector</symbolicName>
			<versionRange>[2.1.2,)</versionRange>
			<packagingTypes>
				<packagingType>eclipse-test-plugin</packagingType>
				<packagingType>eclipse-plugin</packagingType>
				<packagingType>eclipse-feature</packagingType>
			</packagingTypes>
		</lifecycleMappingFilter>
	</lifecycleMappingFilters>
</lifecycleMappingMetadata>
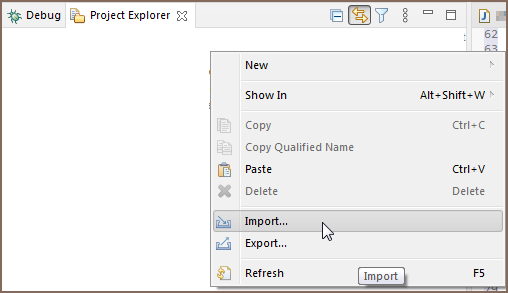
In Eclipse, run the Import wizard:
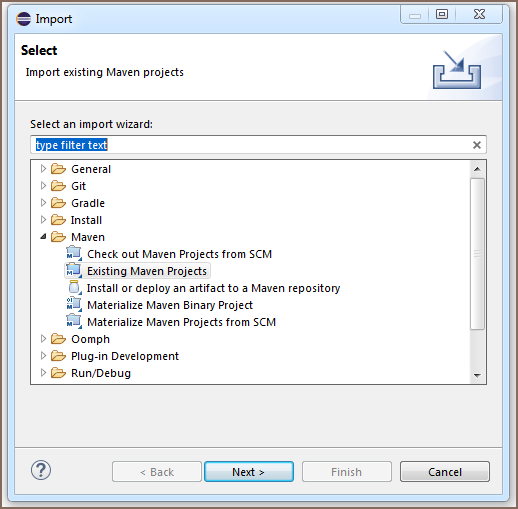
Choose Maven -> Existing Maven Projects:
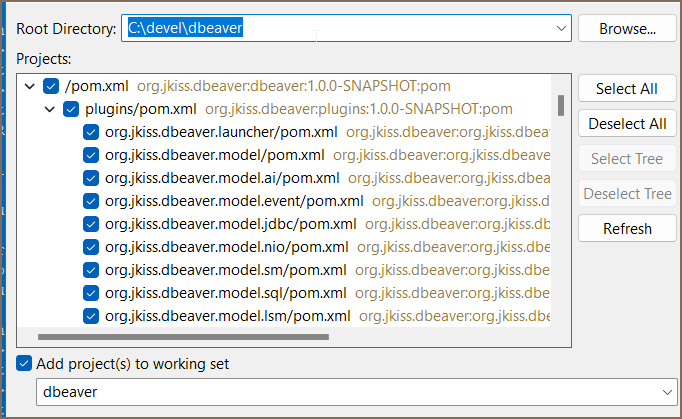
Select the DBeaver checkout directory. Check all plugins and features Eclipse will find and finish the wizard:
Eclipse will perform the project configuration process. This may take a few minutes:

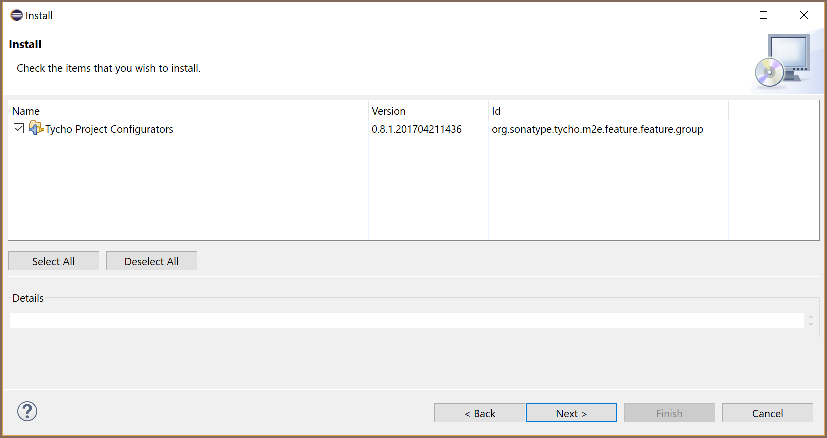
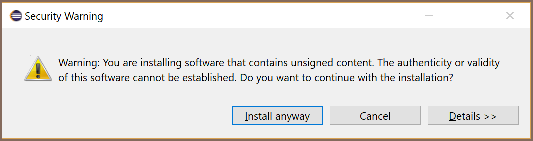
If Eclipse asks about additional plugin installation, just agree:
Repeat steps 10–14 for the folder with the
dbeaver-commonrepository: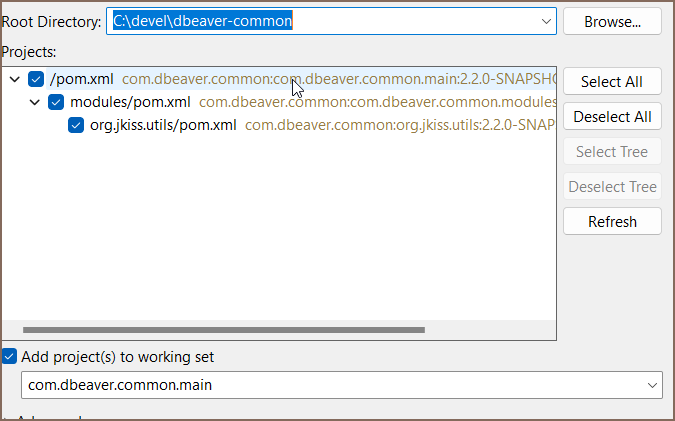
Restart Eclipse. Eclipse will build the project automatically, or you can press Ctrl+B.
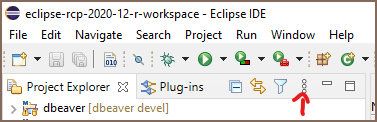
Switch to Hierarchical project presentations:
If some modules fail to build (they will be marked with a red cross) - update the
dbeaveranddbeaver-commonMaven projects. If this does not help, try restarting Eclipse: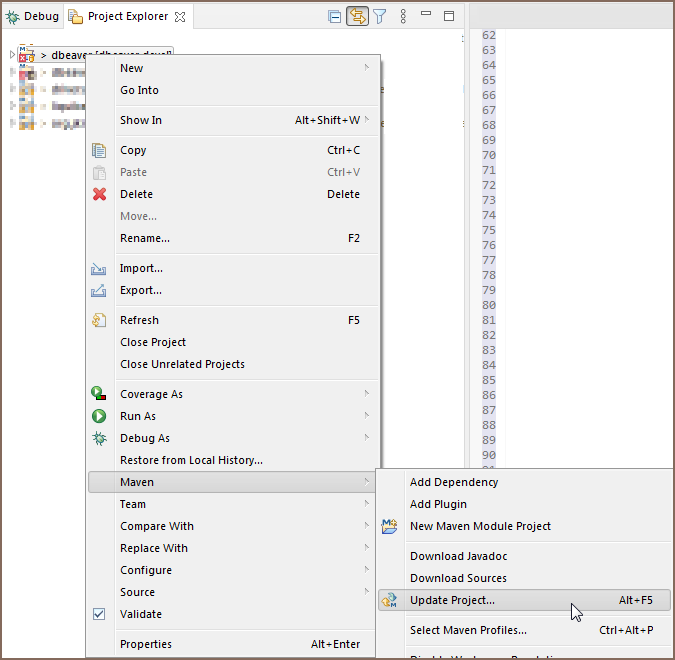
If you cannot compile and see
Access Restrictionerrors in the Error log, then you can turn these errors into warnings. Open the context menu on the Access Restriction error line -> Quick Fix -> Configure problem severity.
Running and Debugging in Eclipse
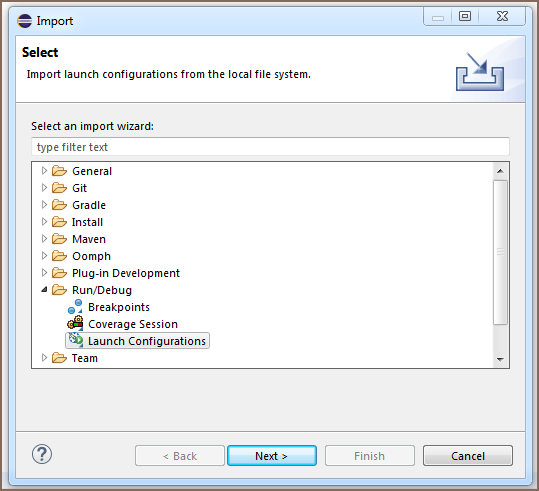
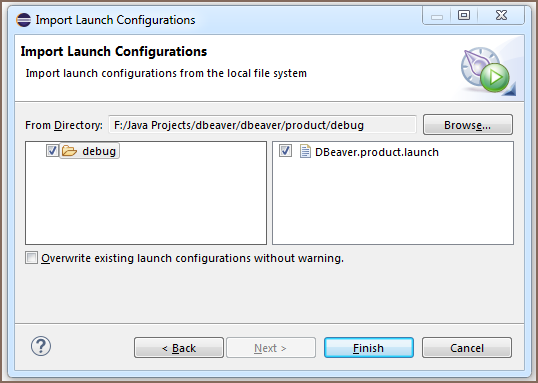
Import the DBeaver launch configuration using the Eclipse Import wizard:
Click on the Debug icon -> Debug configurations.
Choose
DBeaver.productand click the Debug button: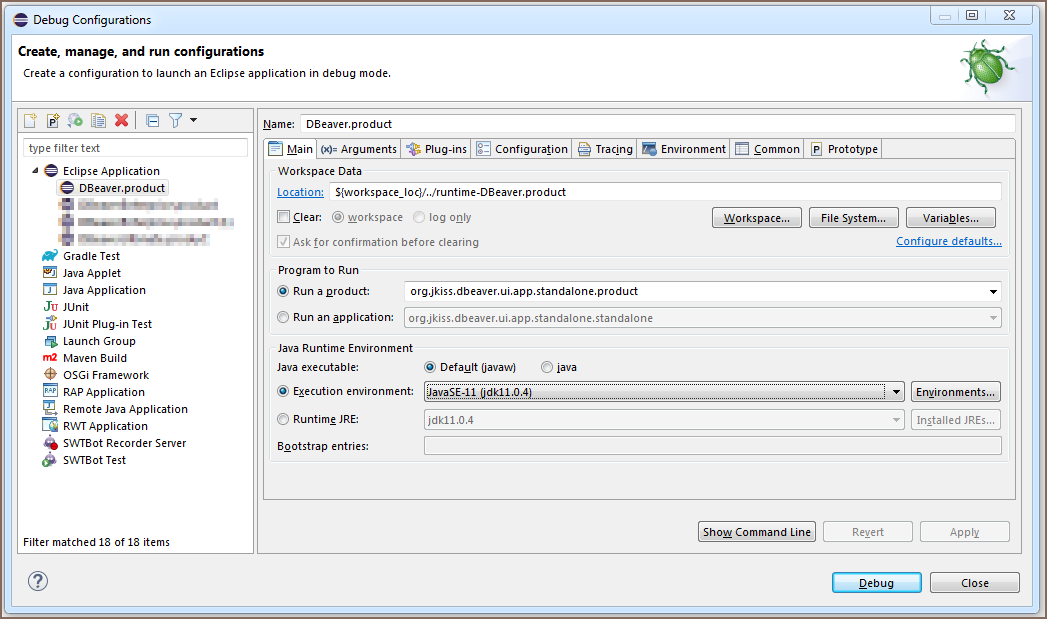
If the product does not start with the No application id has been found error, try this workaround:
https://stackoverflow.com/questions/13575695/eclipse-rcp-no-application-id-has-been-found
Tip: What you need to do is go to your Run Configurations (Run -> Run Configurations). Select the Plug-ins tab and then hit Add Required Plug-ins. Apply, then Run, and it should work now.
That is it.
Sources structure
docs- some documentations (mostly outdated)features- feature descriptors. Does not contain any source code. Used to structurize the product plugins/dependencies.bundles- very base plugins (like utils)plugins- main sources locationorg.jkiss.dbeaver.model- model API and base classes. Does not contain any UI dependencies, just a pure data model.org.jkiss.dbeaver.core- main DBeaver module. Most of the base UI classes are here.org.jkiss.dbeaver.ui.app.standalone- a relatively small module which configures standalone DBeaver application.org.jkiss.dbeaver.ui.app.eclipse- the main Eclipse plugin. Adds some extra menus/views to the standard Eclipse IDE.org.jkiss.dbeaver.ext.*- DBeaver extensions
product- the final products (standalone and Eclipse plugin) configuration.
Notes
The instructions above cover the Community Edition version.
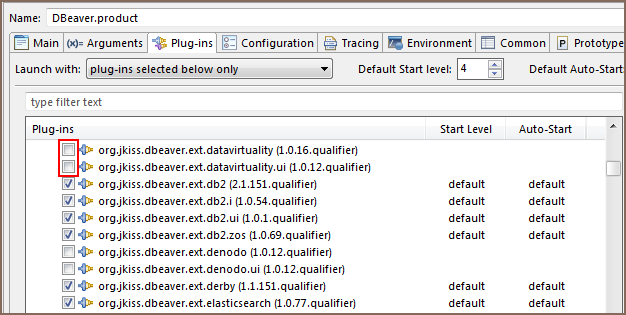
Include Plugins in the Debug Info
Sometimes, your plugins may depend on other plugins that are not included in the DBeaver.product.launch file. You can
verify this in Debug Configurations -> Plug-ins tab by clicking the Validate Plug-ins button. If dependency problems
appear in the dialogue, you can use the Select Required button. This action sometimes resolves all dependency issues.
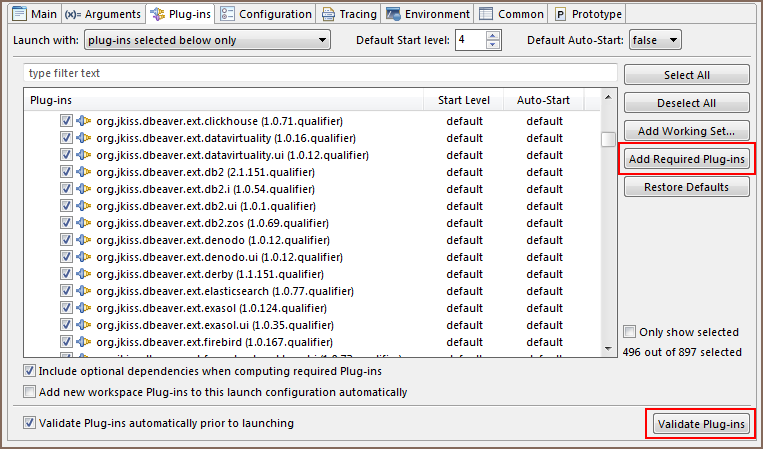
Alternatively, you can manually add the necessary dependencies. A small tip: If you have added a new plugin and are
confident it should work, but do not see the changes after the project build, it might be because the plugin is not
marked in the Plug-ins tab.