Remaining competitive in fast-moving markets requires innovation, which in turn often requires application modernization. Thus, it is common for organizations and individuals to switch from using one database to another.
The question arises: what to do with the existing database? How can you migrate without any losses in structure or data? Today, we will show you how you can do so in DBeaver by using the example of migration from Oracle on-premise to cloud-hosted MariaDB.
It is important to mention that the process described in this article is applicable to all relational databases supported by our app.
How to get started
1. The first thing you need to transfer table data from Oracle to MariaDB is to connect to both data sources. If you want to know how to create a database connection in DBeaver, we suggest you read the article on this topic.
2. After connecting to MariaDB, you can create a new database to migrate your data. All you need to do is right-click on the connection and select Create -> Database.
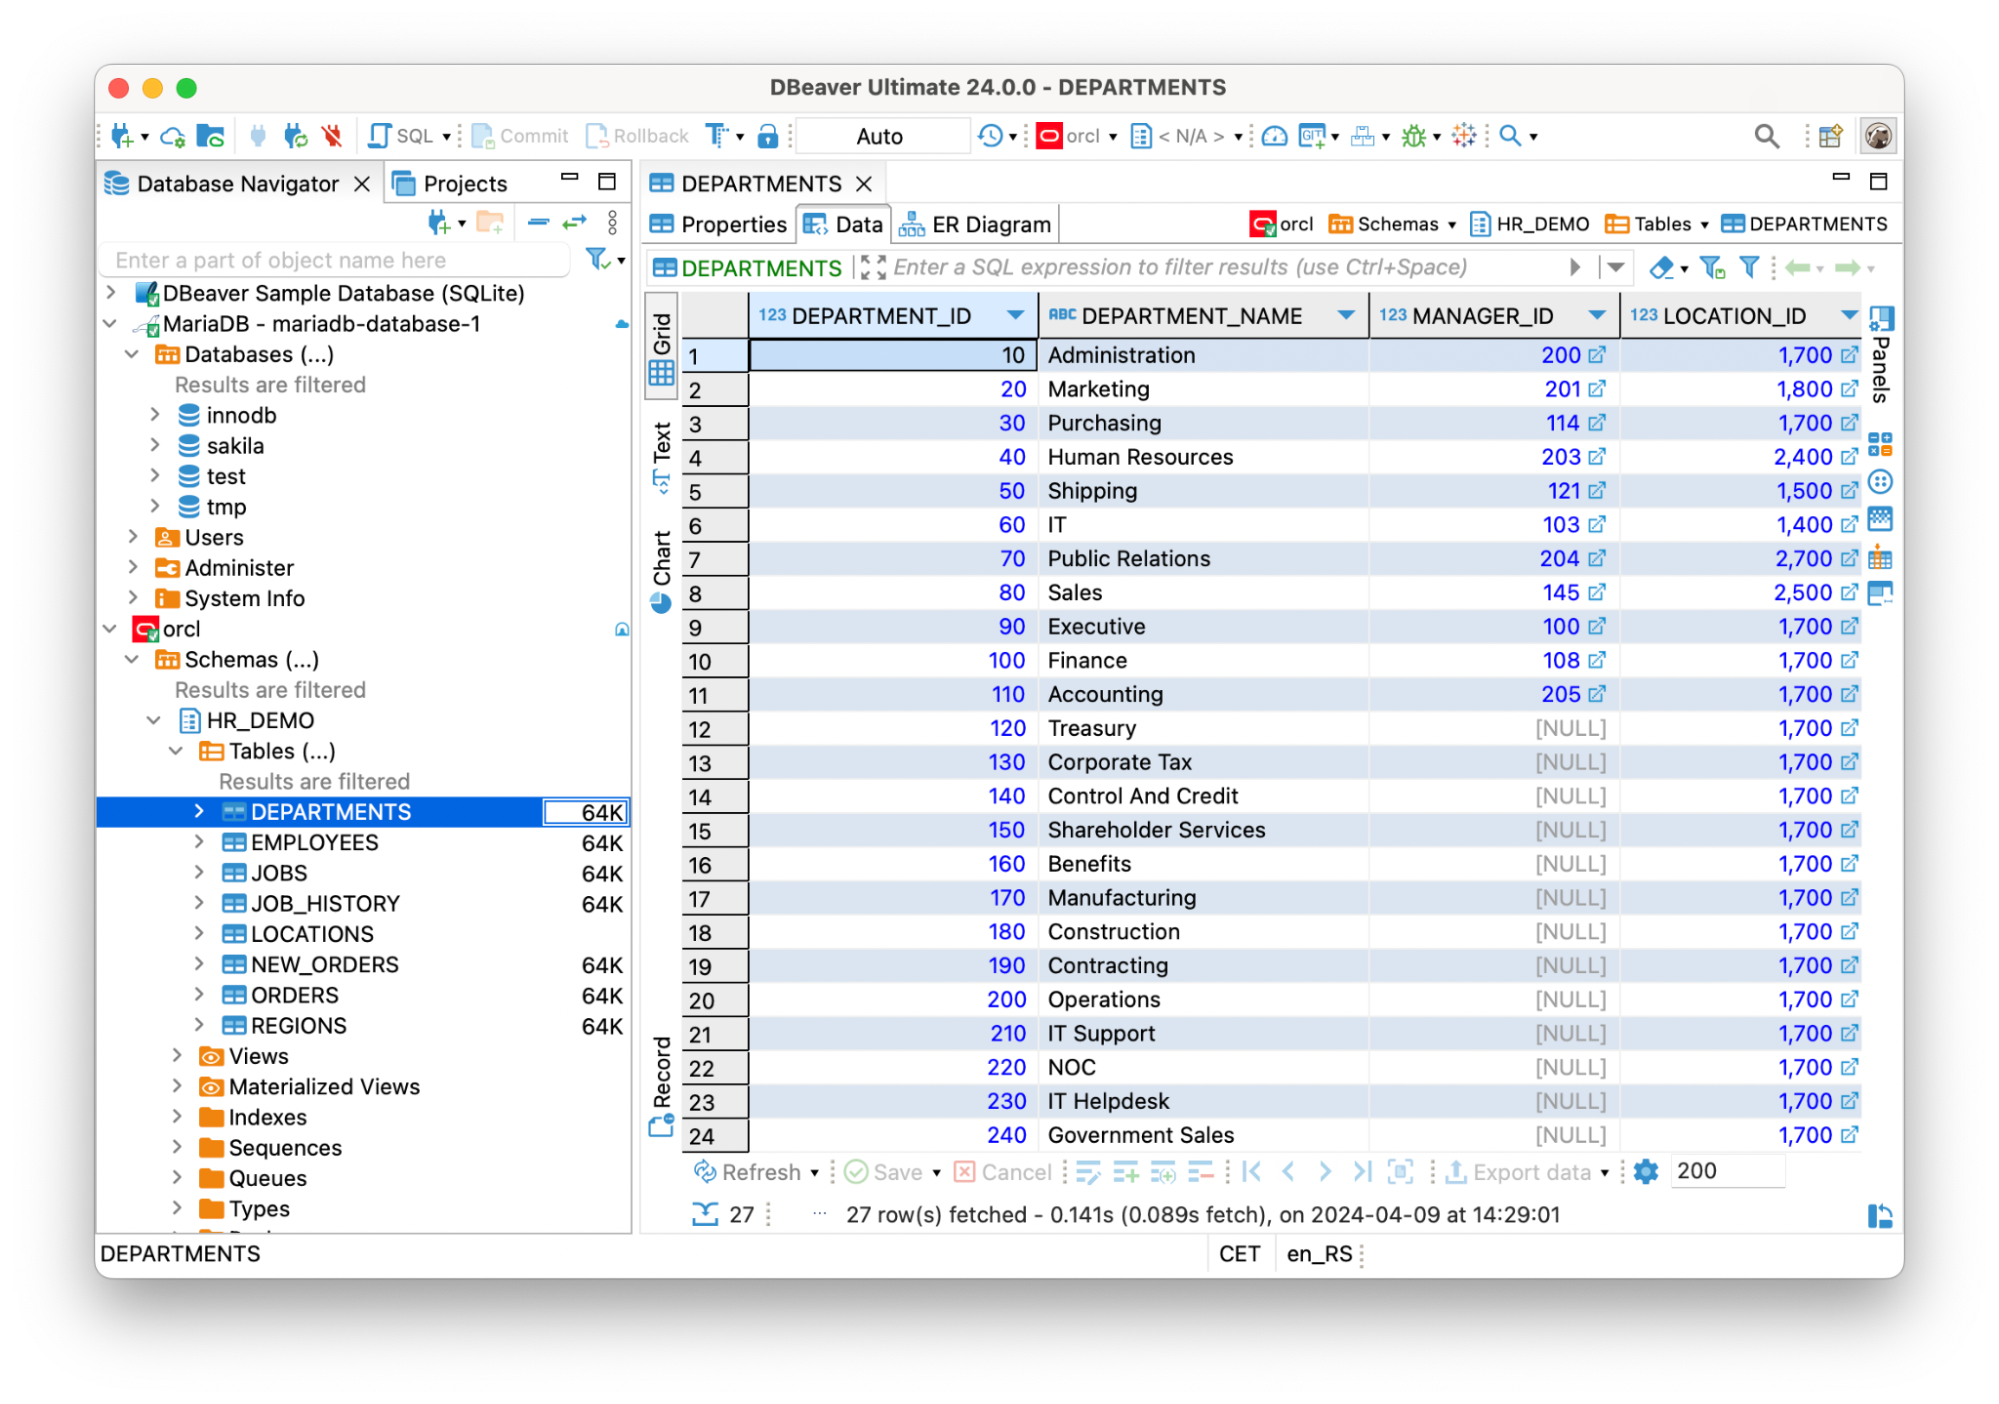
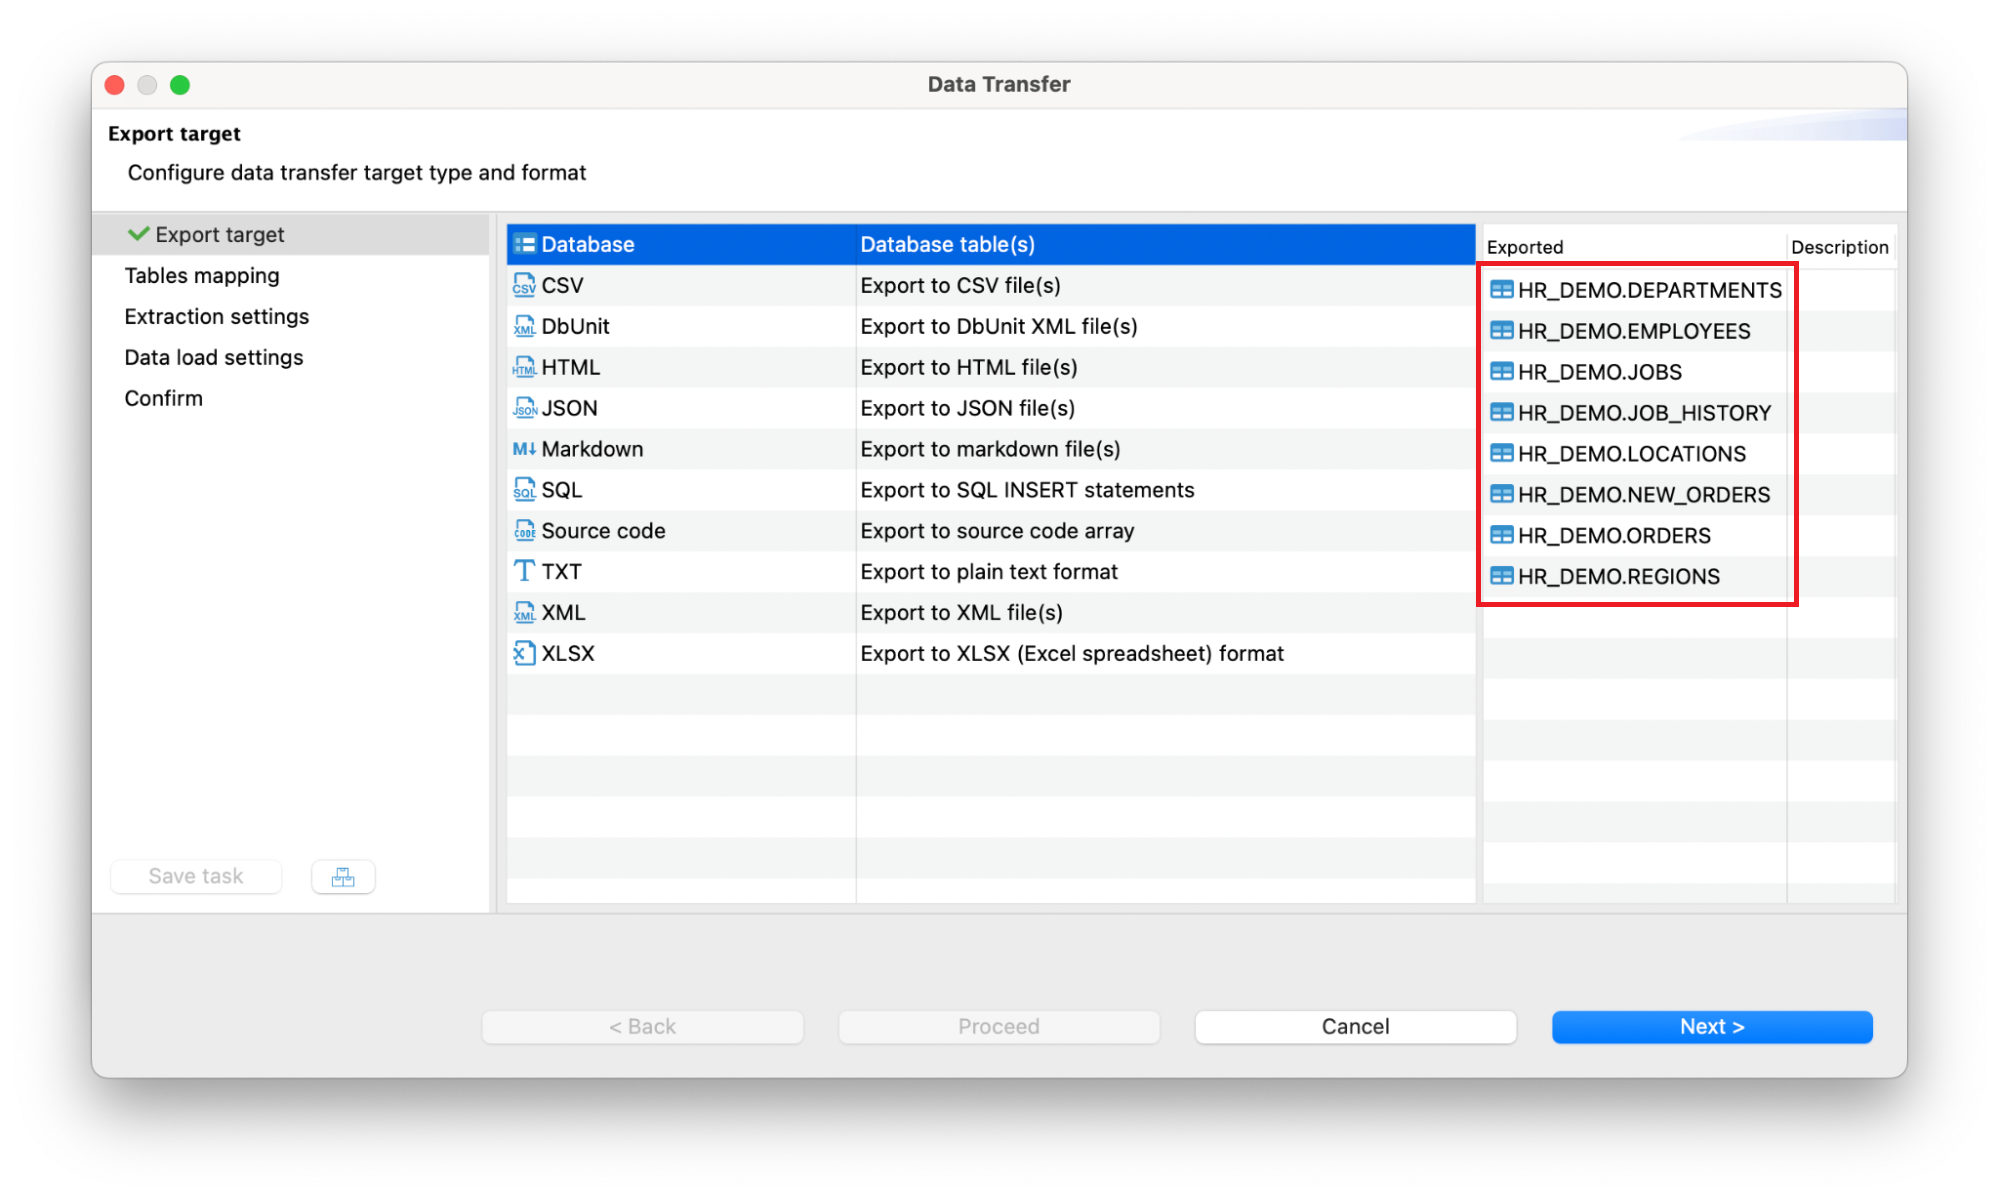
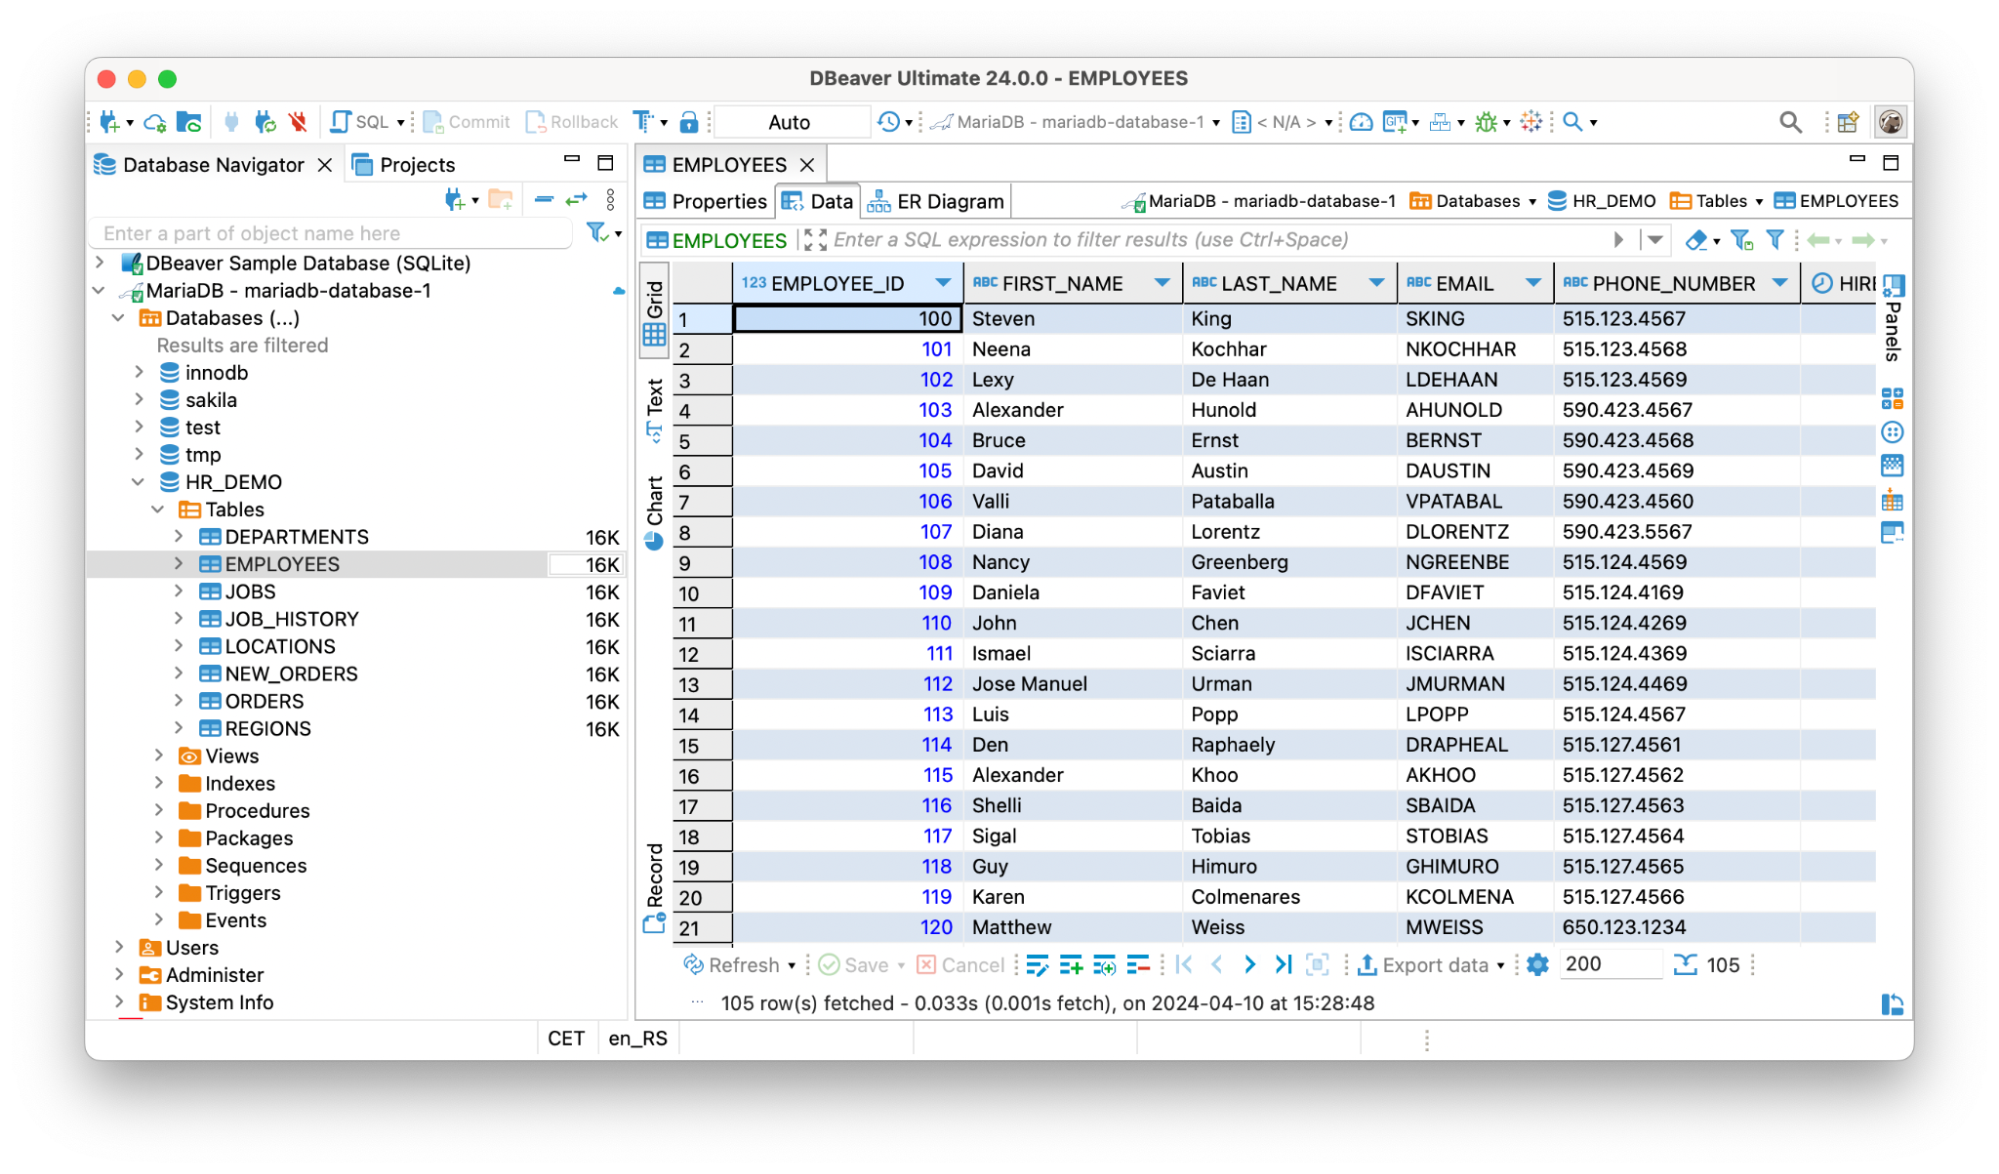
3. The next step is to choose the tables from your Oracle database that you want to migrate to cloud-hosted MariaDB. In our example, it will be all the tables from the HR_DEMO schema.
With DBeaver, it is possible to transfer all the data from these tables at once.
4. Select all the tables you need, right-click on them and choose “Export Data”. In the window that opens, select the “Database” option and click “Next”.
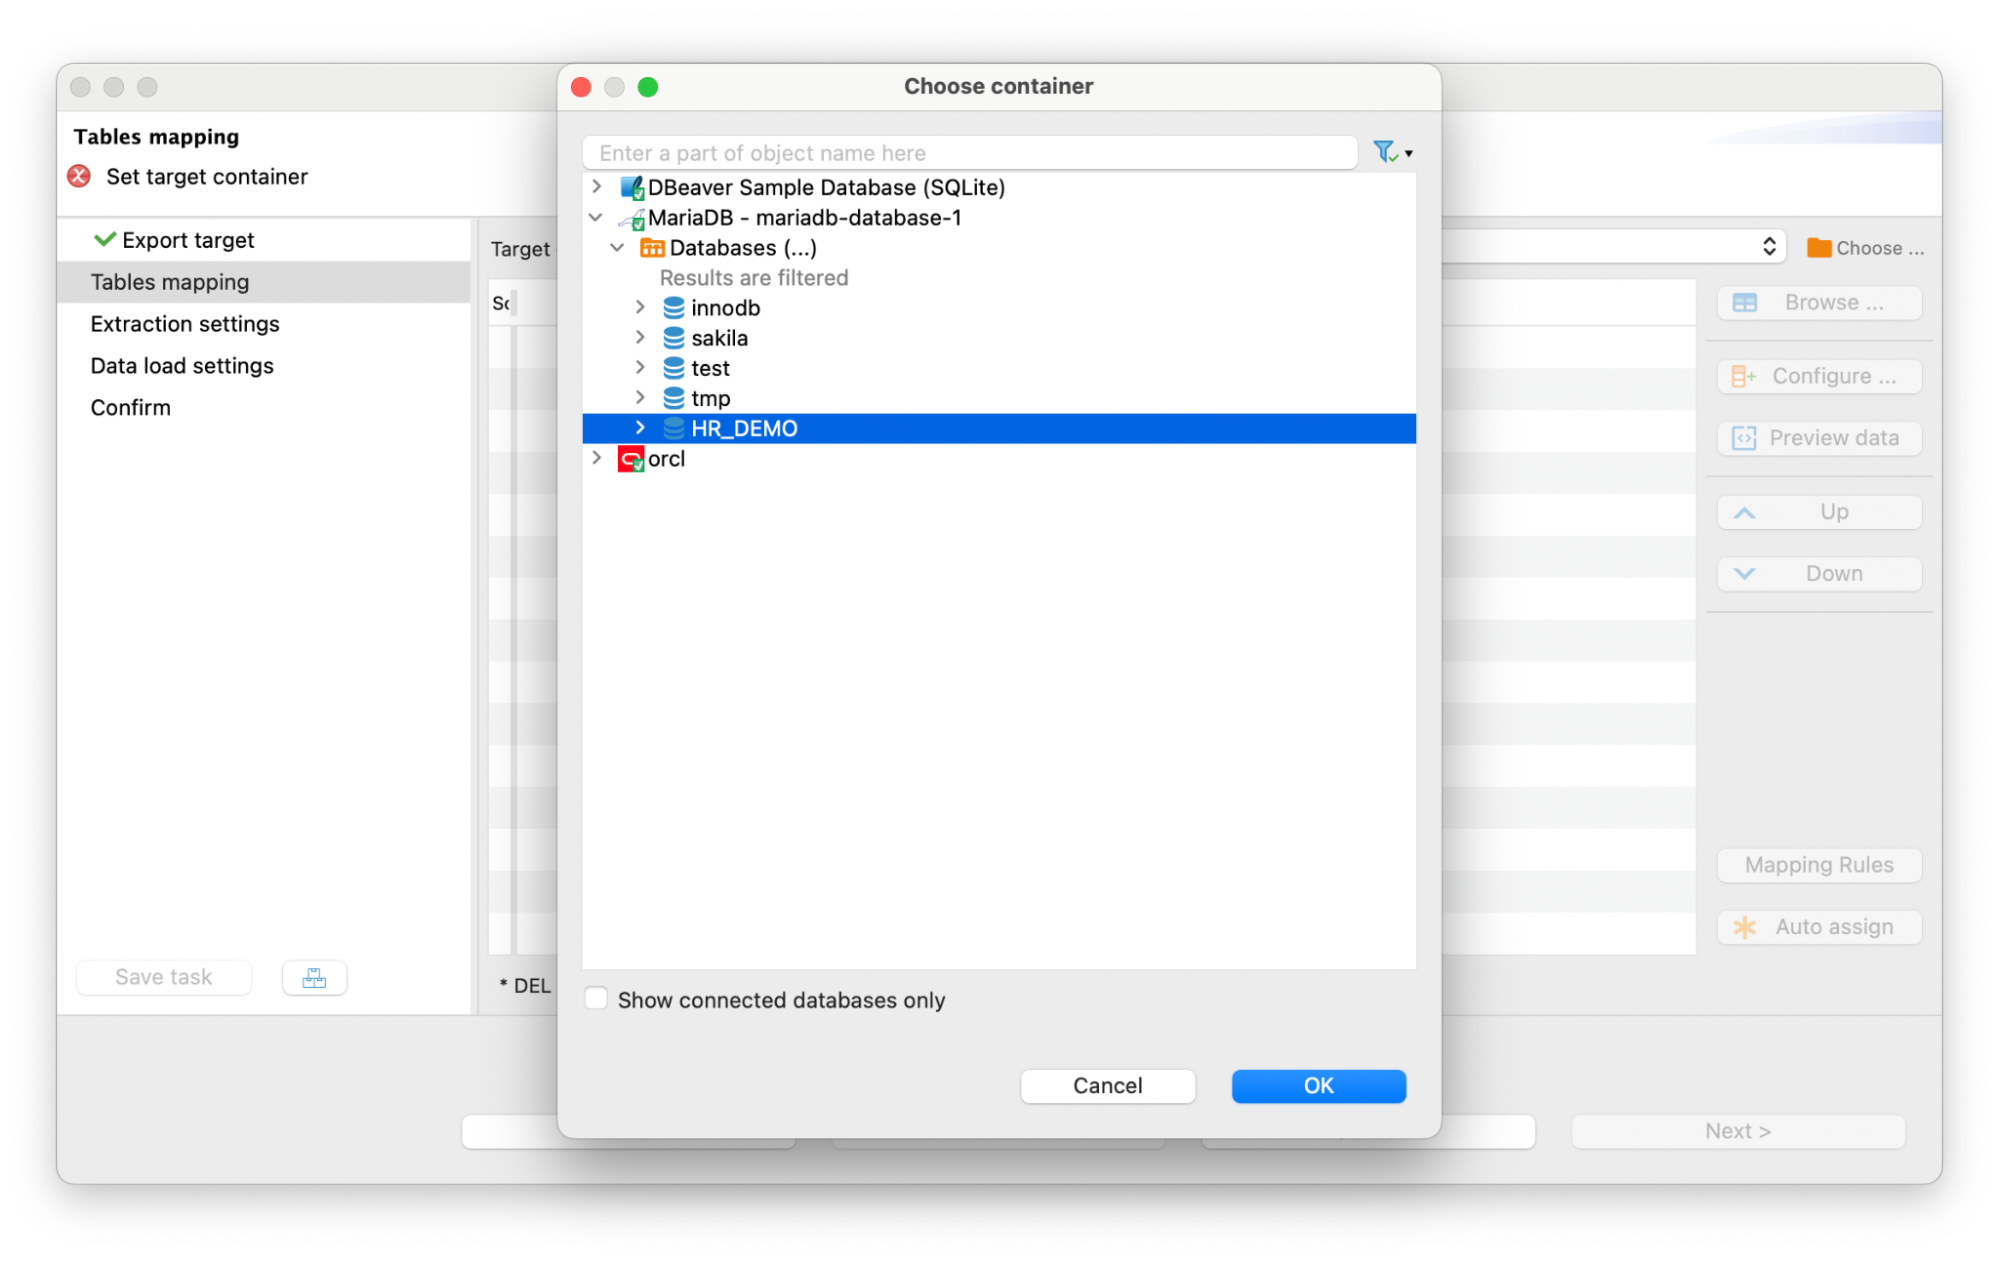
5. To continue the process, you need to select a container – the database into which you are going to transfer the data.
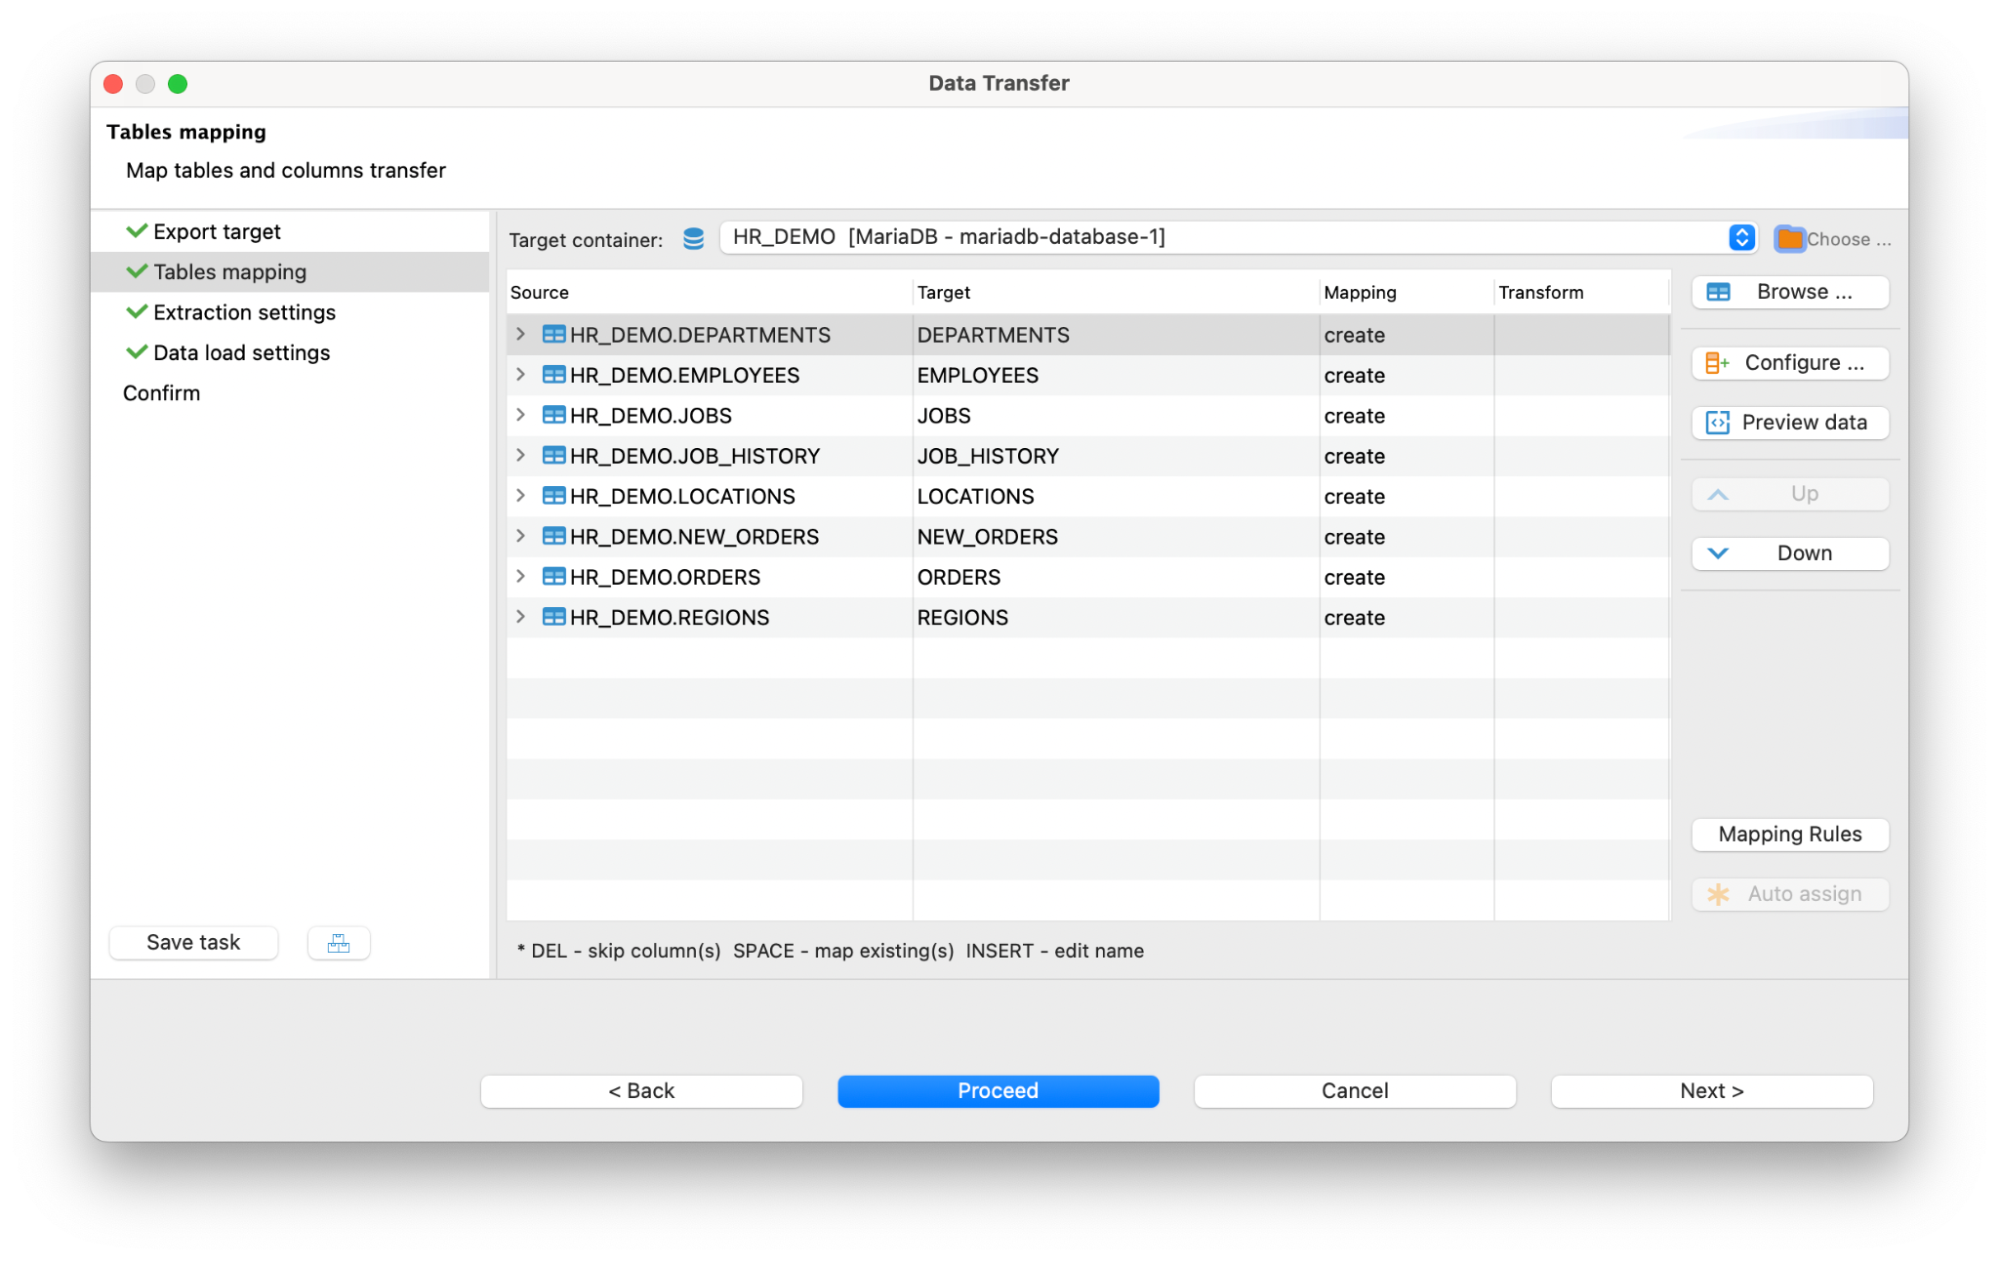
Since the necessary tables are not yet in the MariaDB database, the Data Transfer wizard will offer to create them automatically.
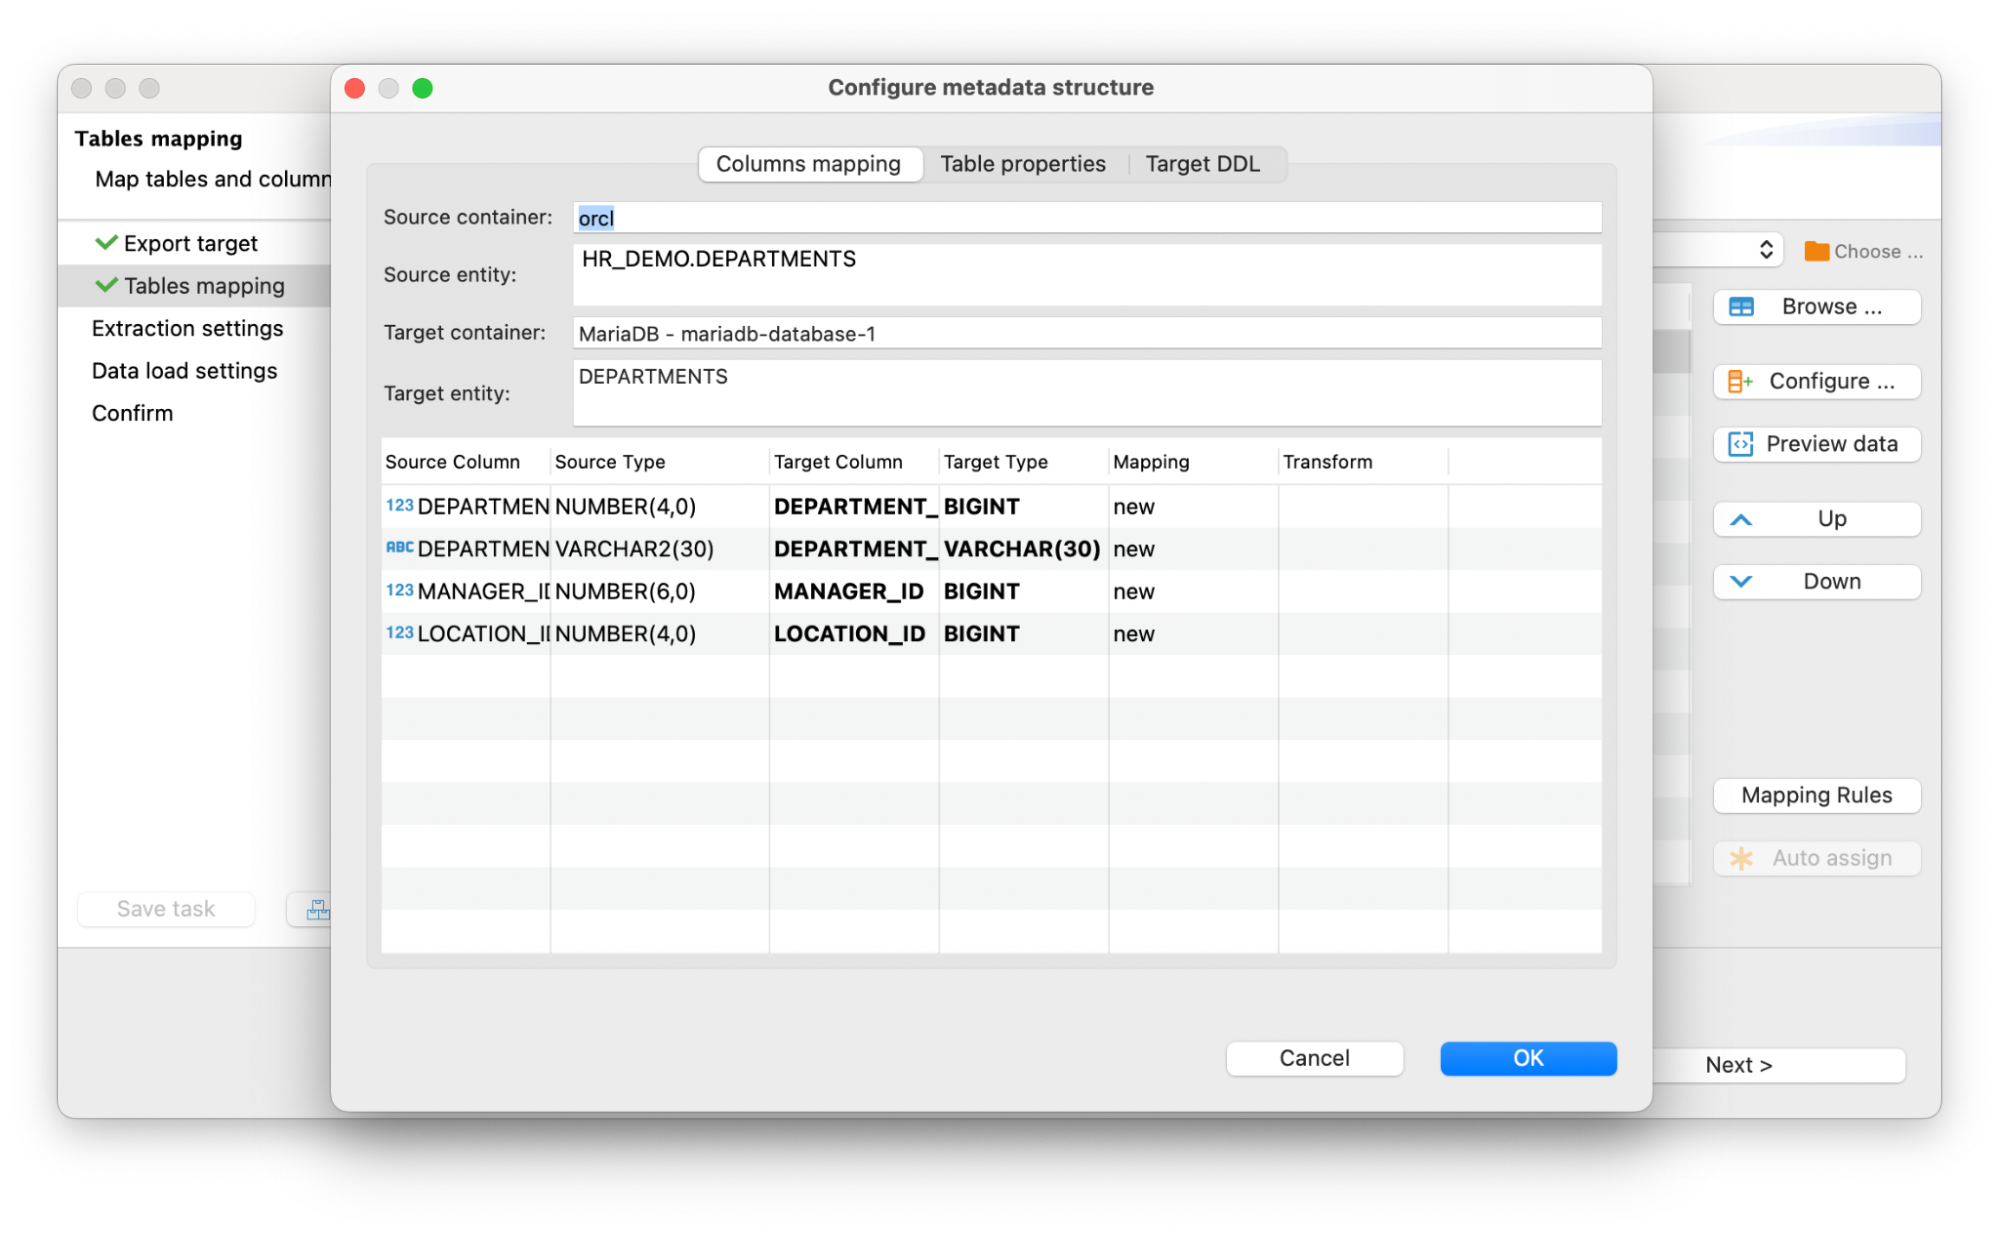
In this case, all necessary data types will be mapped in accordance with the structure of the final database. However, they can be changed manually by clicking on the “Configure…” button.
You can notice that for some columns source type and target type may differ. This is because some databases have different names for the same data types. In this case, the DBeaver automatically selects the most suitable data type for mapping. For example, in MariaDB, BIGINT data type is used for Oracle’s NUMBER.
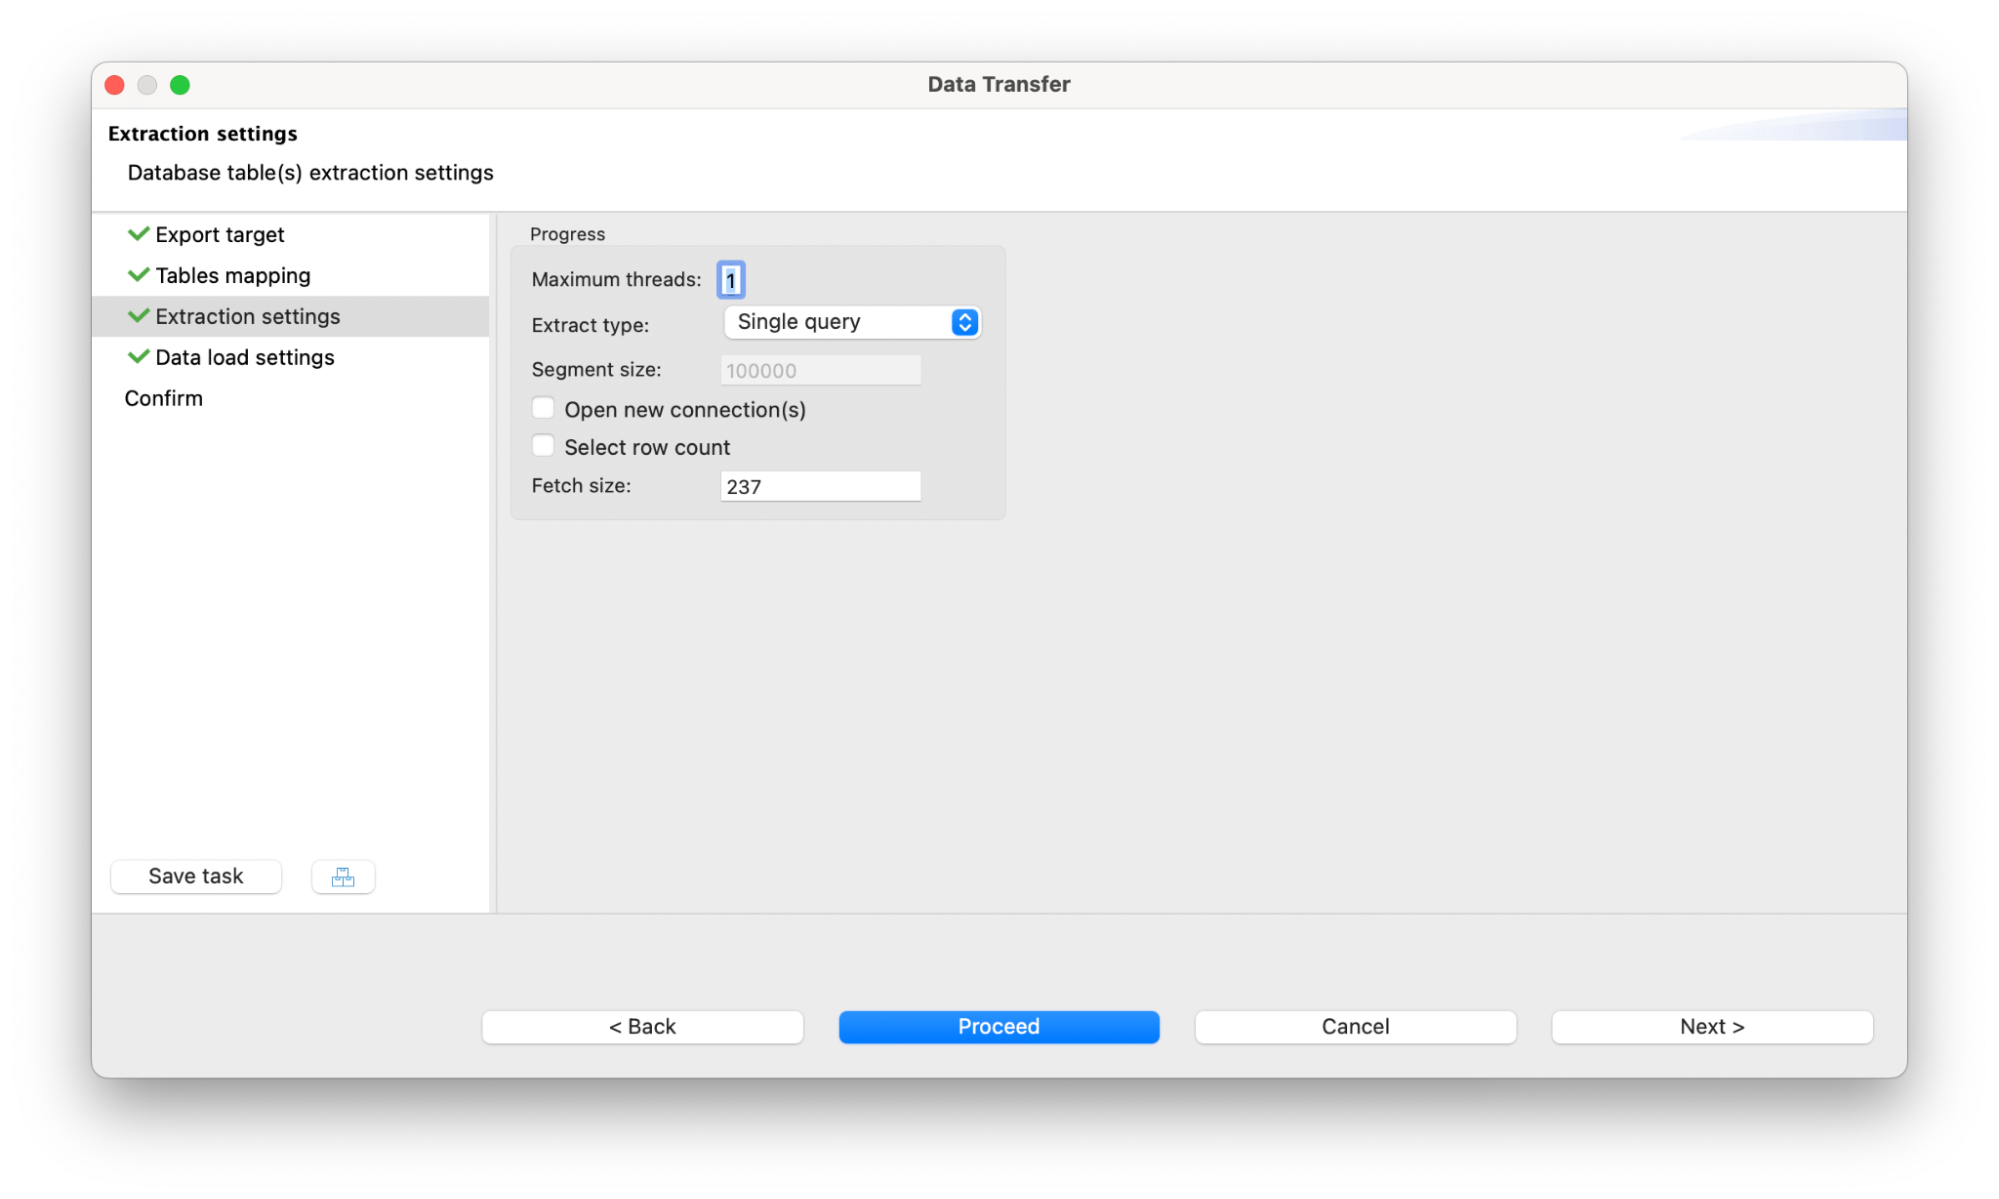
6. After setting up your table mappings, the next step is to define how the data will be extracted from your Oracle database. The options listed in the Extraction settings may help to optimize this process. In our case, we can keep all the fields as default.
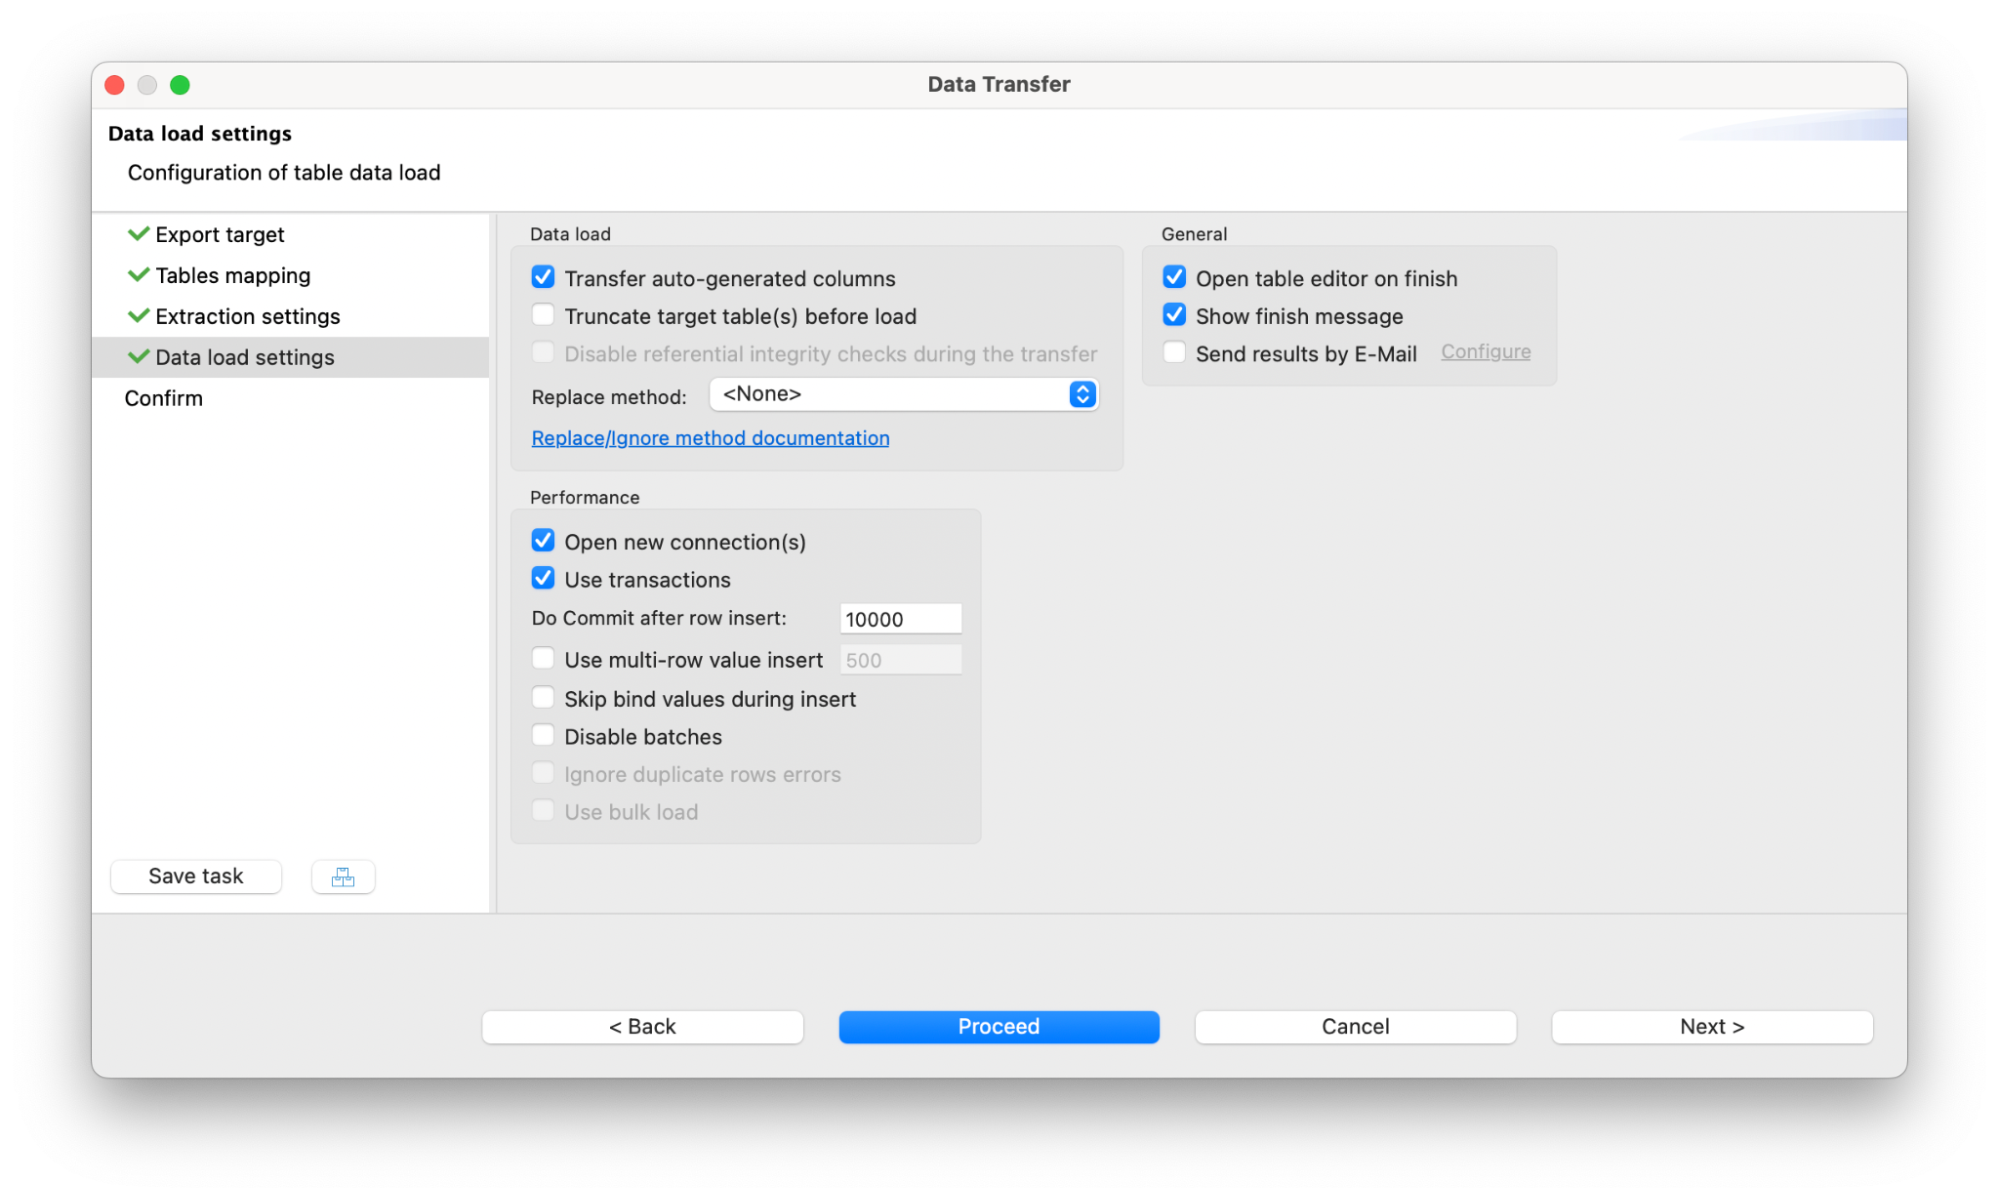
7. The same situation with the Data loading settings step. Here, you can specify how the data will be loaded into the MariaDB database. You can keep all the settings as default or adjust them according to your needs. To learn more about all the data load options, read our wiki page.
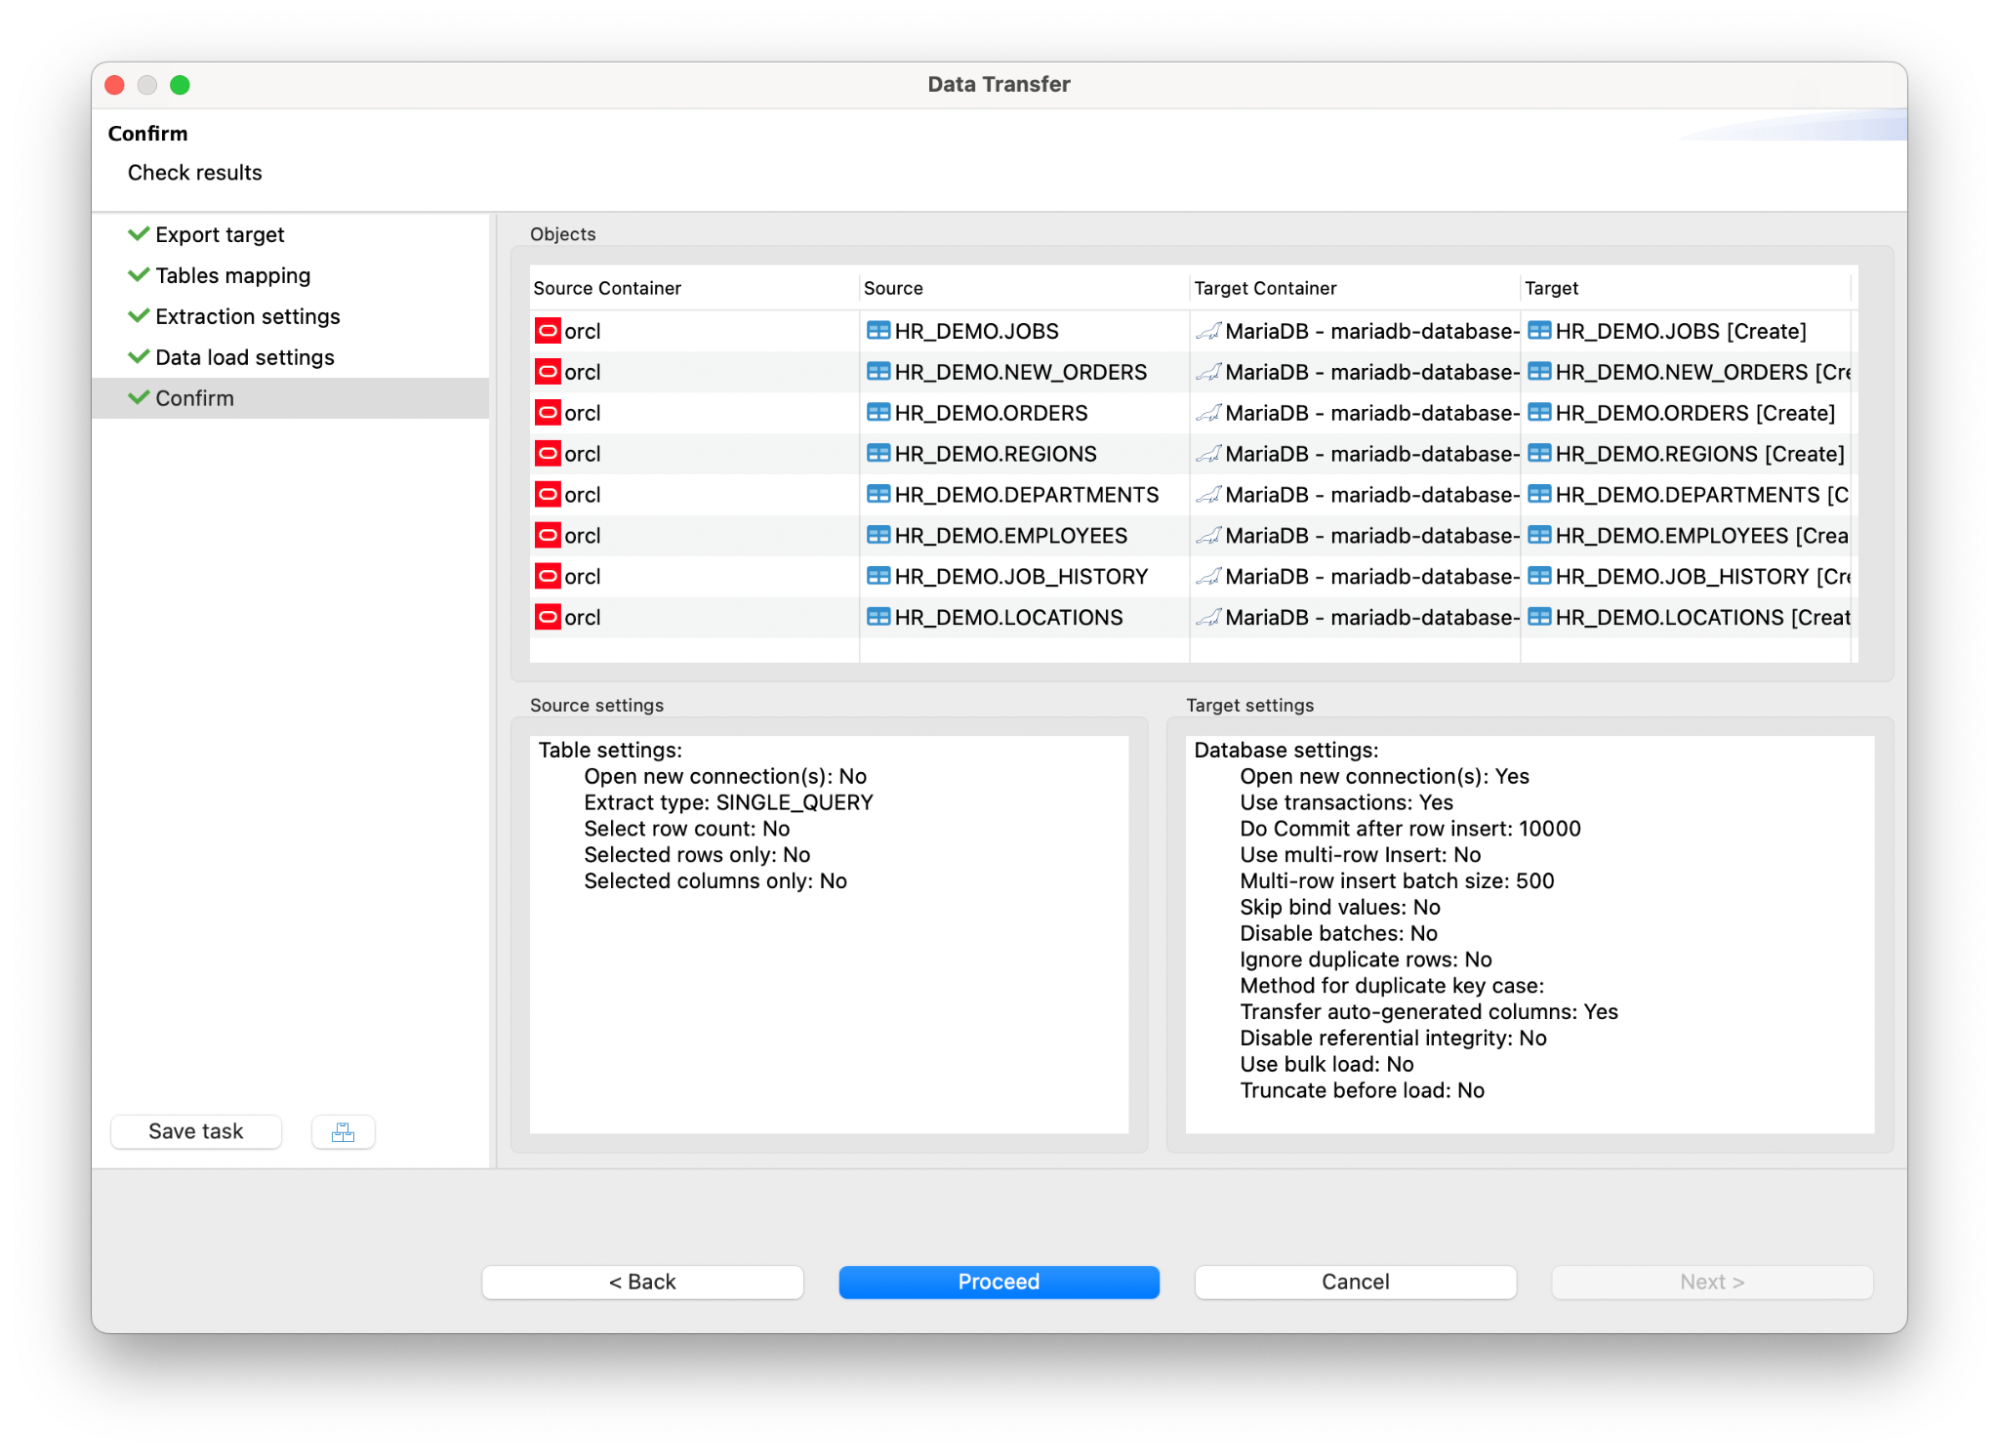
8. At the final step, you can view all the settings you applied and click on the Proceed button.
Everything is ready. Now you can explore your newly created tables in the MariaDB database and make sure that all the data was loaded correctly.
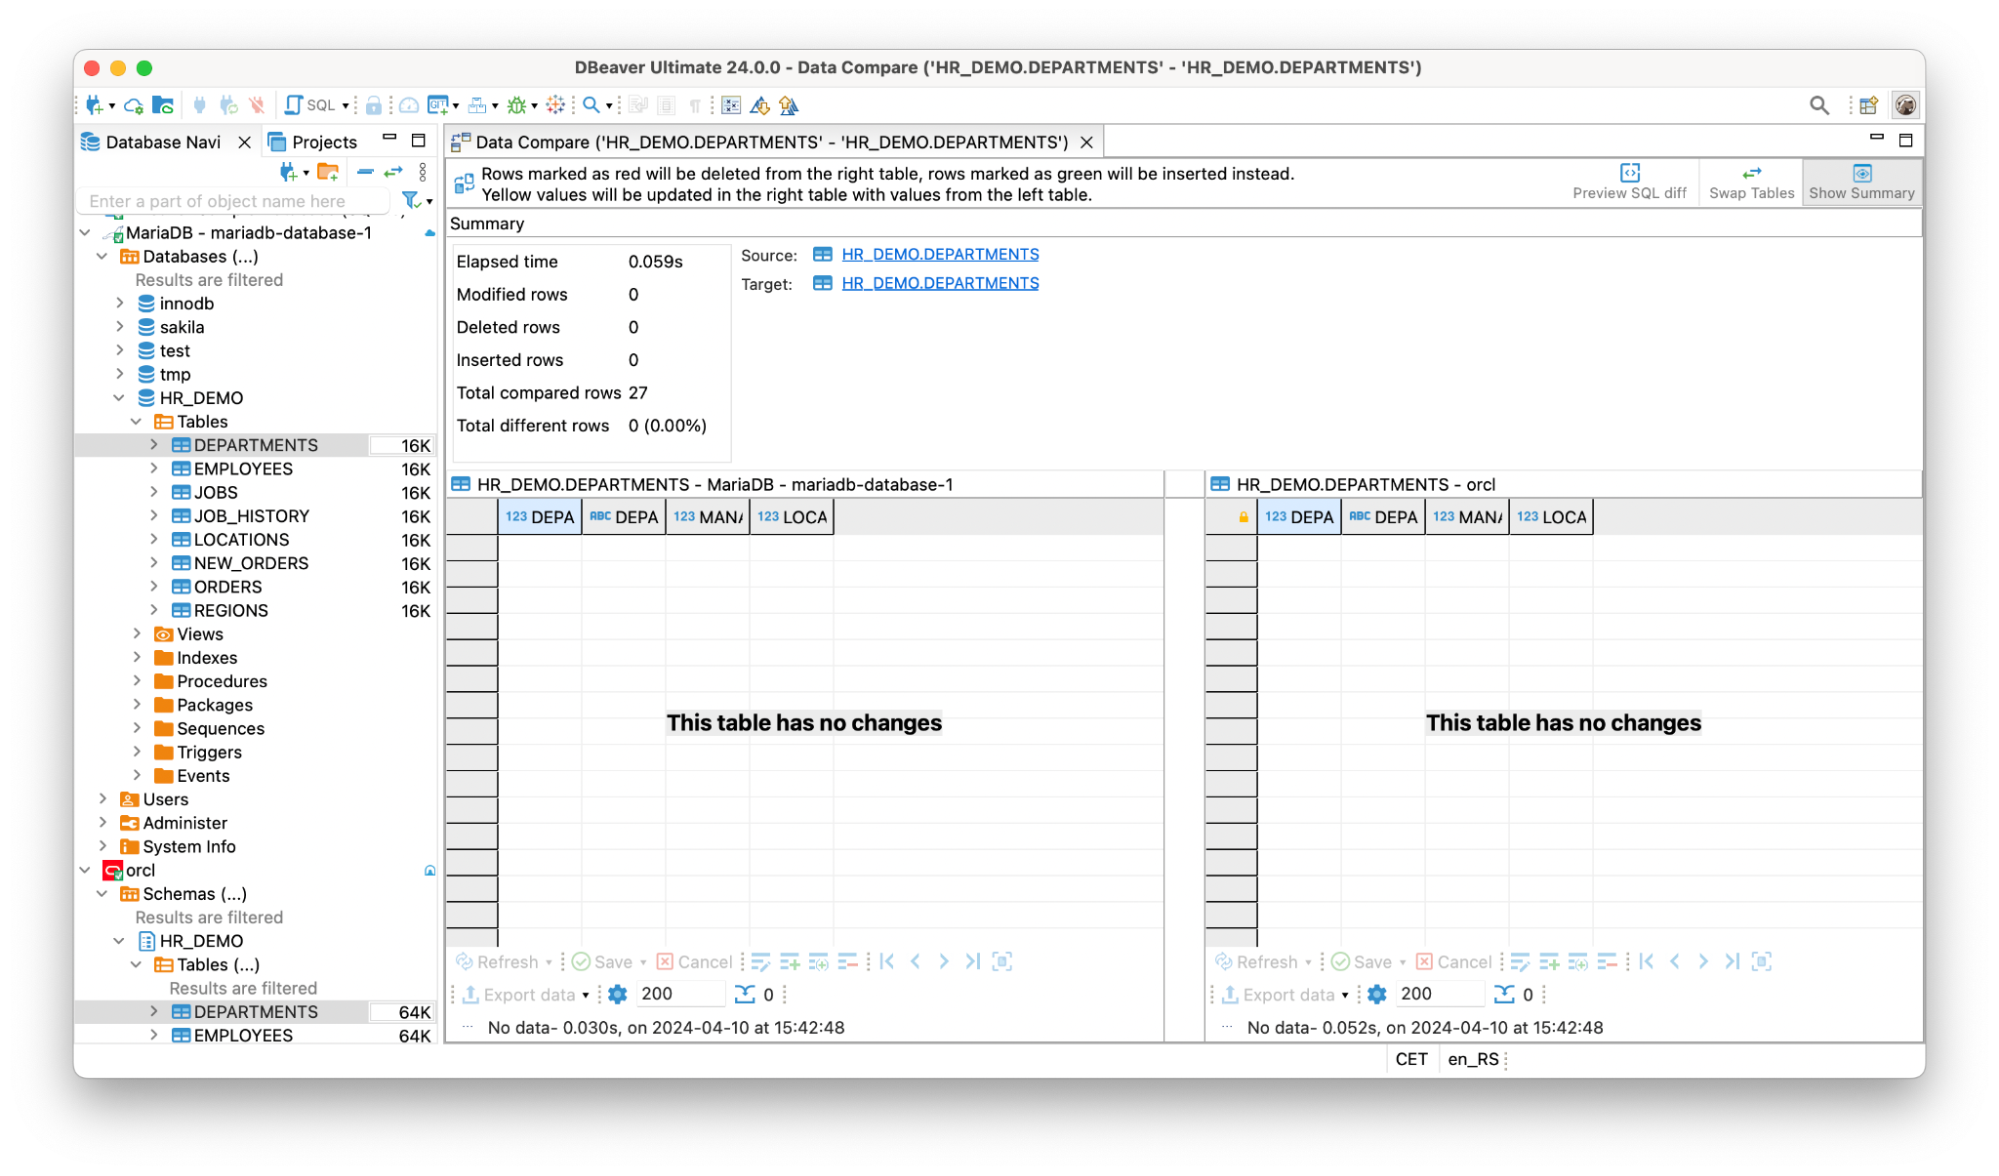
Of course, there may be natural skepticism that DBeaver can make such a challenging task simple and do so as reliably as it does. Therefore, we suggest using an innovative Data Compare feature that helps you ensure with 100% confidence that the migration was successful.
How to check that all the data is exactly the same
Let’s quickly perform Data Compare for one of the tables we have just migrated.
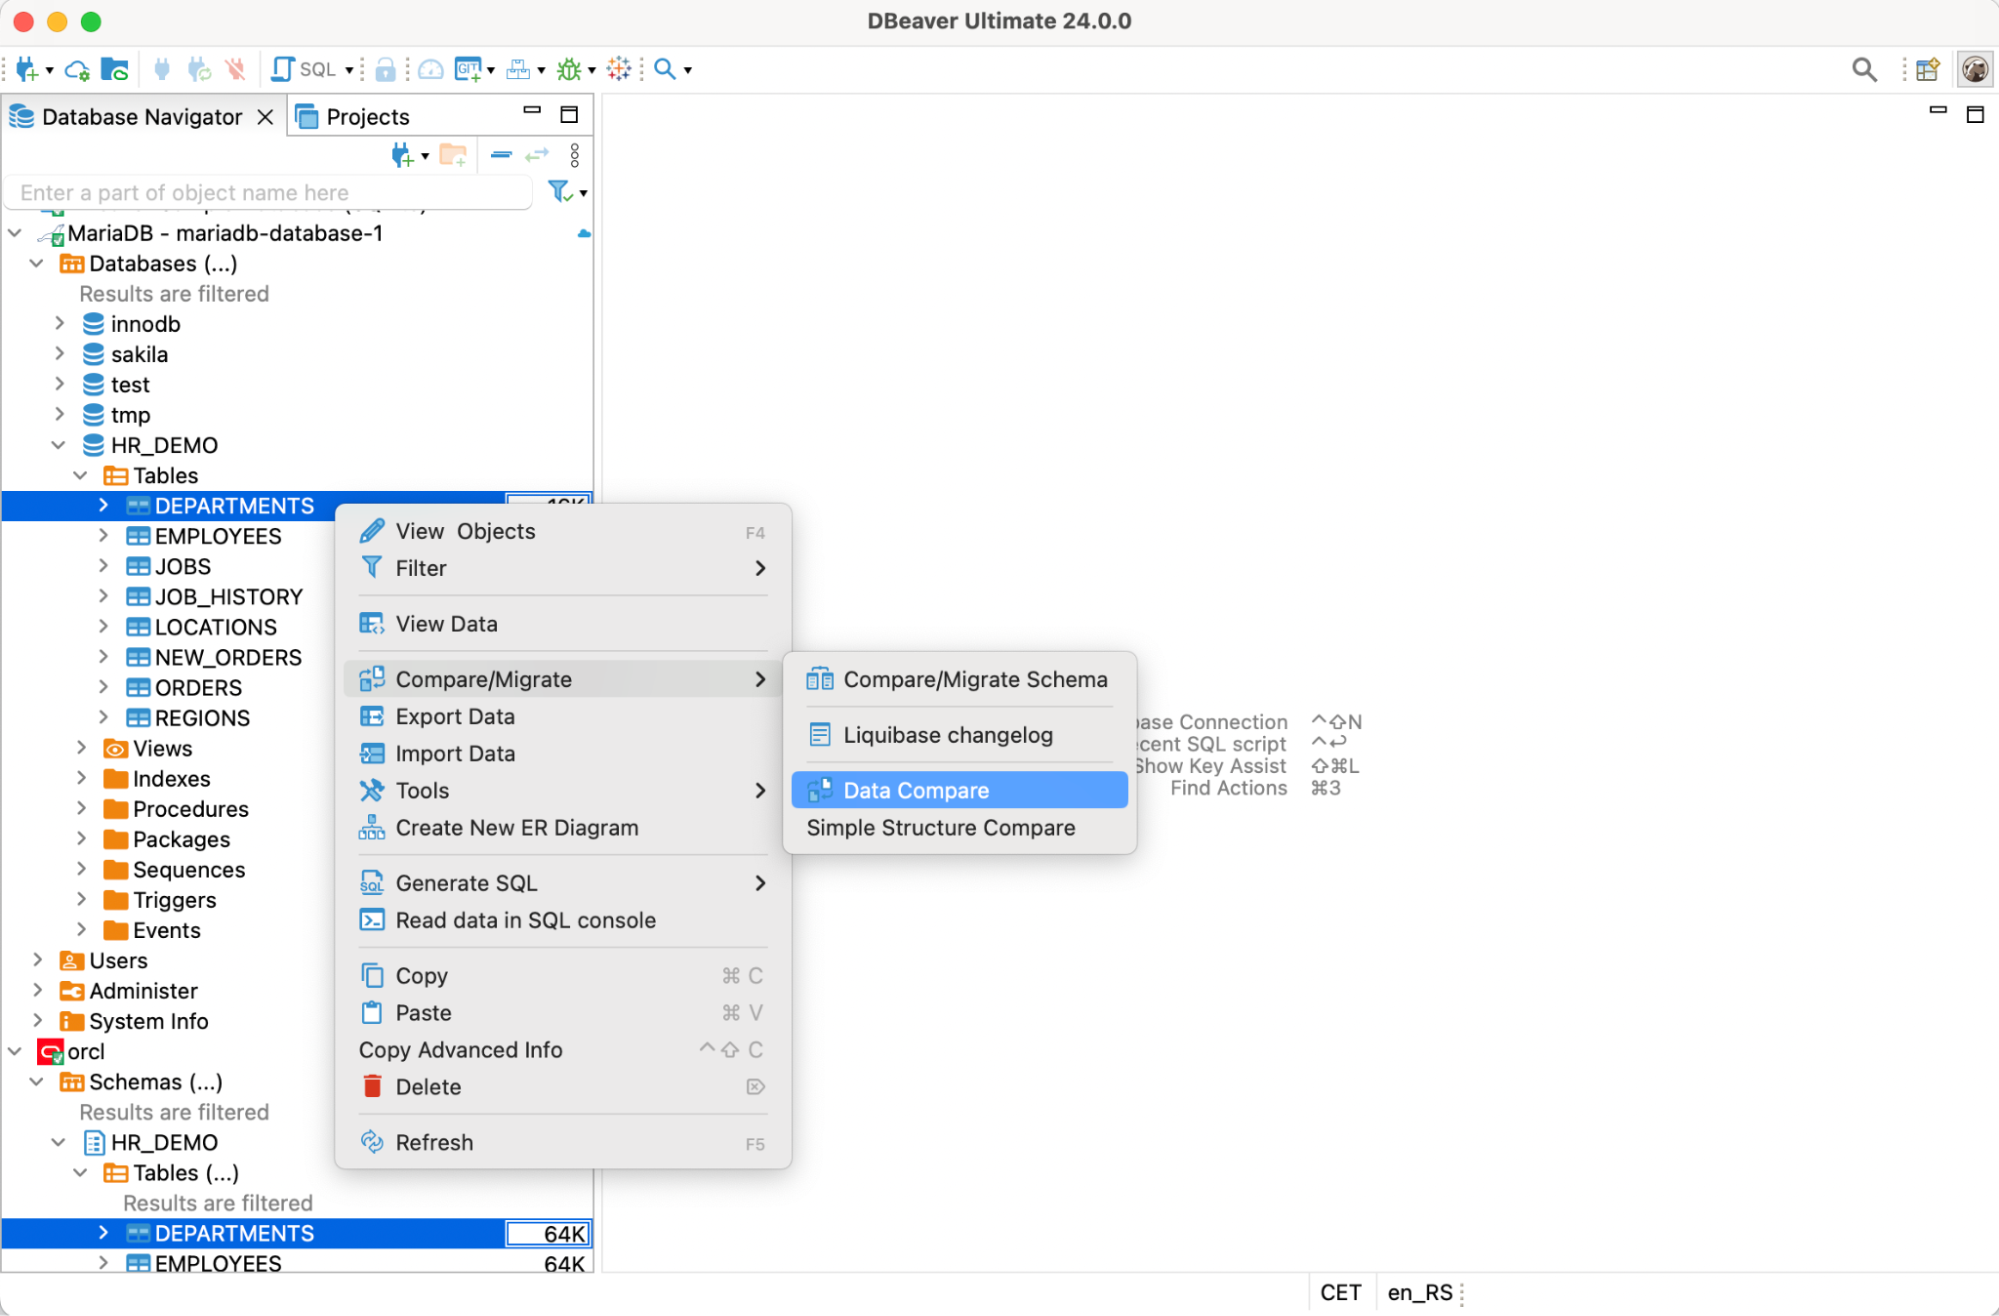
1. Select the same table in your Oracle and MariaDB databases, and go to the context menu -> Compare/Migrate -> Data Compare.
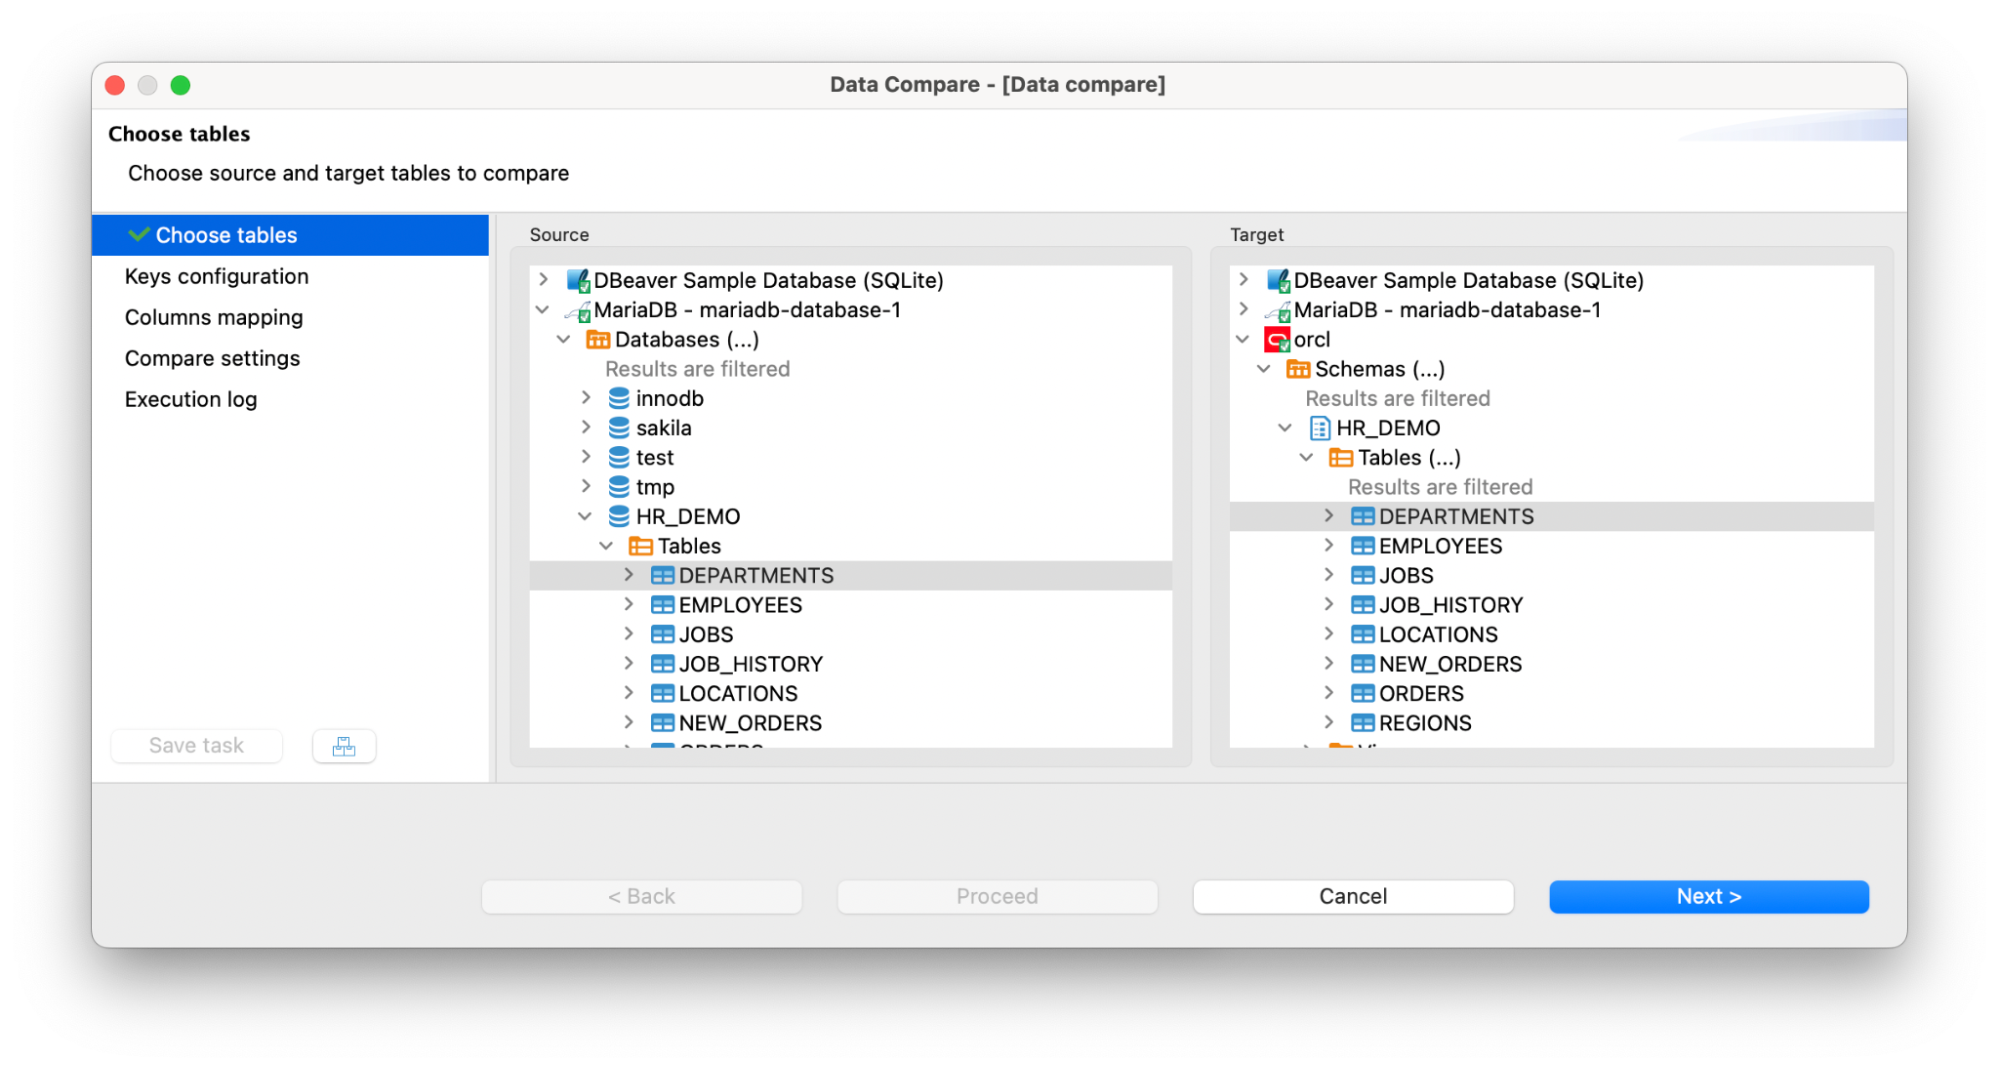
2. Keep the table selection as it is and click the Next button.
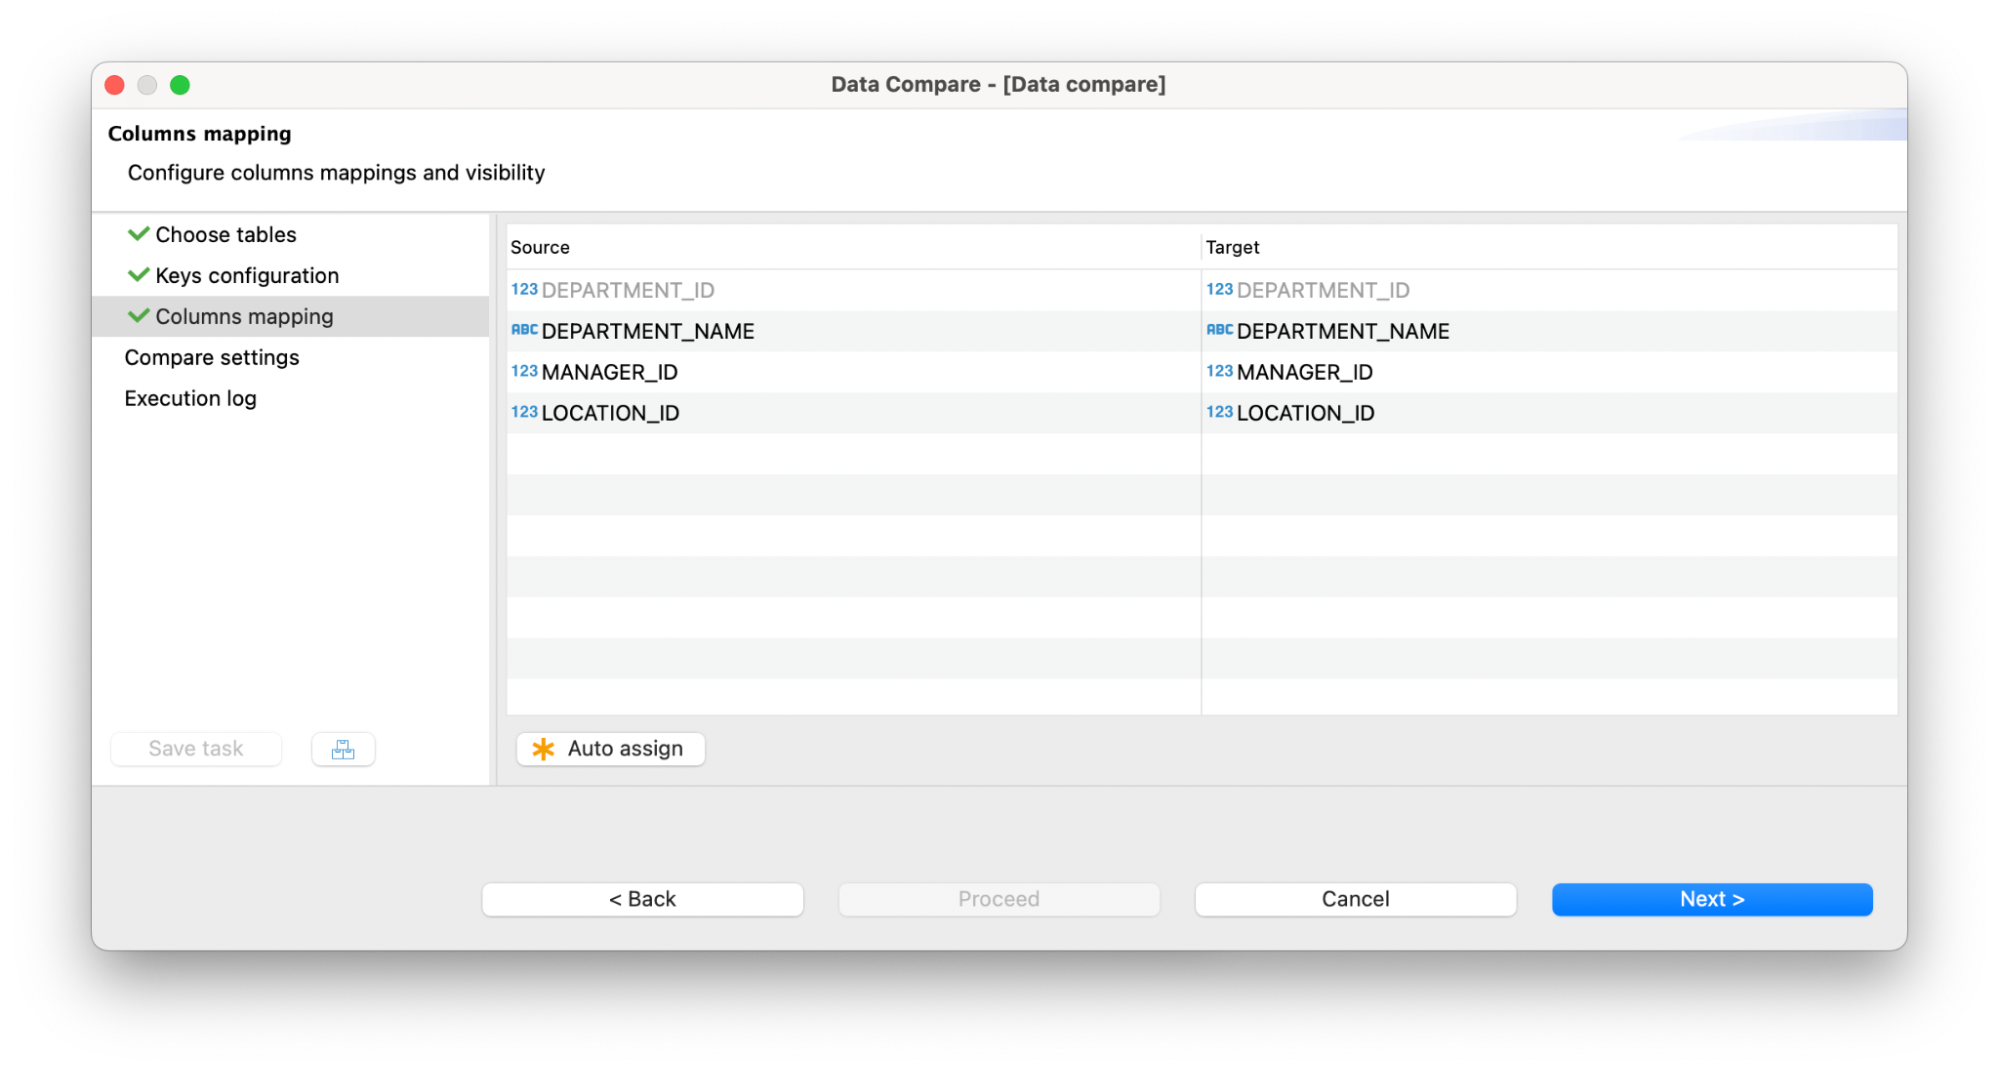
3. Check the columns mapping at the following step.
4. And, finally, check the compare settings and click the Proceed button. After getting the result, make sure that there is no difference between tables.
Based on this specific use case, you can learn how to migrate data between different databases and ensure that you have done the data transfer correctly. To learn more about all the technical details of data migration in DBeaver, visit on this topic.


