Before you can start writing queries in DBeaver, you’ll need to create a connection to your database. DBeaver provides a wizard to walk you through this process, making it easy even for first-time users. Today, we will walk you through all these steps to show you how to use DBeaver to effortlessly establish a database connection.

To open the wizard, click on the plug icon in the upper left corner of the application window or go to Database → New Database Connection. The database selection window will open and you will see a list from which you can choose the driver you need.
You have a large selection of databases to connect to. Pay attention to the tabs on the left side of the window. Click on them to choose All, Popular, SQL, NoSQL, Analytical databases, etc. The Popular tab includes the database drivers you use most regularly.
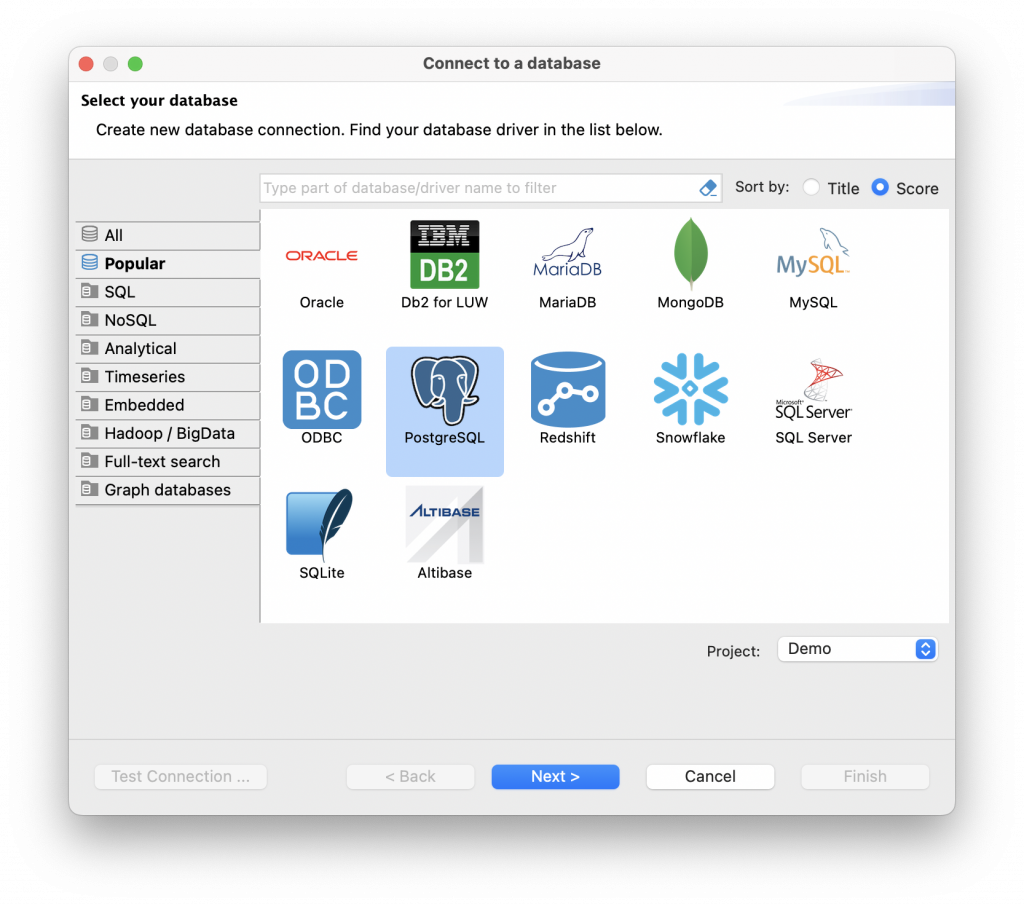
You can use these tabs for easy navigation or just type the first few characters of the database driver’s name into the search box. If you cannot find a driver for your database in the list, you can add it manually using a JDBC driver that is compatible with your database.
How to Set Up Your Database Connection in DBeaver
Let’s take PostgreSQL as an example. The connection process is very similar to that of other relational databases supported by DBeaver.
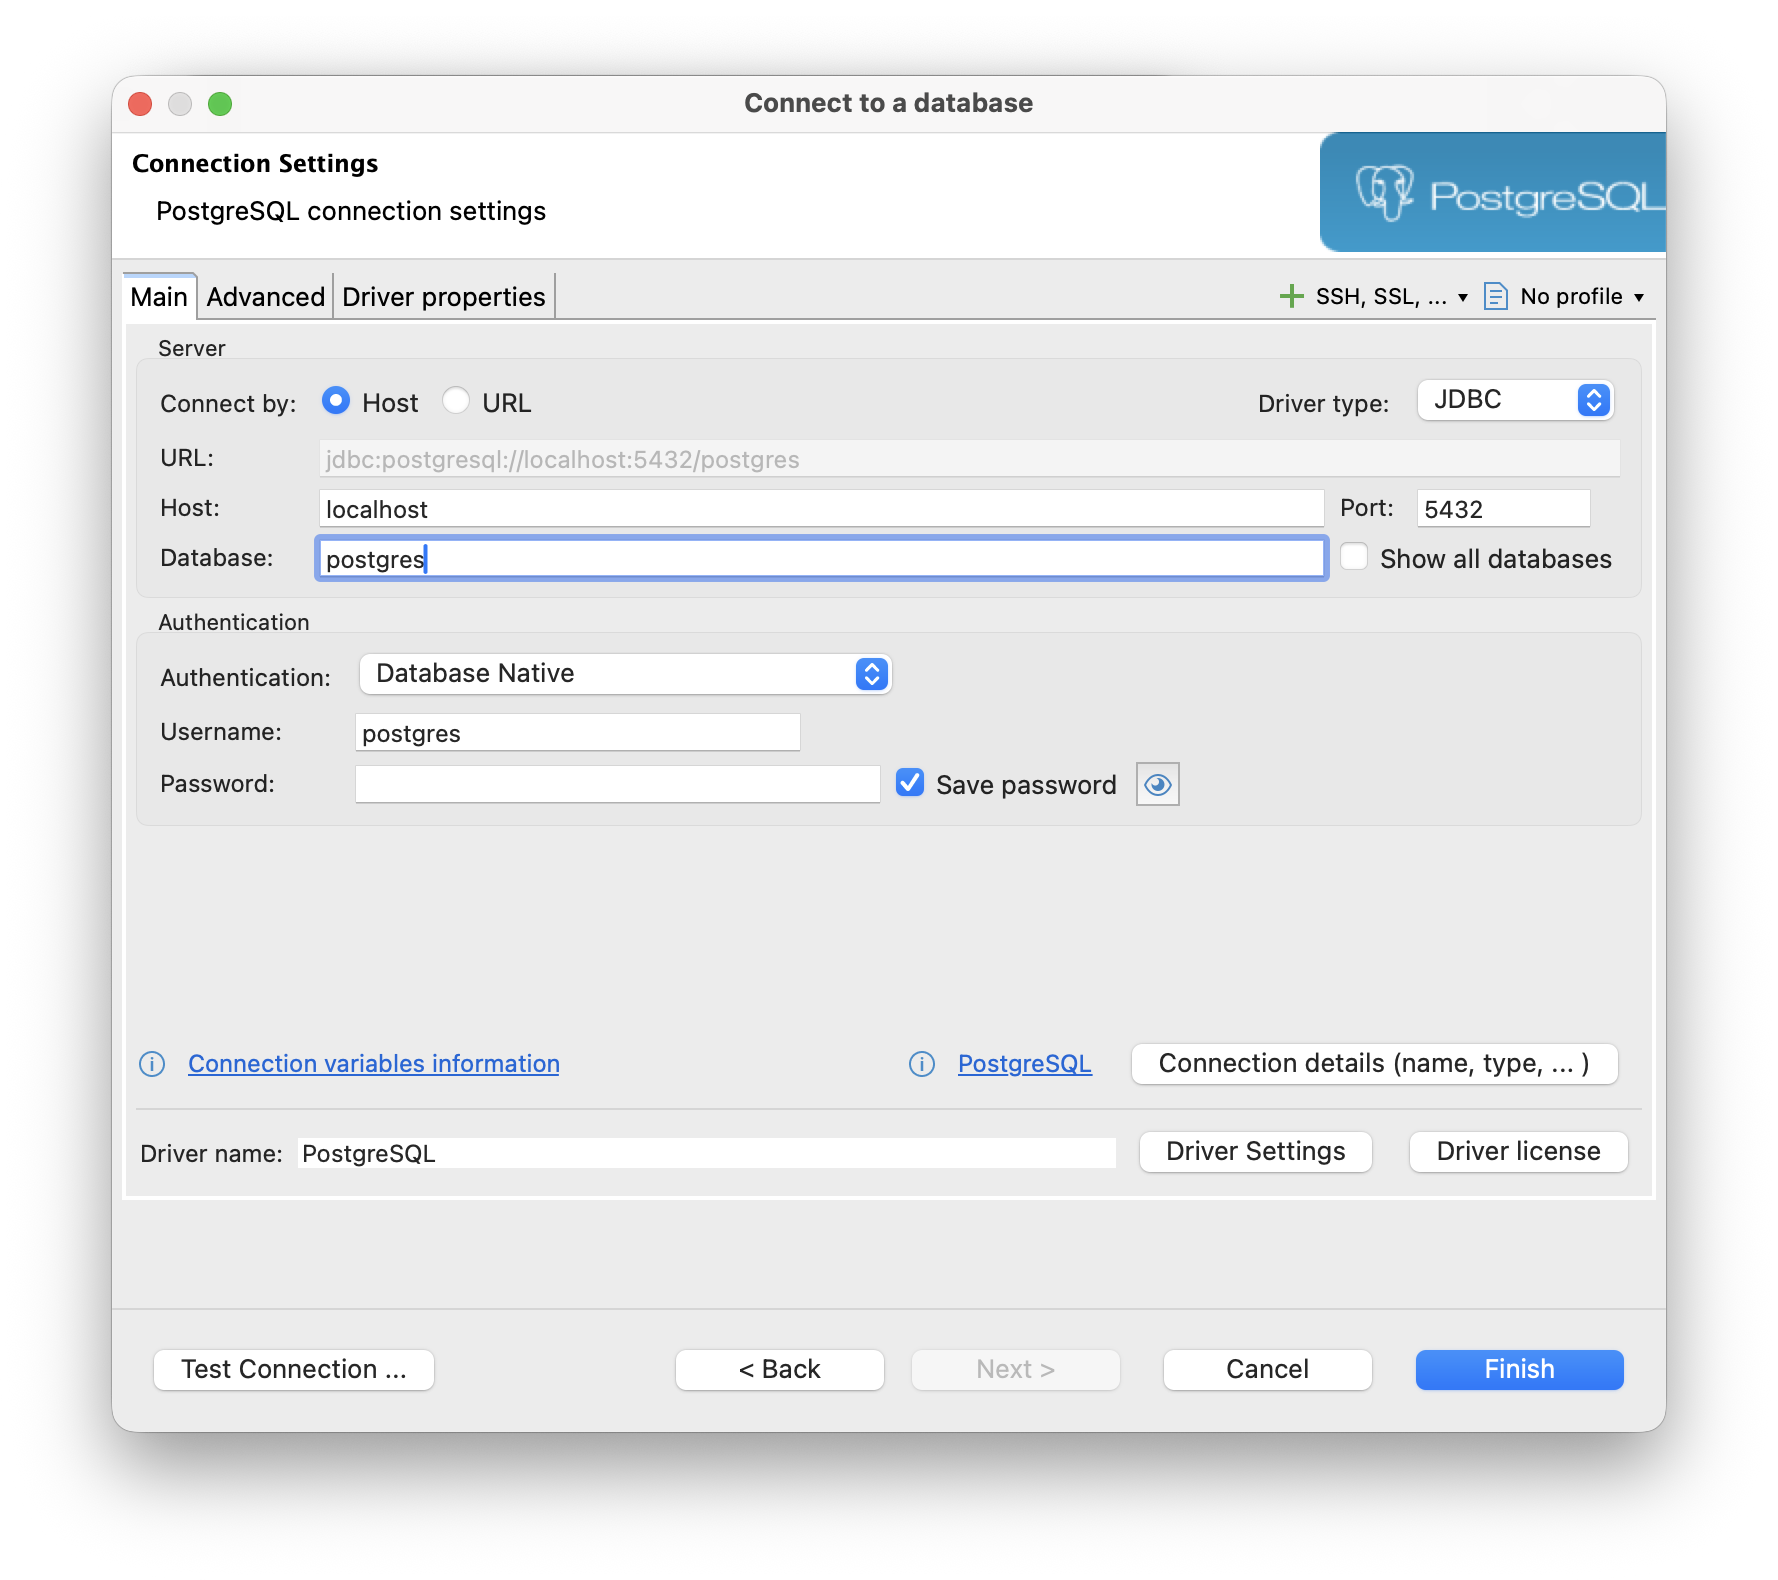
1. Click on the PostgreSQL driver in the Connection Wizard. The connection settings window will open. Let’s take a look at the most important points.
2. On the main tab, you need to set all primary connection settings. For most drivers, the required settings include Host, Port, Database name, Username, and Password. Note that the number of properties depends directly on the driver.
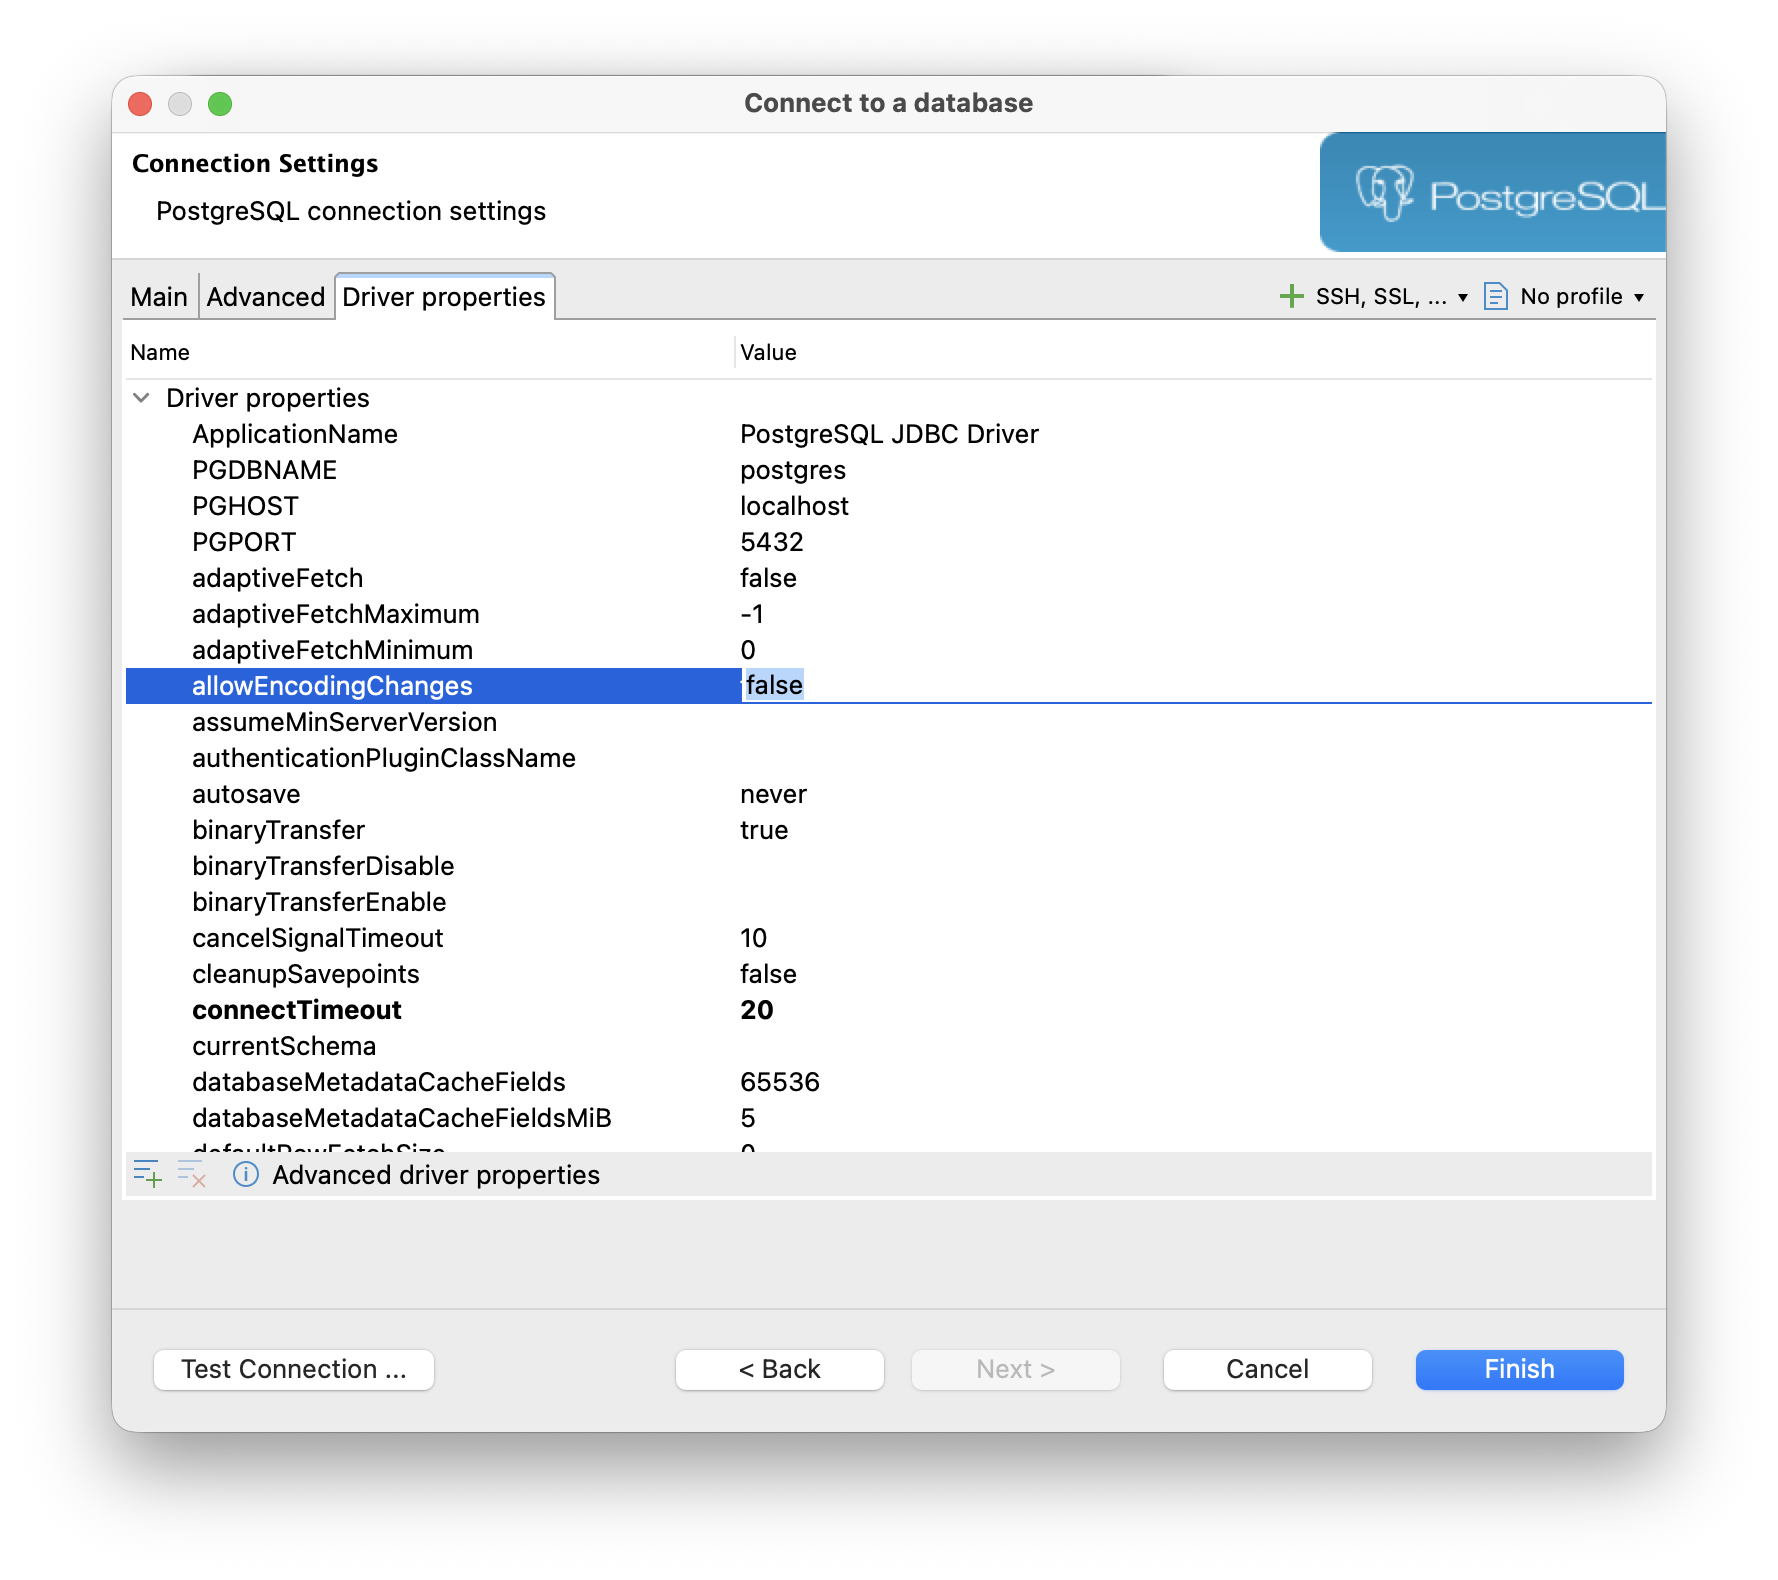
3. Each driver has its own set of additional properties, which you can view and configure by opening the corresponding tab. In the lower right part of the window, you can see a link to the driver documentation. Click on it to get information about available properties and their values. Please note that this option is not available for all drivers.
4. If your database cannot be accessed directly, you can use an SSH tunnel. All settings are available on the corresponding tab. DBeaver supports the following authentication methods: user/password, public key authentication, and agent authentication. For more information about SSH configuration visit DBeaver Documentation.
5. Some databases require an additional configuration to connect, such as SSL or Proxy. All of these can be set in DBeaver using the appropriate tabs. You can just open the tab and enter all required properties.
6. To check that all settings are entered correctly, click Test Connection. This step can be especially useful when creating connections with a lot of settings. This way, you will not need to worry about possible mistakes.
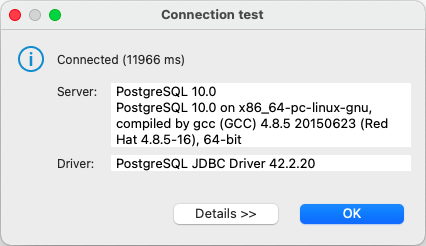
You will see a dialog with all information about the driver. After completing all the settings, click the Finish button. The connection appears in the tree of connections in the Database Navigator and DBeaver actually connects to the database.
If the driver is not pre-configured in DBeaver
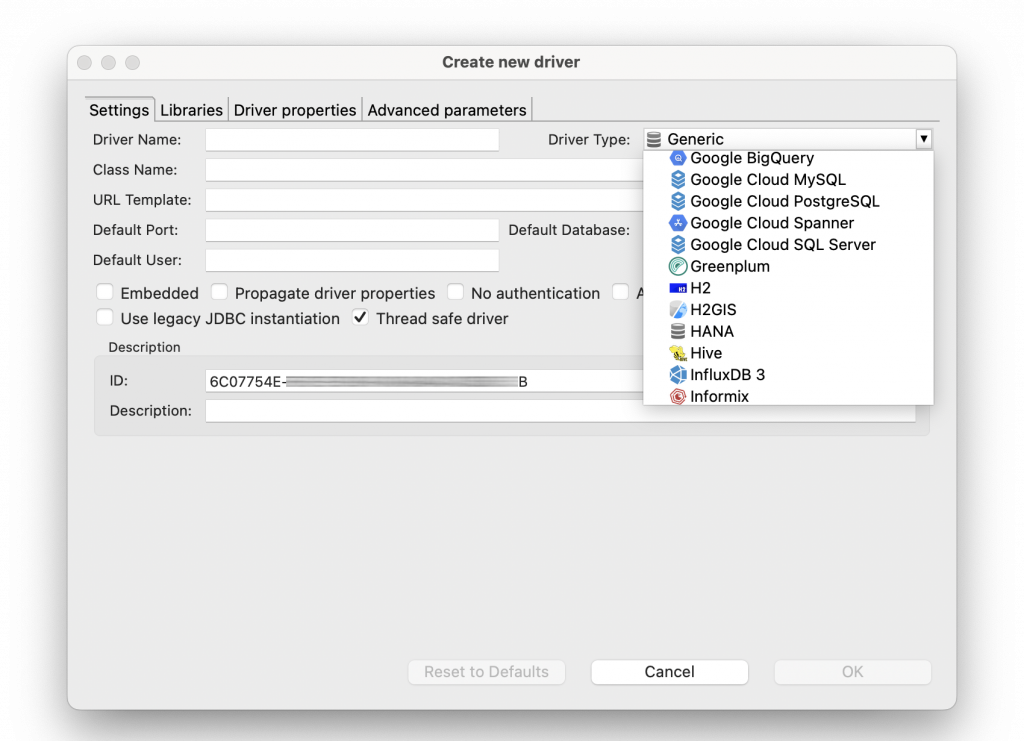
With DBeaver, you can not only use a pre-configured database driver but also create a new one based on a JDBC driver. To do that, go to Database → Driver Manager. Click the New button and create a driver. In the driver edit dialog, enter all required information and click the OK button. You can find more information about creating drivers in our Wiki.
If you cannot find your particular database in the list but you know it is based on another well-known database or is compatible with some existing driver (for example, an older Postgres driver), feel free to use that driver to create a connection.
If you want to connect DBeaver to other databases like Oracle, MySQL, or Redshift, you may need to set additional parameters. To find more tutorials on different types of database connections, explore the connections section of our blog.
How to create a database connection in DBeaver: video version
FAQ about connections in DBeaver
How to fix the “No active connection” error in DBeaver?
If you see this error, there are three ways to associate your SQL script with the correct database connection in DBeaver:
– Go to SQL Script in the main menu and choose Set Active Connection
– Find the database icon with the N/A text above your editor, click on it, and choose your connection from the list
– Go to Window → Project Explorer, find your script, right-click on it, and choose Associate with Data Source
How to edit a database connection in DBeaver?
To update your database connection settings, right-click the connection in the Database Navigator and select Edit Connection. From there, you can adjust your primary settings or open the Advanced Settings tab to fine-tune additional options. For a full breakdown of what you can configure, see DBeaver advanced connection settings.
How to connect to an Oracle database in DBeaver?
Setting up an Oracle database connection in DBeaver follows the same general steps as other drivers, but requires a few additional parameters. You can find a full walkthrough in the DBeaver Documentation for Oracle.