Sometimes one set of SSH/Proxy credentials is used to connect to different databases. To avoid the need to enter the same information each time you connect, we suggest you use network profiles in DBeaver. Today we will tell you how to do that.
This feature works within a specific project. You can create as many profiles for each project as you need.
For example, this would be useful if you have two users with different permissions.
There are three ways to create a new network profile:
- Go to the Projects tab, choose a project from the list, right-click on it and click Properties. In the window that opens, go to DBeaver Settings -> Network profiles.
- Go to the Projects tab, choose a project from the list and click on the Gear button in the project menu. In the window that opens, go to DBeaver Settings -> Network profiles.
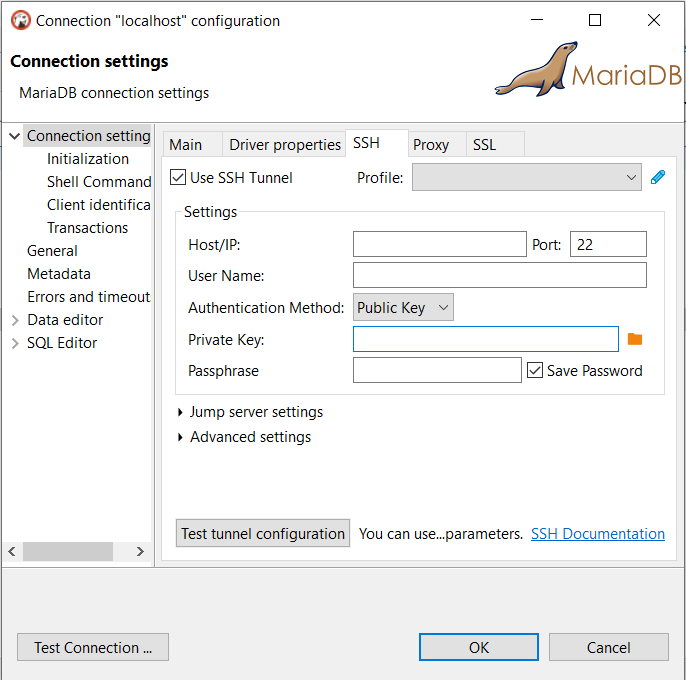
- Right-click on the database, choose Edit connection and go to the SSH or Proxy tab. Find the item Profile and click on the pencil button.
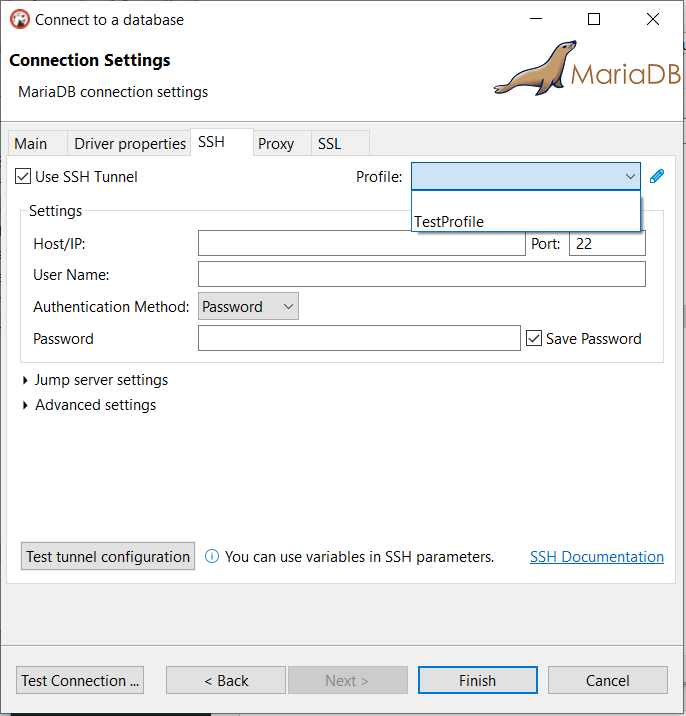
A window with network profile settings will open. Next, click on the Create Profile button. Set a profile name and then click OK, or press Enter. To configure the SSH preferences, select Use SSH tunnel.
Now you can set the Host, Port, and User name. Choose one of the authentication methods, set the password, or upload the key file from your computer. If you need to set the Jump server settings or advanced settings, you can do so in the same window. By selecting the checkbox Save password, you will avoid having to enter it each time when creating a connection.
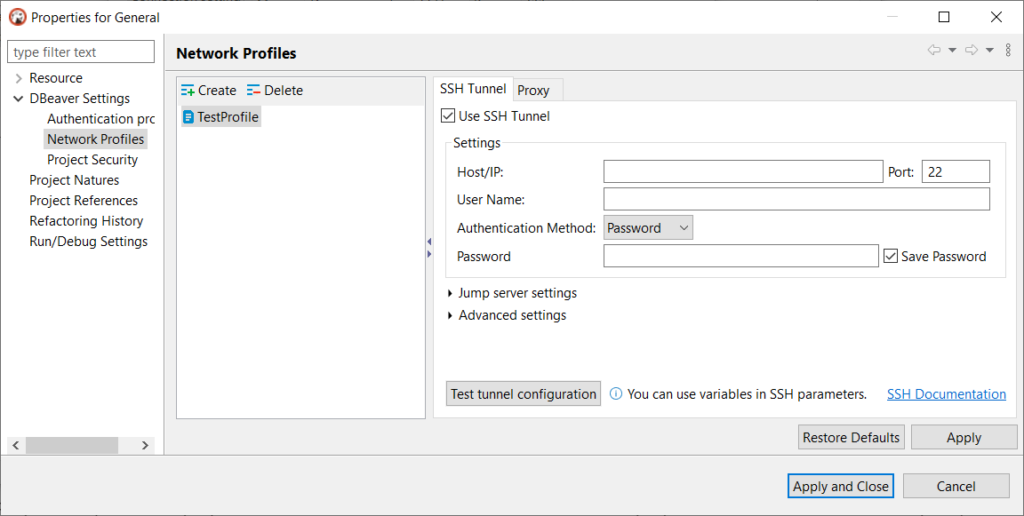
Click on Test tunnel configuration to check that everything is working correctly. To cancel changes, click Restore Changes. Click the Apply button to save the specified settings.
For more information about the SSH configuration сlick on the link in the bottom right of the window.
You can also find this link in our Wiki.
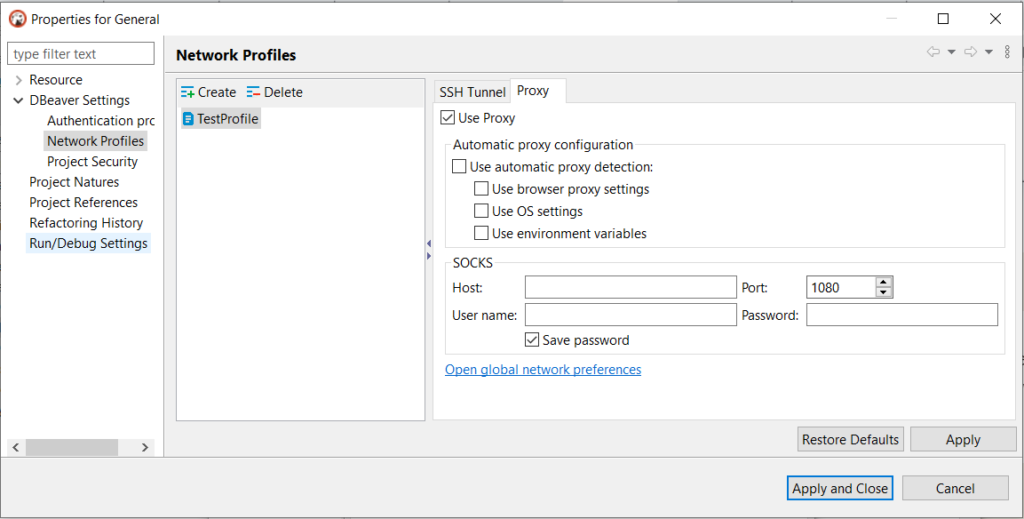
If you are using a proxy to connect to your databases, you can configure settings for it in your network profile. To do that open the Proxy tab and select the Use Proxy checkbox. Set automatic proxy configuration and SOCKS Host, User name, Port and Password. Click the Apply button to save the specified settings.
If you need to connect to a database with different credentials, you can create two different network profiles for this.
You can create a new profile or delete an existing one at any time by clicking on the corresponding button.
Let’s create a new connection using a predefined profile. Go to Database -> New Database connection, open the SSH tab, and use the drop-down lists to choose your network profile. You will see that the settings in both tabs are filled in automatically.
This saves you from having to manually enter all the settings when connecting to each database. Also if the password for the SSH tunnel changes, you will need to simply edit your network profile once, without editing each connection individually.
We hope this tutorial was helpful for you. In the following blog posts, we will tell you about other useful DBeaver features.