If you work with databases, it is highly likely that you have already used transactions even if you weren’t aware of it. Let’s talk about what transactions are and how they work in DBeaver.
![]()
Database transactions and why we need them
A transaction is a single unit of work performed within a database management system against a database. Generally, it represents any change in a database, but in some cases, it can consist of several operations. Transactions are needed for two main purposes:
- To prevent the database from failures and keep it consistent even in cases of system failure.
- To avoid concurrent access to data by different users, as this can lead to errors.
- Safe operations do not change the database. For example, reading data from a table or sorting.
- Unsafe operations involve modifying data or metadata in the database. For example, changing data in a cell or deleting a row from a table.
Transactions are a very useful mechanism that is used in many databases. But the way they work by default can lead to some problems. For example, if one user opens a table, a transaction will automatically be created to block other users from accessing that table. The table can remain open and access will be blocked long enough until the transaction is completed.
Another problem which arises that users may not think about, is whether the table they reserved is key-linked with other tables. In this case, all associated tables will also be inaccessible to other users.
Imagine the situation: you need to enter new data in a specific table, and your colleague just opened it and went off to get a cup of coffee for half an hour. As the transaction was left open, you will not be able to start doing your task until they get back.
In critical cases, a transaction blocking the work of users can be closed by the admin. But it is always better to be able to prevent this from happening.
How it works in DBeaver
All actions that the user performs in the SQL editor or in the Data editor go through the transaction mechanism. Our app allows you to work with transactions in two modes. By default, all users are set to autocommit mode. When working in it, all operations performed by the user are sent to the database after clicking the Save button.
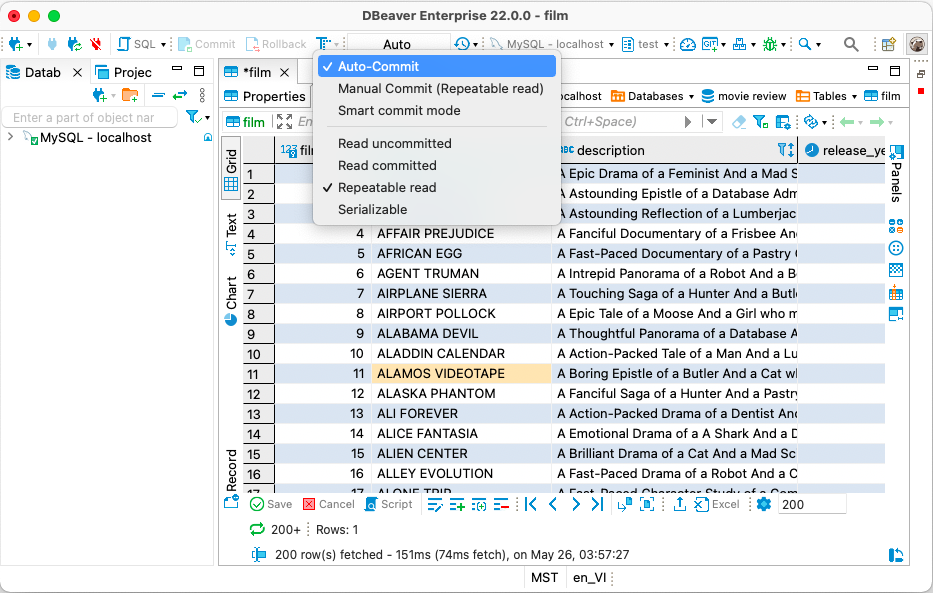
To switch to manual commit mode, click the Commit mode button. In this mode, each user action is counted separately.
If you accidentally delete a table or perform another unsafe operation, you can click the Rollback button. Then your changes will not be applied. Click the Refresh button to return the data to its original state.
Smart commit mode
All operations that you can perform on a database can be divided into two groups.
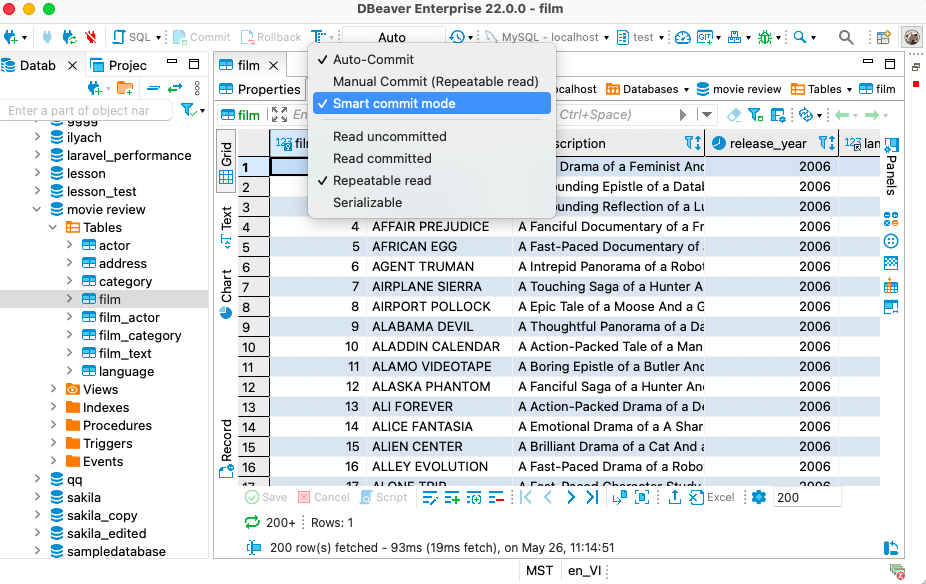
If you want all safe operations to be applied to the database immediately, but would like to protect yourself from incorrect data changes, DBeaver has Smart commit mode for you. This mode works with Autocommit mode. To enable it, click the Commit mode button and select the Smart commit.
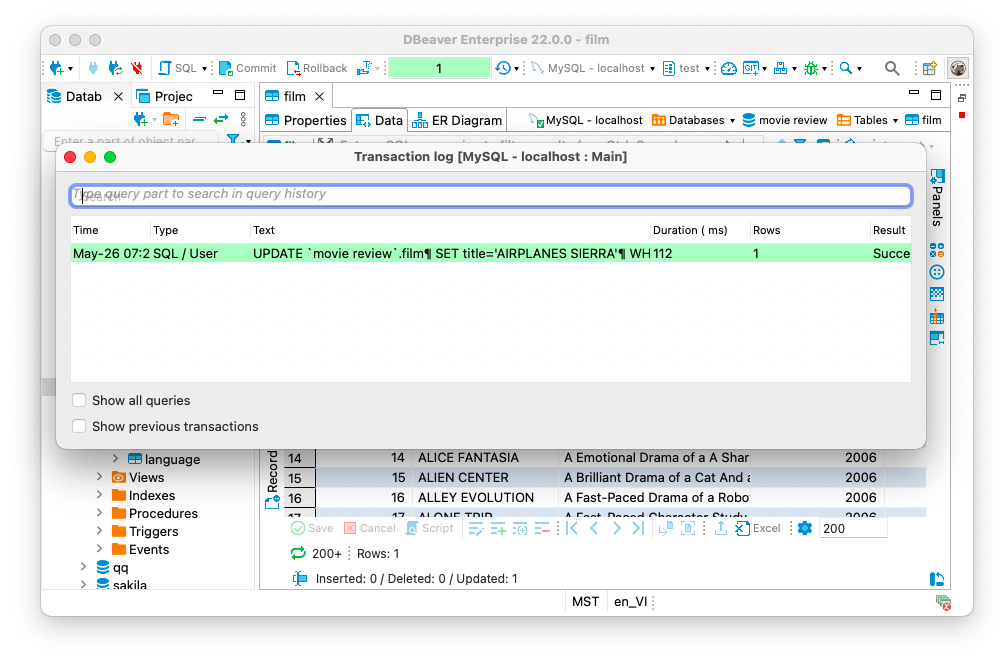
If you mark it as selected, then all safe operations will be immediately sent to the database. But when you try to change or update the data, the app will automatically switch to Manual commit mode. In this case, to apply the changes, you need to click the Save button and then the Commit button.
Smart commit is an additional setting of the Autocommit mode. Therefore, turning it on will not affect the Manual commit mode.
When you make changes and click the Commit button to apply them or the Rollback button to revert them, the app will automatically revert to autocommit mode.
You can set the Commit mode not only at the app level but also for any of your connections. And the most convenient way to work with transactions in DBeaver is to use Connection types. We will tell you about how this feature works in our next article.