In data management, efficiently importing data is vital. Whether migrating data from legacy systems, updating your databases, or consolidating information from various sources, a reliable data import tool can save you time and effort. For data analysts, keeping databases up-to-date with the latest reports is crucial for accurate analysis and decision-making.

Suppose you receive a daily Excel report that needs to be loaded into your database for further analysis. CloudBeaver’s Data Import feature is designed to streamline this process, making it easy to ensure your database is always up-to-date with the latest information. This guide will walk you through the steps to perform this task effectively.
Imagine you are a data analyst responsible for tracking daily metrics through Excel reports. Every day, you need to import these reports into your database to maintain up-to-date records for analysis. Using CloudBeaver’s Data Import feature, you can simplify this task, ensuring data accuracy and efficiency.
Step-by-Step Guide to Importing Data
1. Connect to database
First, establish a connection to the database to which you will import data.
![]()
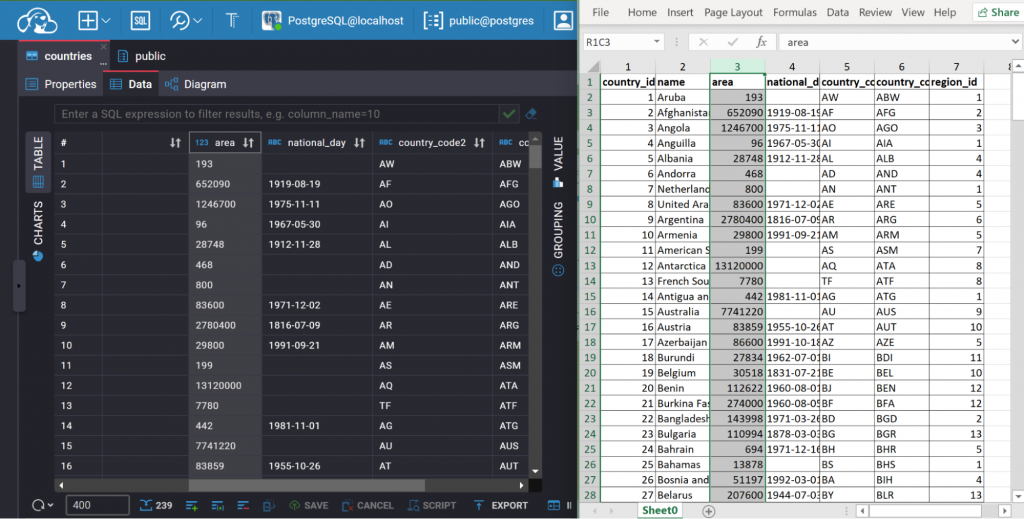
2. Open the Data Editor
Open the necessary table in the Data Editor.
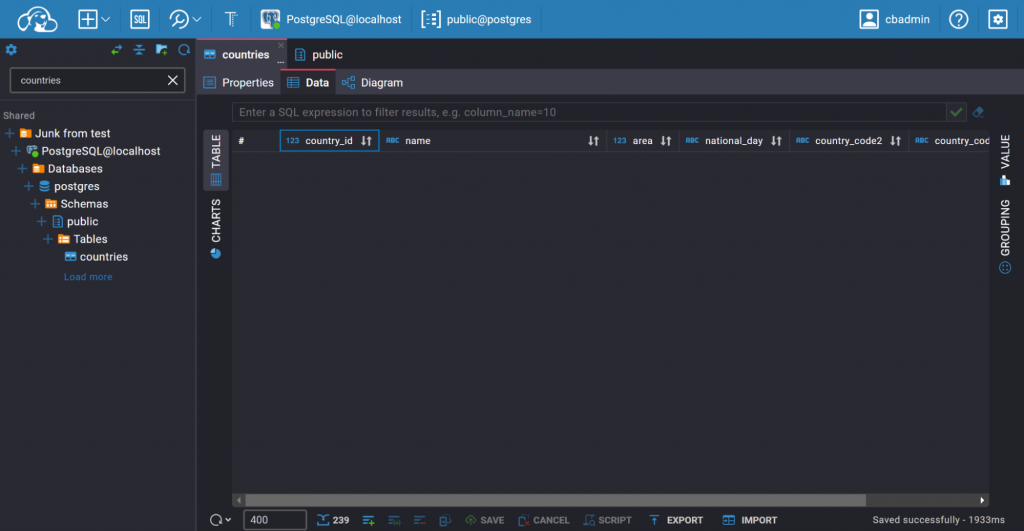
3. Initiate the Import Process
In the Data Editor, locate the Import button on the bottom toolbar. Clicking this button will open the import configuration window, where you must choose your file type.
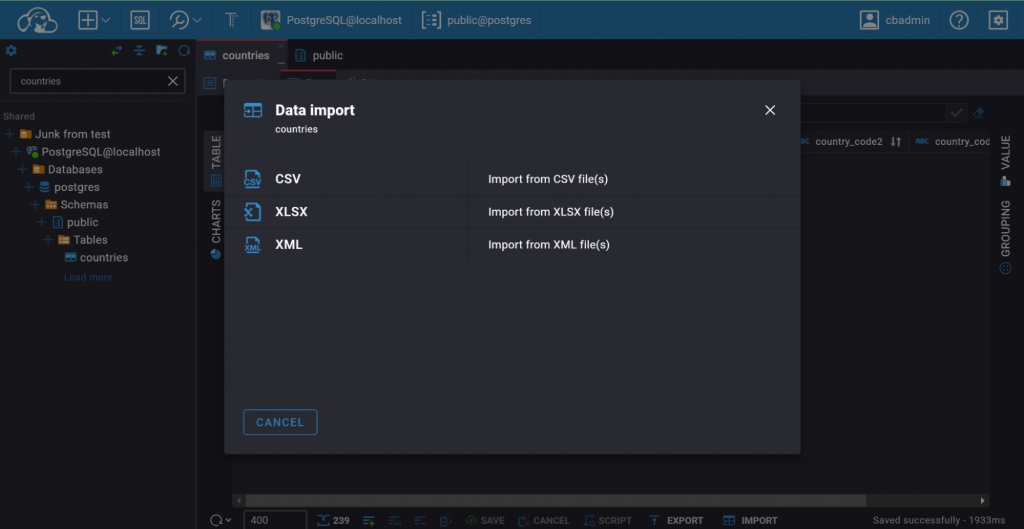
4. Select the File Type
In our example, we will import an XLSX file. For your importing please ensure you have the appropriate CloudBeaver edition. For example, Community Edition Supports CSV files only, as Enterprise Edition supports CSV, XLSX, and XML files.
In the import window, choose the XLSX file option.
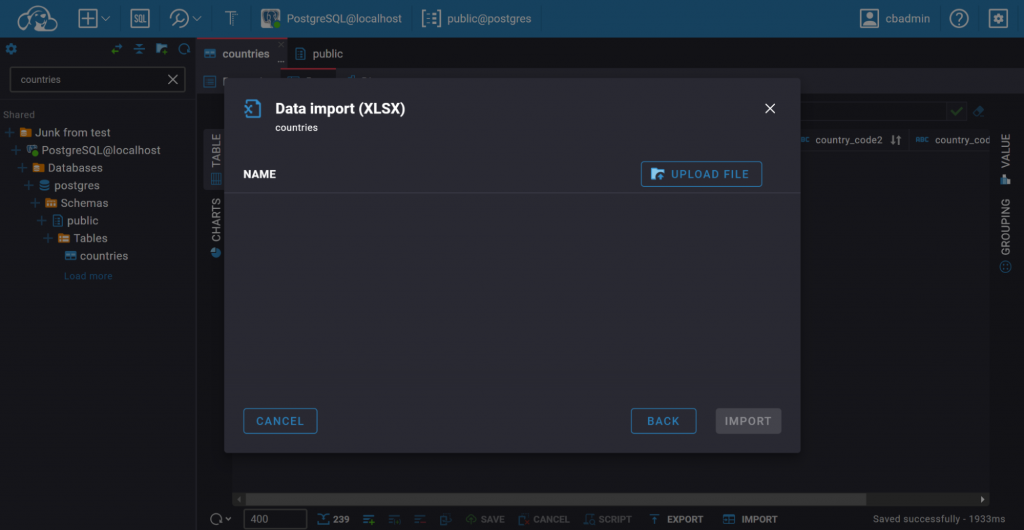
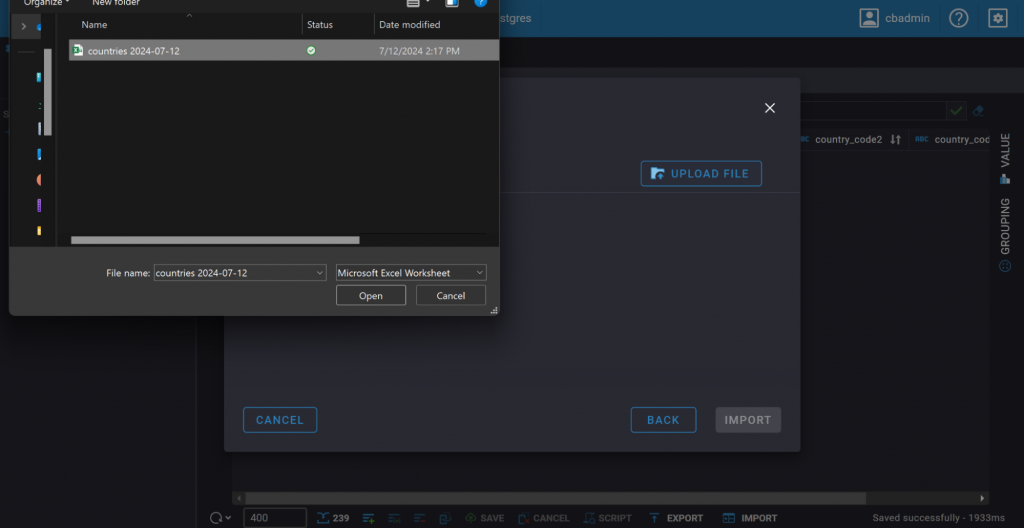
5. Upload Your File
Click the Upload file button to locate and select Excel spreadsheet. Once selected, click the Import button to begin uploading. CloudBeaver will process the file and prepare it for import.
6. Set Import Options
You can ensure primary key values are unique to prevent duplication. However, CloudBeaver checks for duplicate primary keys and will prompt you if any duplicates are found.
Additionally, you verify that the Excel file’s data types and column names match those in the database table. Run the import process in the background to continue working on other tasks simultaneously.
7. Monitor the Import
CloudBeaver will start uploading the data into your database. You can monitor the progress and check for any errors or warnings that may arise during the import.

8. Verify the Import
After the import is complete, you can verify that the data has been transferred correctly. For example, you might open a table in the Data Editor and compare several entries to verify the integrity.
Conclusion
Importing daily reports into your database using CloudBeaver’s Data Import feature can be a straightforward and efficient process. By following this detailed guide, you can ensure that your database remains current with the latest data, enabling you to perform accurate and timely analyses.
Thank you for reading this tutorial on importing data in CloudBeaver. If you found this guide helpful, please share it with your colleagues and explore more resources on our blog.