Data import
Note: This feature is available in Enterprise, AWS, Team editions only.
Table of contents
In CloudBeaver, data import is accessible through the Data Editor when a table is open.
Import process steps
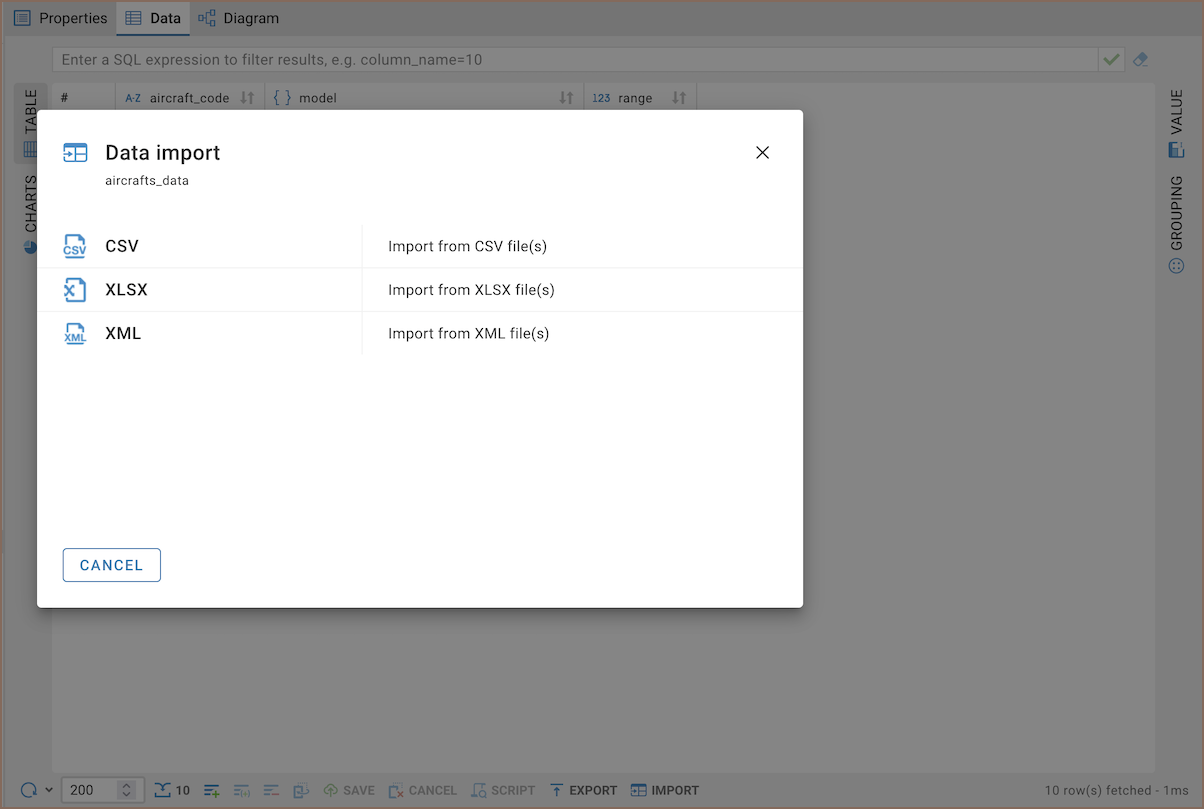
Click the Import button to open a pop-up window for the import process.

Choose the file type for import.

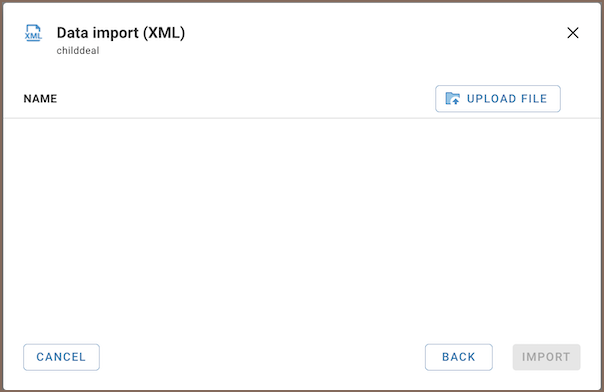
Choose the file from local storage and press Import.

Upon successful import, a confirmation message will appear.

Import configuration details
The import process in CloudBeaver includes several key features and limitations:
- The Community Edition (CE) only allows for
CSVfiles. Pro versions includeCSV,XLSX, andXMLfiles.
In CloudBeaver, data import is available to users with the roles of Editor, Manager, Developer, and Administrator.
CSVfiles should be comma-delimited.The structure (DDL) of the uploaded table must match the existing table, specifically in terms of columns.
Only unique primary key values are accepted to ensure data integrity and avoid duplicates.
The import operation does not block the interface, allowing for continued work while the import is processed.
The system currently supports uploading one file at a time.
