Overview
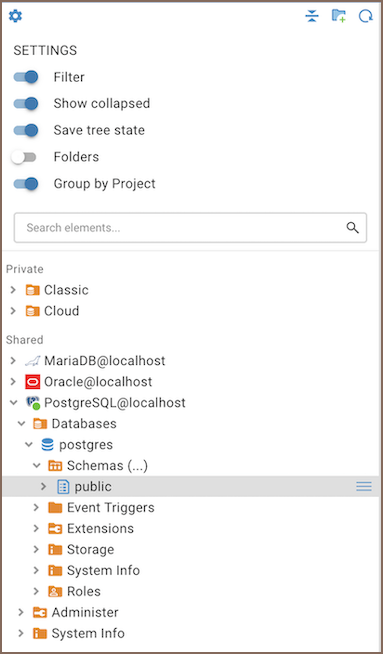
The Database Navigator is a primary interface component for managing database structures and contents. It is positioned
on the left-hand side of the application window. Key elements of the Database Navigator
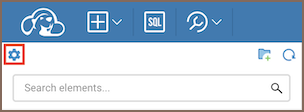
include the Toolbar, the Settings menu, and a hierarchical Object tree.
For details about the options available in the Toolbar and the Settings menu,
see the Toolbar and the Settings menu guides.
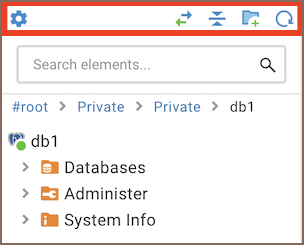
Object tree
The Database Navigator displays a hierarchical tree that includes the following types of objects:
- Folders
- Database connections
- Database objects (varying by database type, such as Tables, Views, Indexes, etc.)
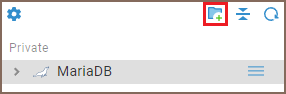
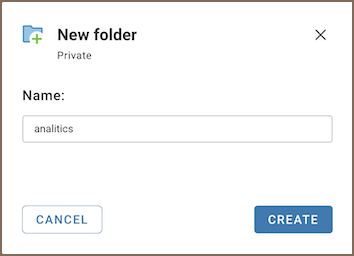
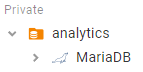
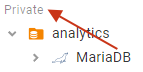
Tip: You can store Database connections in folders. For more information,
see Database Navigator folders.
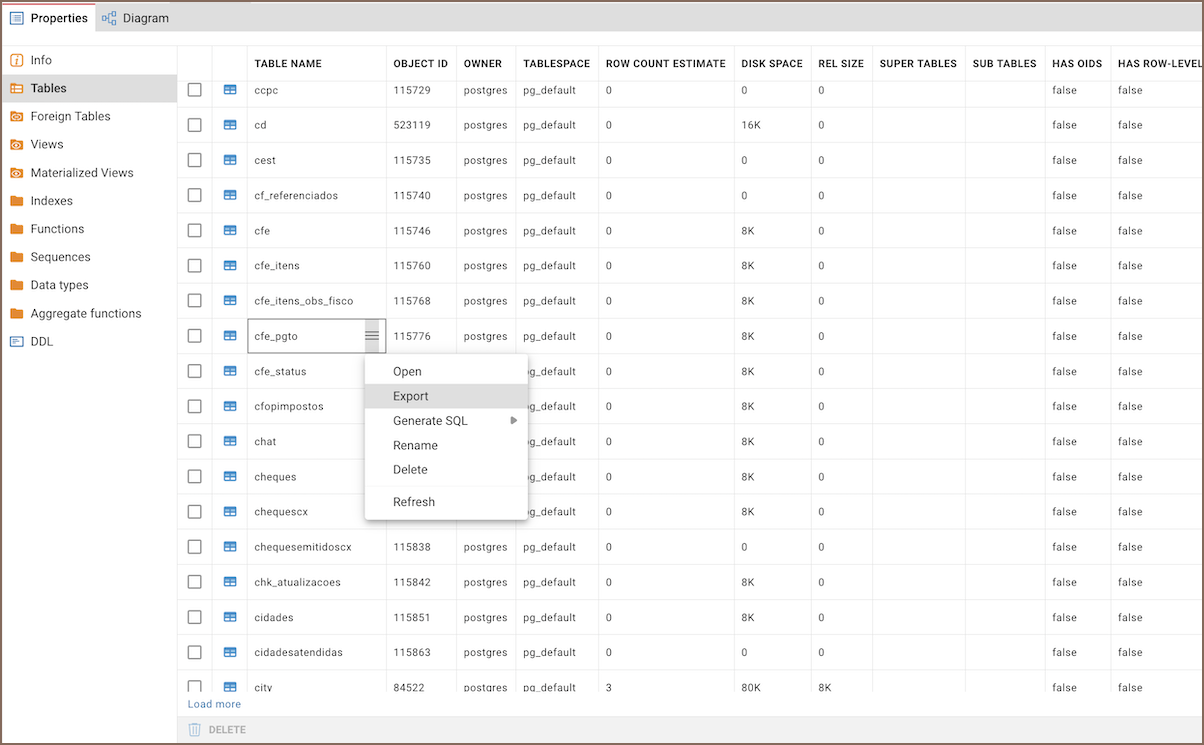
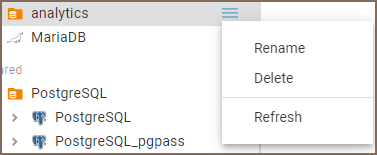
To access the context menu for an object, hover your cursor over the object in the Database Navigator and click the
sandwich button to the right of the object. You can also access the context menu by right-clicking on the object in the
Database Navigator.
The table below summarizes the available context menu items for each object type within the tree. The availability of
these items depends on the specific database and object types.
| Menu item | Description |
|---|
| Open | Opens an object in a separate Document viewer. |
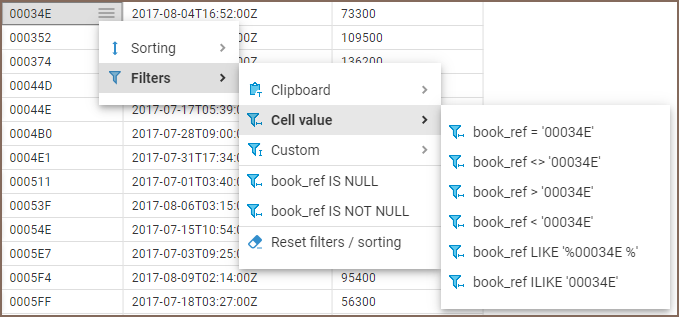
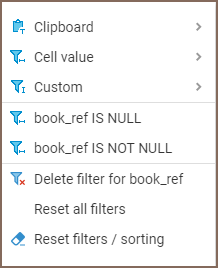
| Filter | Allows inclusion or exclusion of database objects based on specified criteria. You can apply masks (
,
and
) to define these criteria. |
| SQL Editor | Opens a new SQL Editor for the connection. For more information, see SQL Editor. |
| Connection view | Changes the view of the Database Navigator. For more information, see Simple and advanced view. |
| Edit Connection | Opens the Connection Configuration window that allows the configuration of connection settings. For more information, see Connection Configuration. |
| Disconnect | Disconnects from the database. |
| Disconnect all | Disconnects all database connections. |
| Delete | Deletes an object. The Delete action is irreversible and will remove the object from both the navigator tree and the database or file system permanently. |
| Refresh | Refreshes the object’s subnodes – mostly used for refreshing schemas. |
| Rename | Opens the Rename dialog box for an object. |
| Generate SQL | Opens a submenu on which you can select the type of SQL query to generate:
,
,
,
,
, DDL. Clicking one of the items (e.g.,
) generates a relevant query in a separate window. |
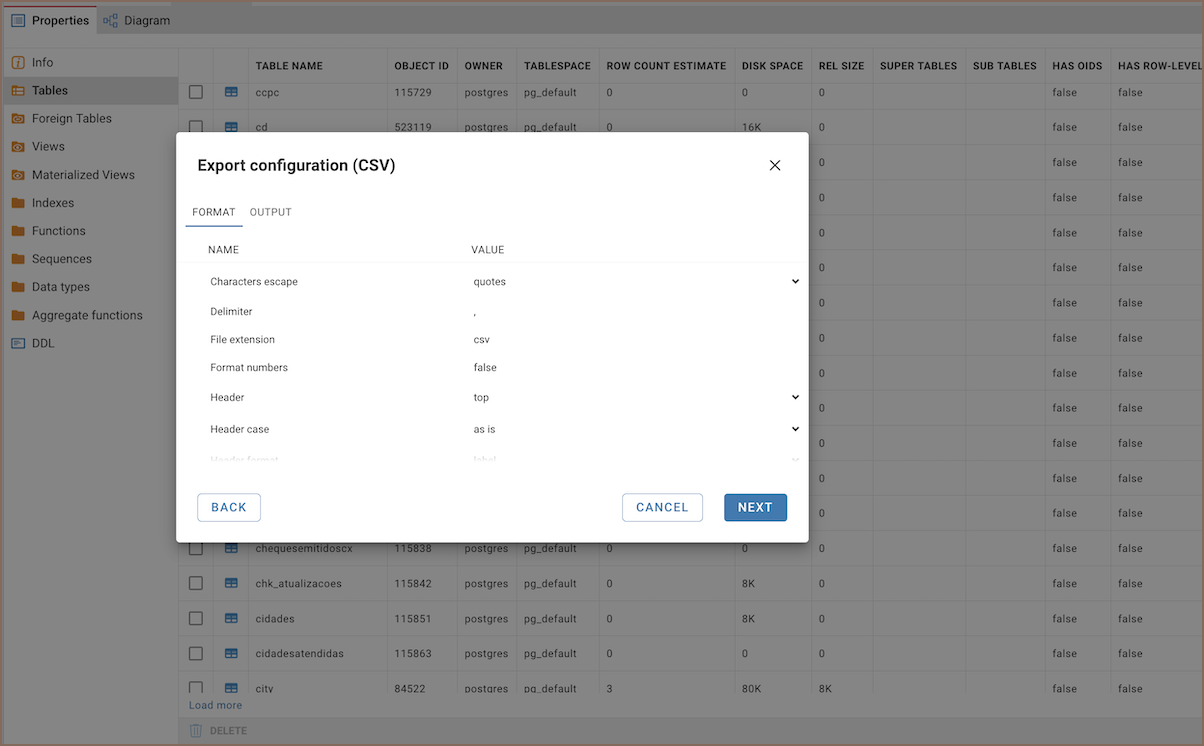
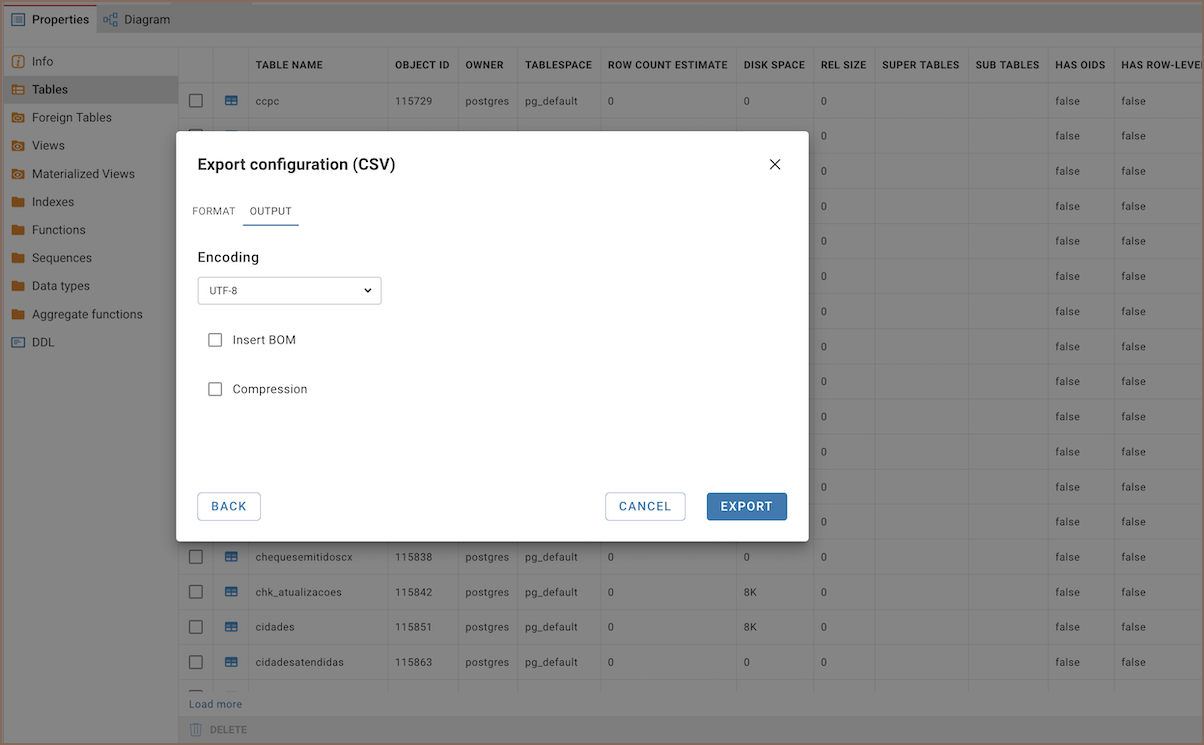
| Export | Opens the Export window for table data export. For more information, see Data Export. |
Shortcuts
| Shortcut | Description |
|---|
| Ctrl + F | Enable filtering |
| Ctrl + Shift + , | Link with editor |
| Ctrl + Shift + / | Collapse all |
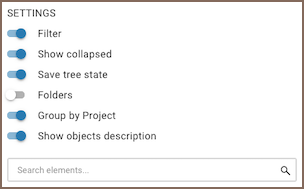
Configuring Database Navigator in the configuration file
Administrators can customize the Database Navigator settings in the
app.defaultNavigatorSettings
section of the
configuration file. These settings control the visibility and organization of database objects within the navigator.
For more information on how to adjust Database Navigator settings through the configuration file, see
the Server configuration.