How can the tree of objects in CloudBeaver help users not get lost in connections and easily keep the right databases at their fingertips?
The Database Navigator is the main feature to work with connections and the structure of databases. It is located on the left-hand side of the page and has a toolbar, the Settings menu and a tree of objects.
In this article, our hero Louis and his fellow marketers have only one task – to simplify a tree of objects. The problem is that newcomers are usually afraid to press the wrong button. They can also find that the sheer number of objects makes it difficult to find the right connection.
That is why they need to make the chaotic Data Navigator clear and simple. Our guy Louis will try to dispel their fears and show them how to make their work easier with CloudBeaver.
How to get started
No further action is actually required to access the Data Navigator. Immediately after successfully logging in, users will see a tree of objects, which displays a hierarchical representation of all the database objects.
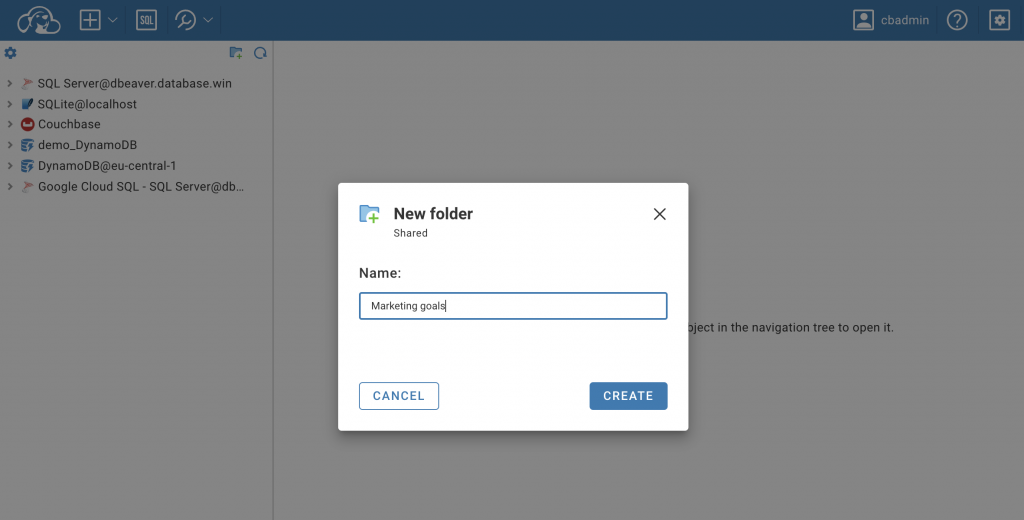
Louis then explains to his charges that the best way to organize the right connections in CloudBeaver is to have folders. They can create a folder by clicking on the ‘New Folder’ icon in the Data Navigator’s toolbar. The folder can be given a name, and for our marketers it will be in Shared projects.
Account administrators can also create folders in a private project. In this case they will only be accessible to a specific user.
Marketers now have their own folder called “Marketing goals” in the tree of objects. But they will use different connections for different tasks and advertising reports. In CloudBeaver, it is possible to divide the tasks into separate subfolders. To do this they need to click on the “New Folder” icon again.
Today they are working on a report for the orders from Canada, so the folder will have a corresponding name – “Advertising report. Canada”, which will appear in the main tree. Now heroes need to drag and drop it into the main folder, or they can click on the main folder and create a new one right inside of it.
Once the folders have been created, the team needs to move the connection they want to “Advertising report. Canada”. To do this, they can find it in the object tree and drag it into the specified folder. Louis reminds them that only the entire database can be moved, not a specific table from it. As the table with orders from Canada is in the SQLite connection, it can be moved to the created subfolder.
This might seem to be the end of Louis’ lesson, but it is not. The Save tree state is enabled by default in the Settings. This tool saves the position of the folders and connections, which means the databases they need, can never be lost.
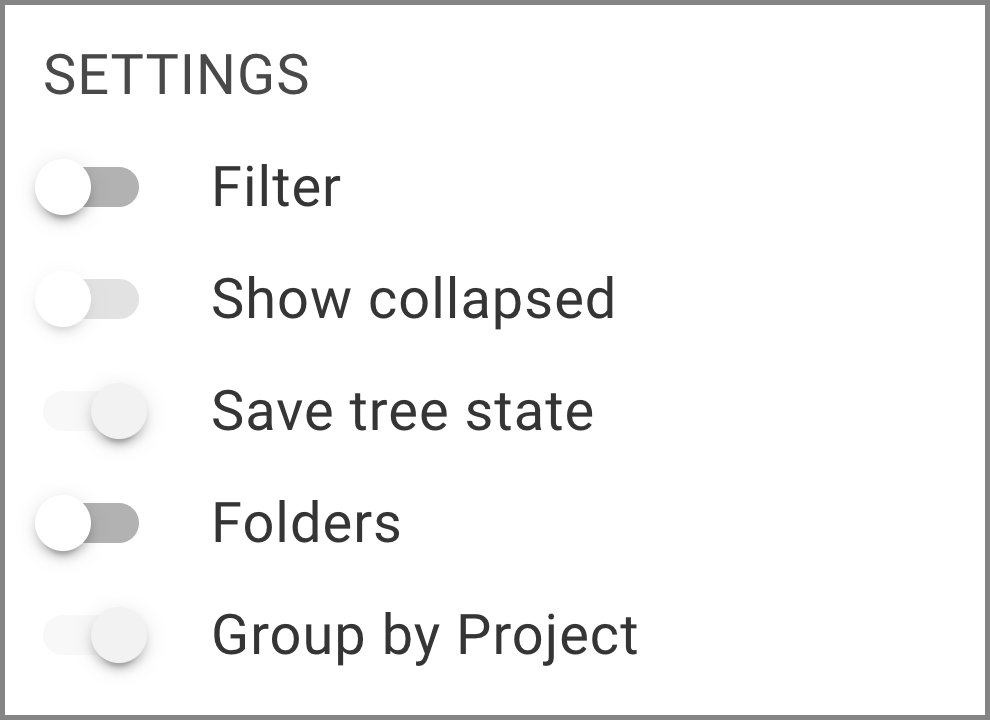
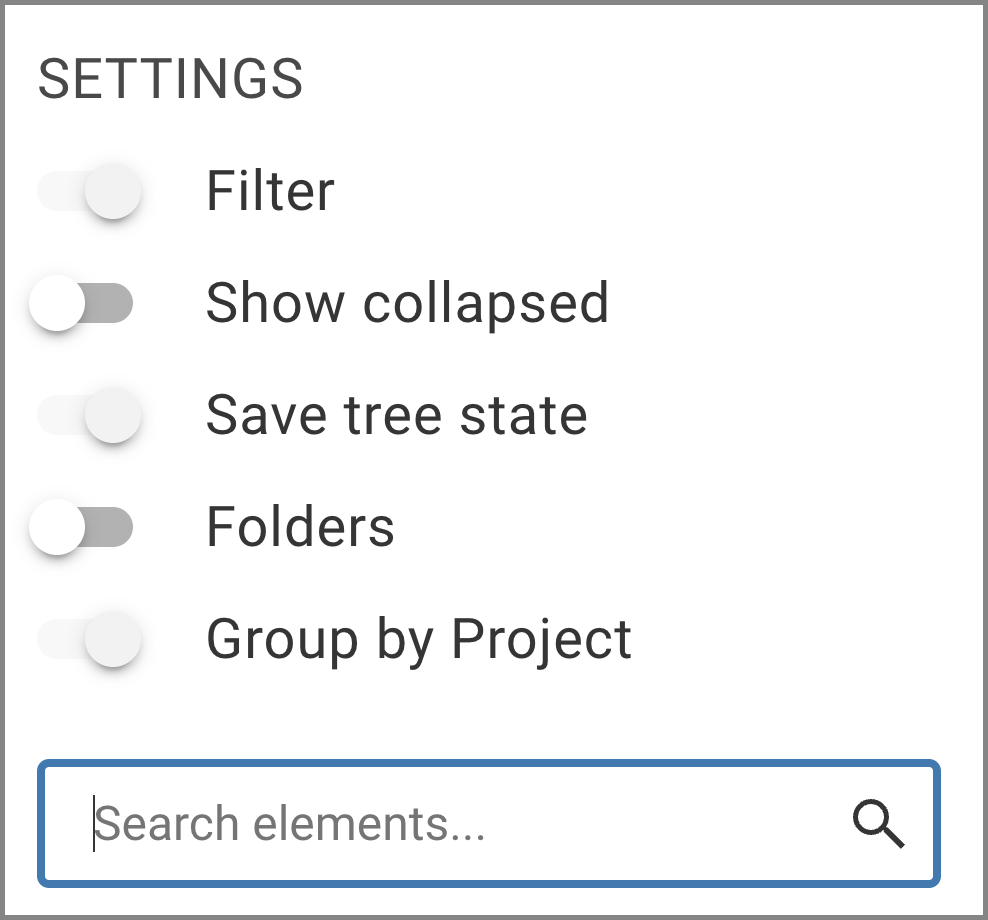
The marketers can also search for relevant connections for advertising reports using the filter field. To enable it, they need to click on the settings icon, and then turn on the slider next to the Filter.
However, creating folders and placing items in them once will take much less time than constantly entering and searching for the right database using the filter field.
If a user deletes the folder and all subfolders, nothing happens to the databases, it can be found in the tree of objects.
Louis and his colleagues accomplished their main task for today. He taught his marketers how to organise objects properly and quickly in the Data Navigator. Read about other useful CloudBeaver features for specialists of any profile in our next articles.