DBeaver PRO supports about 100 different databases and provides users with a special wizard to create connections intuitively. However, when speaking of cloud-hosted databases, there is a second way to connect — by using the Cloud Explorer feature. Today, we want to guide you through the process of connecting to Redshift, one of the most popular and comprehensive databases today.

How to Create a Redshift Connection in DBeaver PRO
To create a connection to Redshift using a standard wizard, perform the following steps.
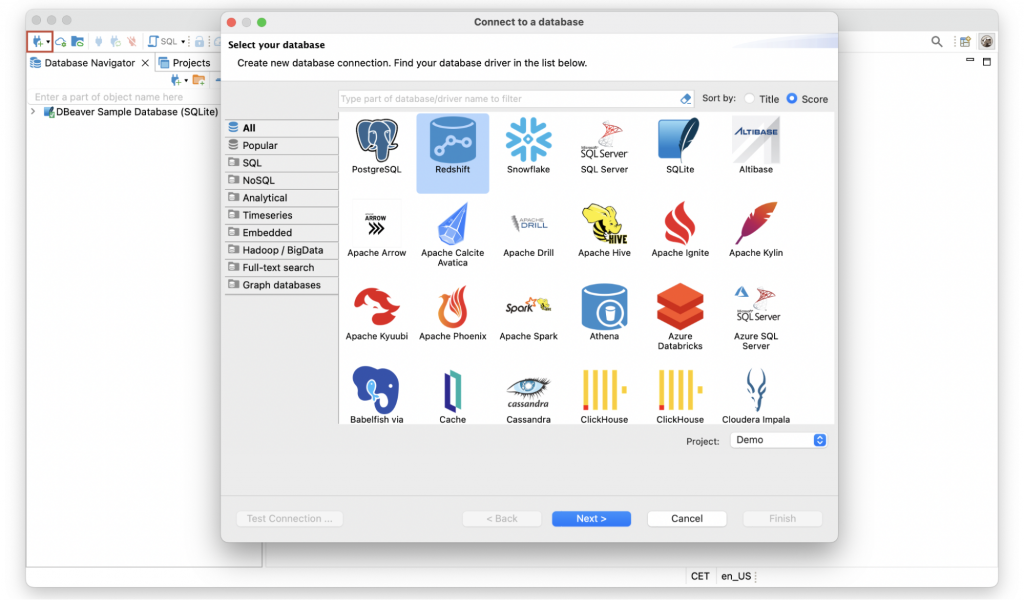
1. Open the DBeaver app and click the “New Database Connection” button at the top of the application toolbar. In the list of database drivers, choose Redshift and then click the “Next” button.
2. In the next step, you need to fill in the Host, Port and Database fields and choose the authentication method. Currently, DBeaver supports the following methods:
– Database Native;
– AWS Redshift IAM;
– PostgreSQL Kerberos;
– PostgreSQL PgPass;
– PostgreSQL SSPI.
The fields you need to fill out depend on the authentication method you choose. In our example, we select AWS Redshift IAM and choose the AWS Profile authentication method. The AWS Profile is a set of AWS Access and Secret keys in a particular region. It is usually configured by the administrator for users who are not supposed to have access to the AWS credentials.

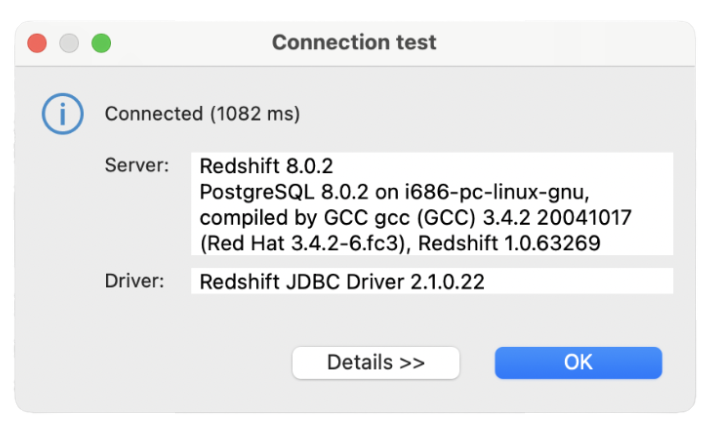
3. After completing all the settings, you can check if everything is correct by clicking the Test Connection button. If the connection can be established, you will see a window with the result and driver information displayed.
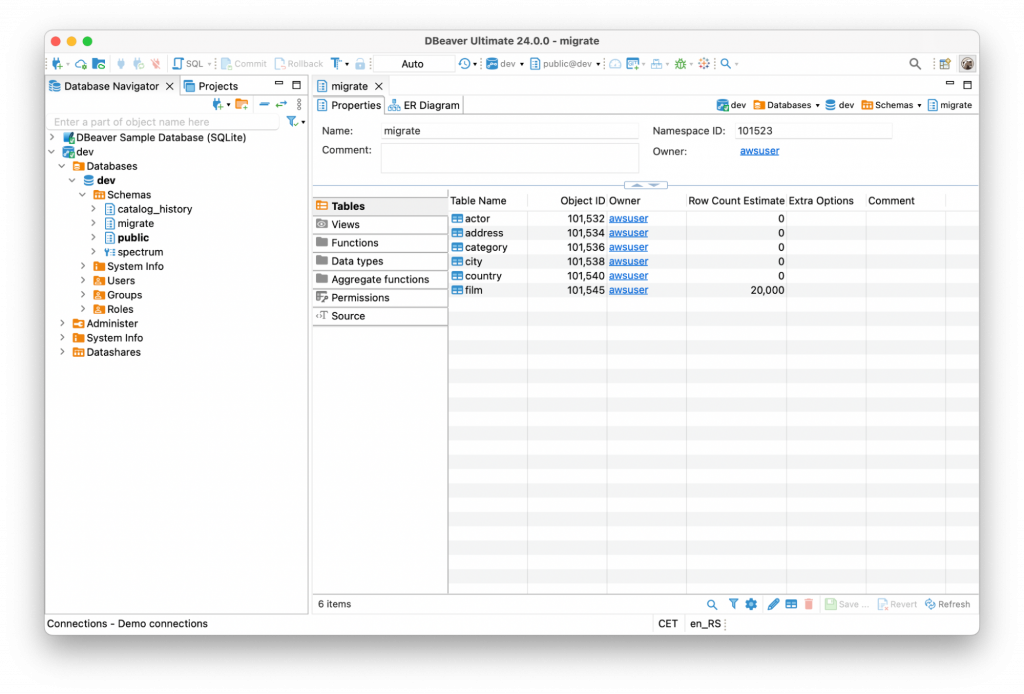
4. Finally, the last step is to click the “Finish” button. The new connection will appear in the navigation tree.
Connect to Redshift using Cloud Explorer
In addition to creating a connection using a standard wizard, you can use Cloud Explorer, which provides a single point of entry for all of your AWS databases. With this feature, you can create as many cloud configurations as you need and quickly switch between them. This way, all your cloud connections will always be at hand.
When you use Cloud Explorer to connect to a database, you first need to set up the AWS configuration in DBeaver. To create a Redshift connection using Cloud Explorer, perform the following steps.
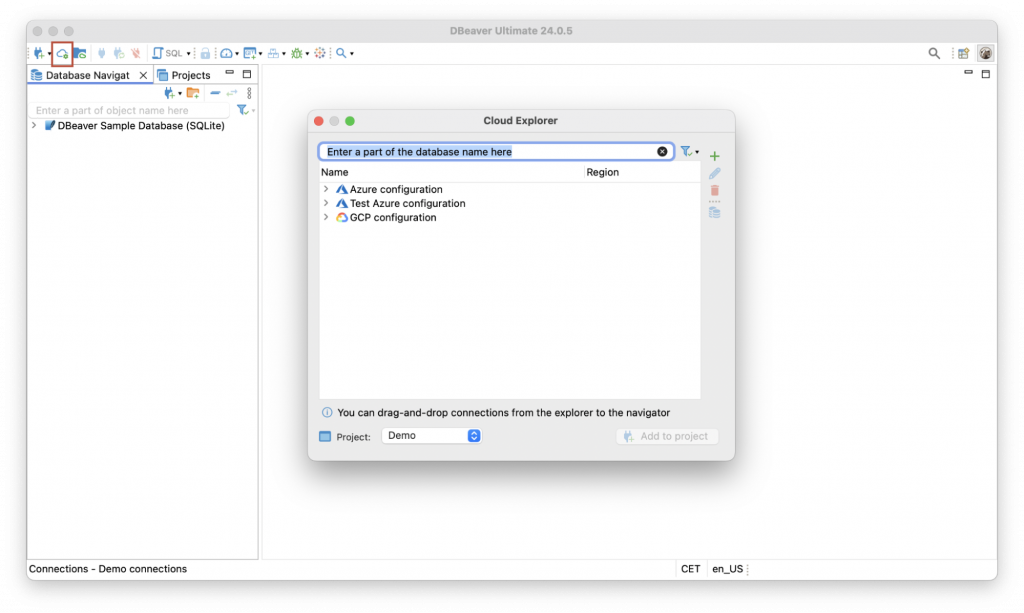
1. Start by clicking on the Cloud icon on the left part of the DBeaver top toolbar.
2. In the window that opens, click on a “Plus” button and go to the “Amazon Web Services” tab. Here, you need to choose the credentials type and pass the authentication. In our example, we use the AWS Profile.
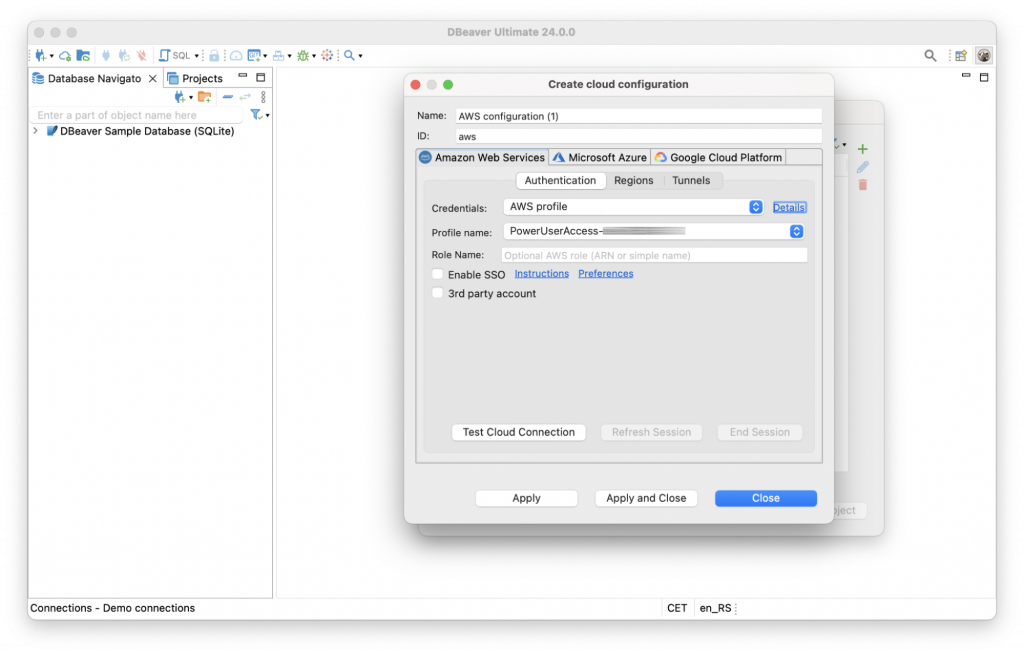
After filling in the necessary fields, just click the “Apply and close” button, and you will see the configuration you created and the available databases.

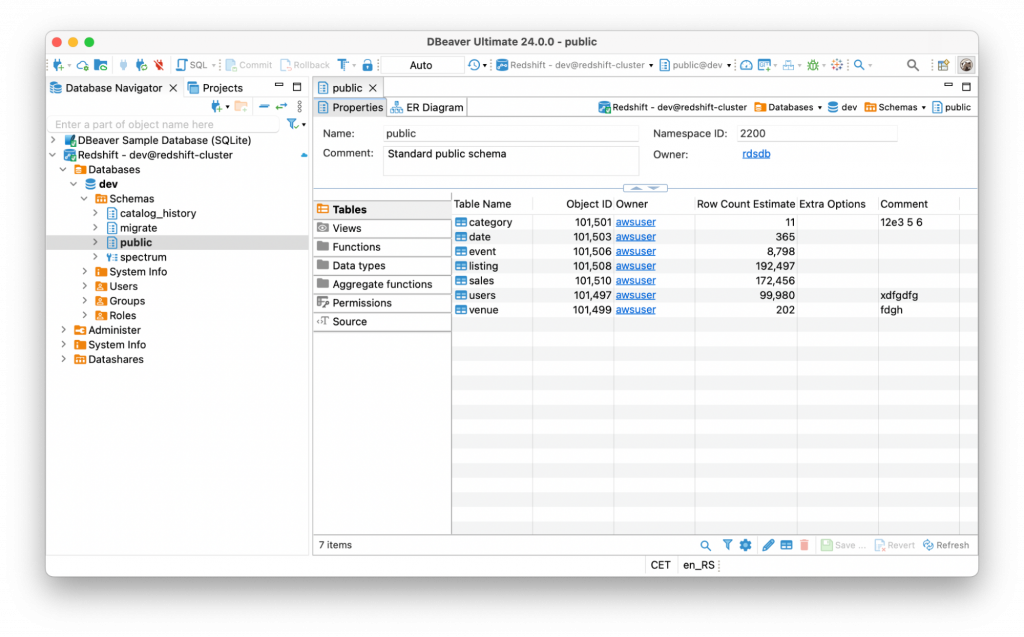
All you have left to do is to drag and drop your database from the list in Cloud Explorer to the Database Navigator. You may notice that it will be marked with a small cloud icon.
To establish a connection, you need to click the Expand button or select your database and click the Connect button on the top toolbar.
If necessary, you can create as many configurations as you need, and they will be displayed by the list. In the Cloud Explorer window, you can conveniently switch between them. To add, edit or delete the AWS configuration, click on the Plus, Pencil, or Trash button accordingly.
Let’s create one more AWS connection and see how it works. Click on the Plus button, choose the Amazon Web Services tab and enter different credentials. This time, for our example we will use the combination of Access and Secret keys.
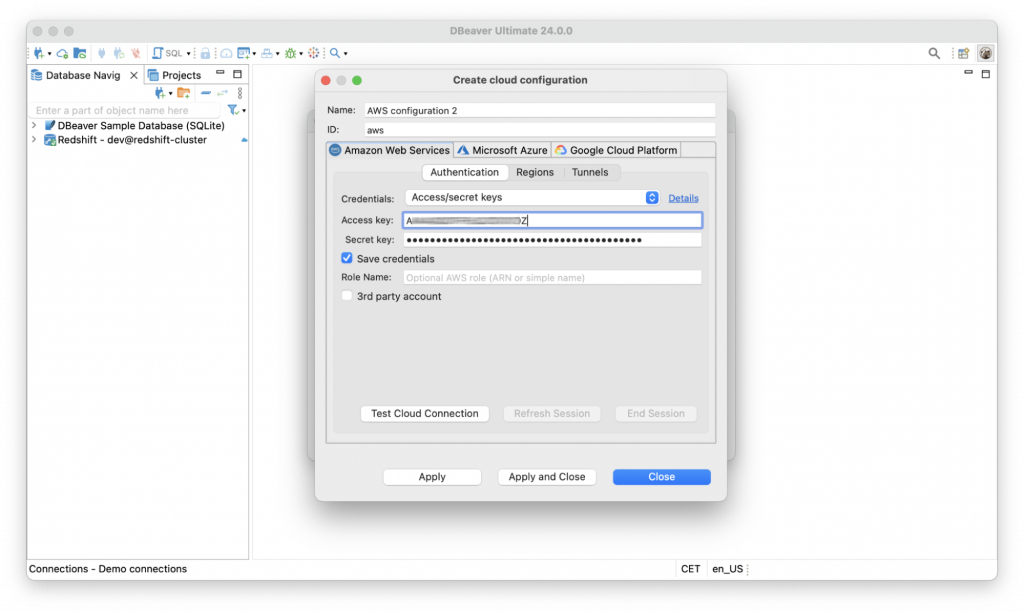
Click the Apply and close button, and you will see the second AWS configuration in your list.

Let’s drag and drop one another Redshift connection from our second configuration to the Navigation Tree.
How can you quickly find which of your Redshift connections is associated with a particular AWS configuration? To do this, open the Cloud Explorer again, select the configuration and click on the View Connections button.

To move directly to the particular connection in the Database Navigator, click on its name in the window that opens. This way, you can not only explore all the connections associated with the selected configuration but also quickly switch between them.
Using the instructions above, you can easily connect to the Redshift database using the DBeaver apps. Connecting through a standard wizard works for all our PRO products. At the same time, Cloud Explorer in DBeaver Ultimate and DBeaver Team Edition allows you not only to avoid filling out many fields but also to work with several cloud configurations and switch between them conveniently.
FAQ
What credentials are needed for a Redshift connection in DBeaver?
IYou typically need the Redshift host, database name, port (default 5439), username/password or AWS IAM credentials, depending on the authentication method you choose.
Which databases can I connect to in DBeaver PRO besides Redshift?
DBeaver PRO supports a wide range of databases beyond Redshift, including PostgreSQL, MySQL, Oracle, SQL Server, Snowflake, BigQuery, SQLite, and more. See a full list here.
Does DBeaver support ODBC drivers for database connections?
Yes, DBeaver PRO supports ODBC connections through its driver configuration system. This allows you to connect to databases that do not have a native JDBC driver available