DBeaver Ultimate and DBeaver Team Edition allows you to connect to DocumentDB databases in two ways: through a standard wizard and by using Cloud Explorer.
The main advantage of using this tool is that it provides a single entry point to all your AWS databases. Thanks to this, DBeaver can become a “mission control center” where you can work with each database in an intuitive format, transfer data from one database to another, and so on. Also, with Cloud Explorer, you do not need to enter a large number of properties in several tabs as when connecting through a standard wizard.
To start working with Cloud Explorer, you must create the AWS cloud configuration in DBeaver with the Access key and Secret key, or an AWS Profile. In the future, if some of the credentials change, you just need to edit them in one place.
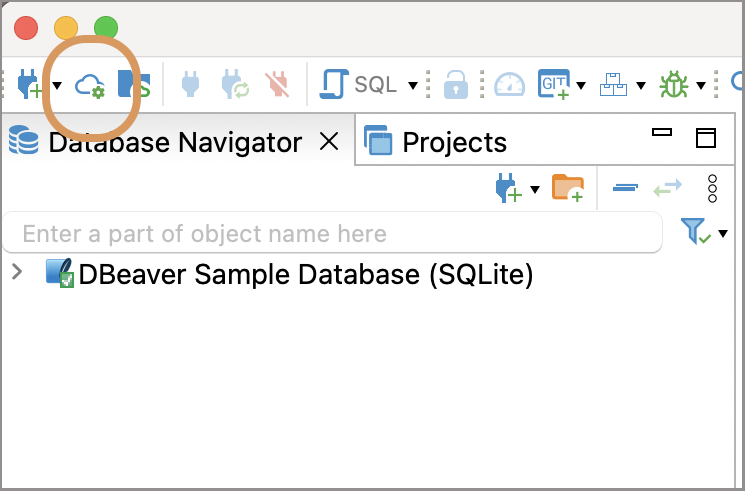
1. Start by clicking on the Cloud icon on the left DBeaver application window’s toolbar.
2. In the window that opens, you need to open the first tab, “Amazon Web Services”. You will see several fields to fill out. Here you can select the authentication method from the dropdown list.
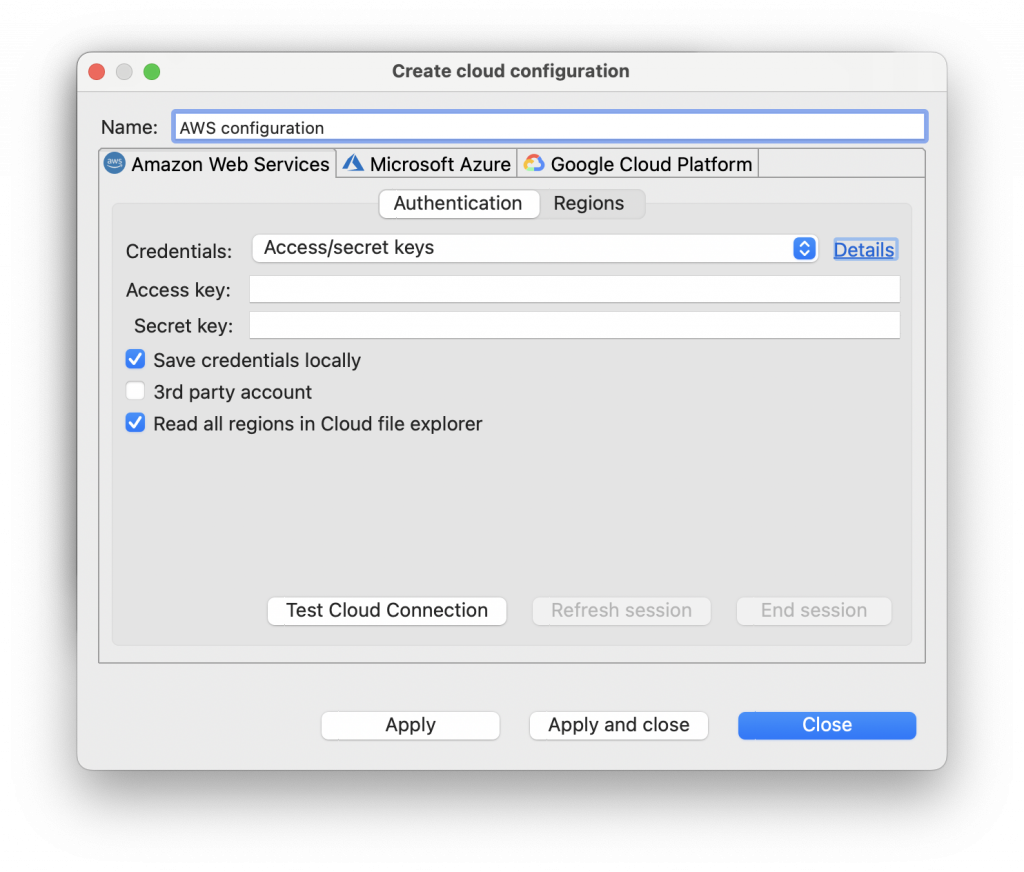
By default, it is the Access key and the Secret key, which are used to sign programmatic requests that you make to AWS. Not every employee in the company can be provided with an access key and secret key. In this case, you can use the second authentication method – an AWS profile hardwired into AWS SDK. It is considered more secure in terms of Amazon, and you only need to know the Profile name to use it.
3. Pay attention to the Regions tab. By default, only one region corresponding to the user is selected to accelerate the work of Cloud Explorer. If you know exactly where the databases are located, you can use the checkboxes to select the needed options.
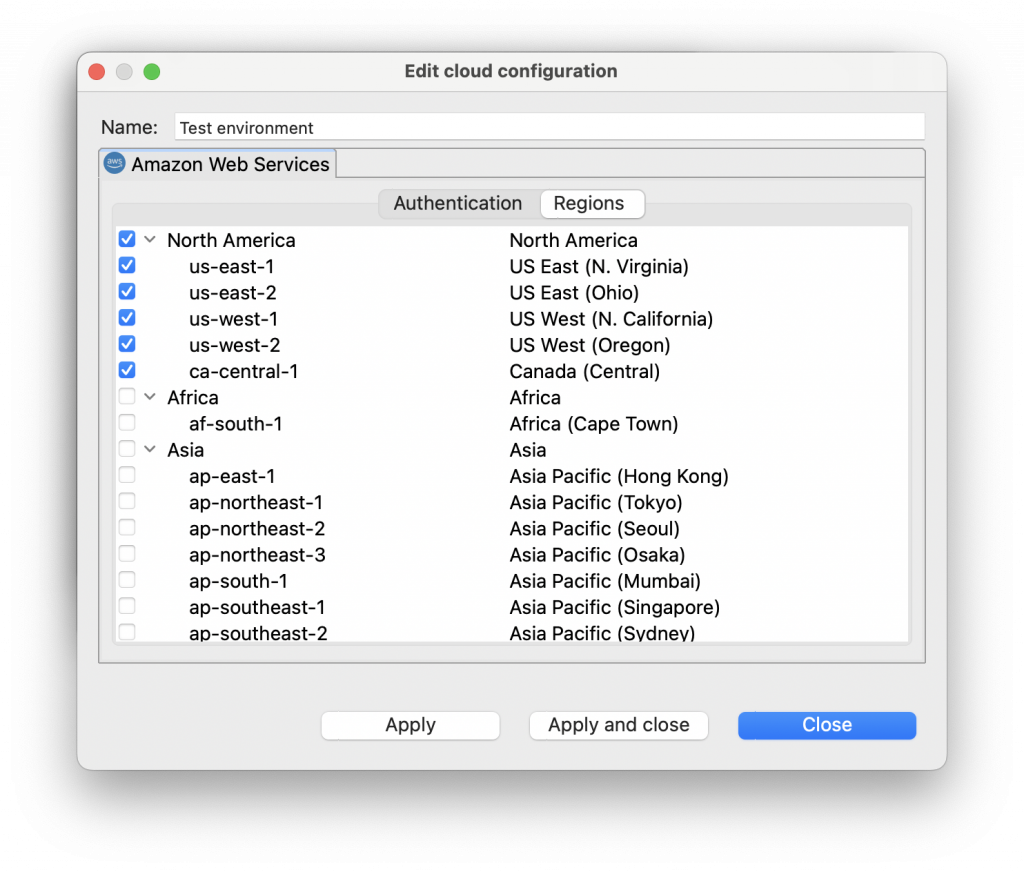
Otherwise, you can check all possible regions and change the selection by editing the configuration in the future. But please keep in mind that a large number of selected regions can negatively affect the performance of Cloud Explorer. If a new region comes up later, you can add it at any time.
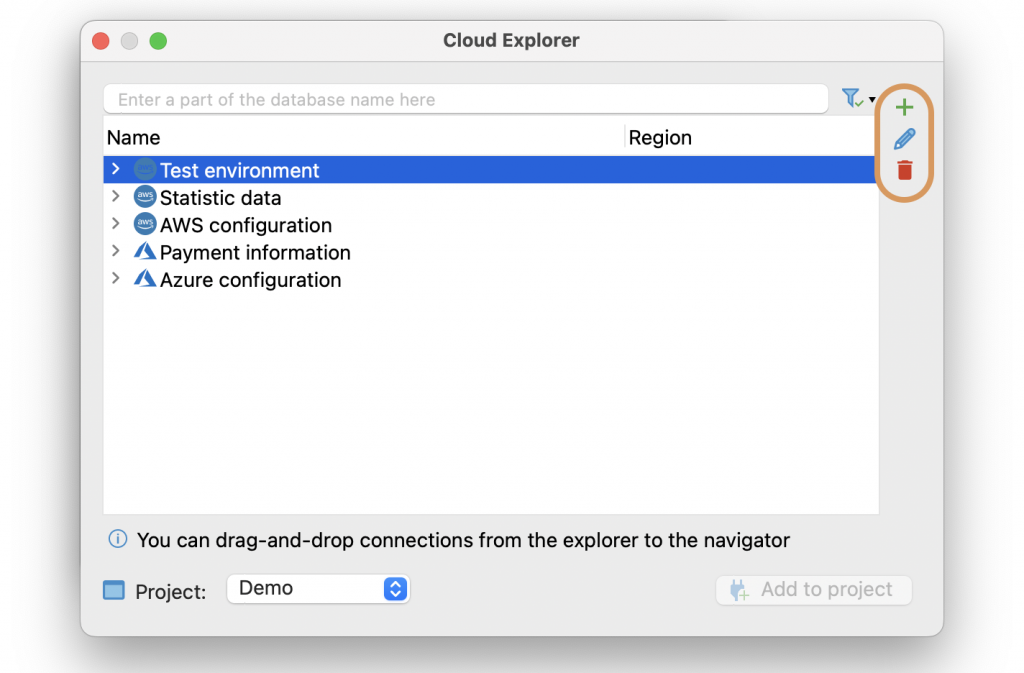
4. After filling in the required fields and selecting the necessary regions, click the Apply and Close button. You will see a window with your configuration. If necessary, you can create as many configurations as you need, and they will be displayed by the list. In the Cloud Explorer window, you can conveniently switch between them.
To add, edit or delete the AWS configuration click on the Plus, on the Pencil, or on the Trash button accordingly.
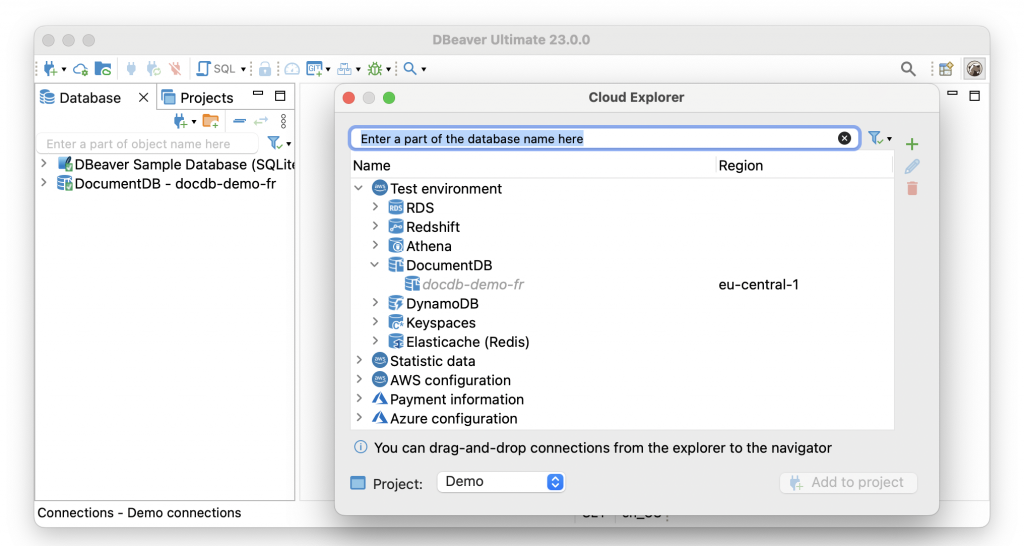
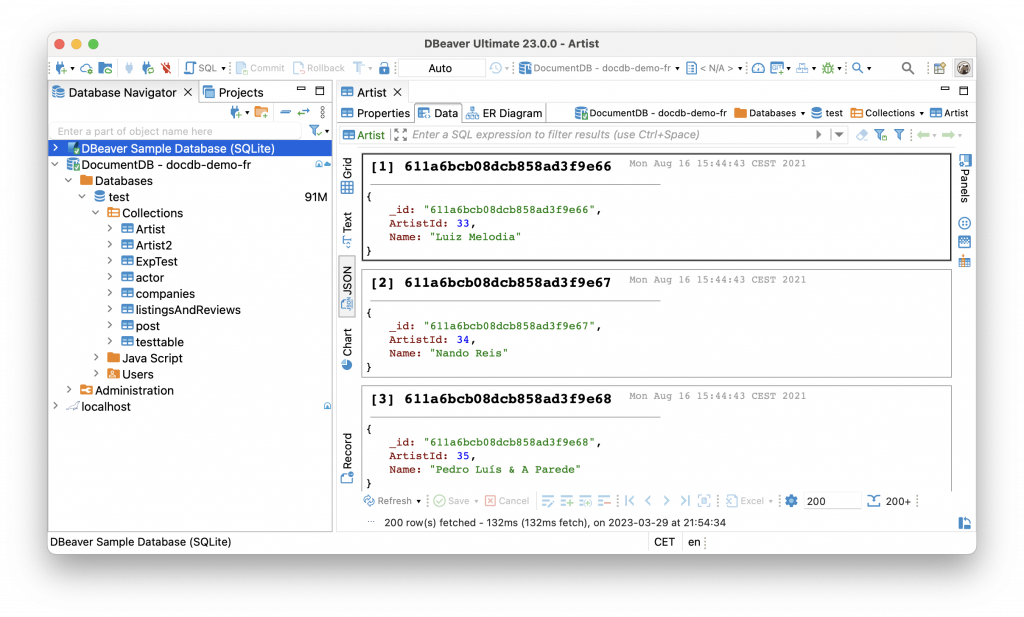
These are all the settings you need to make. The databases you add to the tree will be marked with a small cloud icon. Now you can connect to any of them by clicking on the expand icon.