CloudBeaver Community Edition Edition supports many popular databases out of the box. However, there are instances where you
need to add a new driver, especially if the database is less popular or if a custom driver has been developed by your
company.
This instruction describes how you can add a custom database driver to CloudBeaver Community Edition Edition.
Introduction
CloudBeaver Community Edition is based on the DBeaver platform. It reuses drivers provided by DBeaver plugins.
Thus, you cannot add a driver which is not configured in some DBeaver plugins.
Out of the box, DBeaver supports more than 50 different database drivers. Some of them are pre-configured in CloudBeaver Community Edition as well, and some are not.
Generally, adding a new driver in CloudBeaver Community Edition consists of two steps:
- Add driver in DBeaver
- Configure this driver in CloudBeaver Community Edition
If a driver is already included in DBeaver, then you can skip the first step.
DBeaver downloads database drivers (JDBC) on demand (after the first attempt to connect to the database). This approach does not work in CloudBeaver Community Edition, mostly because the driver download may require some user interactions + access to external resources + some local file system permissions.
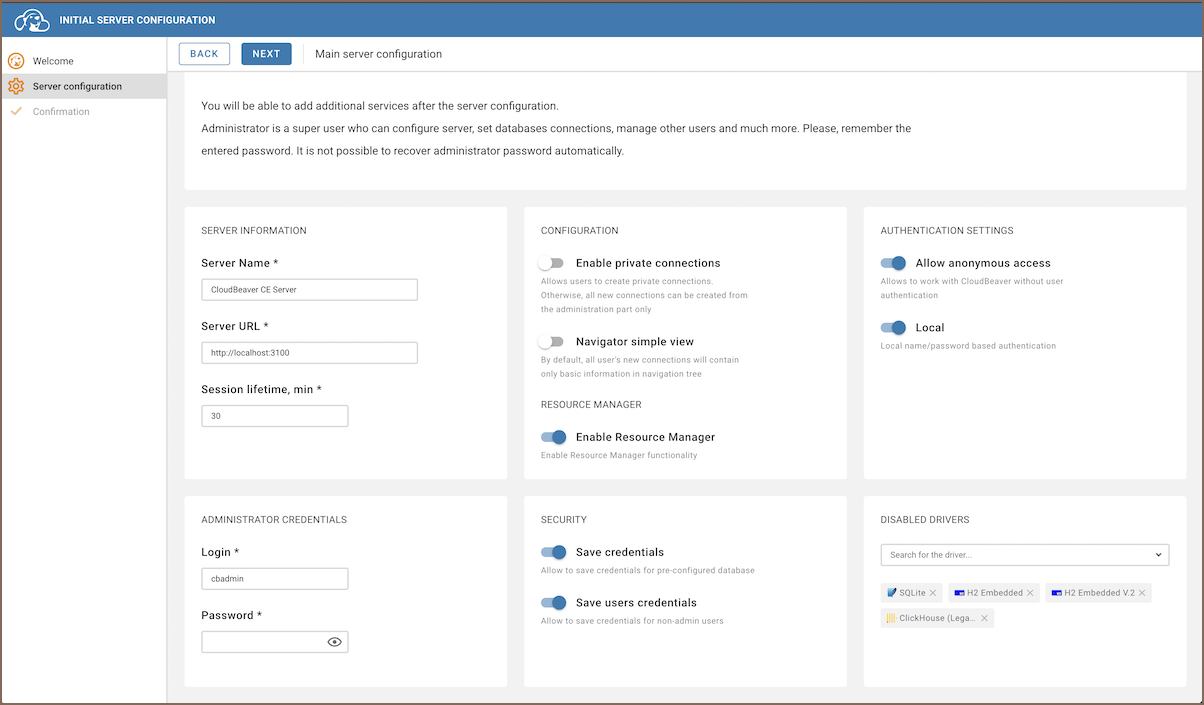
CloudBeaver Community Edition must have all driver jars pre-downloaded in the folder set as
in the
Server configuration. By default, it is a directory
in the root of CloudBeaver Community Edition deployment.
Configuring drivers in DBeaver
The driver descriptions are usually located in the DBeaver’s
files. You can search the string
there and find a bunch of examples.
Like this:
    <extension point="org.jkiss.dbeaver.dataSourceProvider">

        <datasource id="postgresql" label="PostgreSQL" ...>

            ....


            <drivers managable="true">

                ...

                <driver

                    id="postgres-jdbc"

                    label="PostgreSQL"

                    icon="icons/postgresql_icon.png"

                    iconBig="icons/postgresql_icon_big.png"

                    class="org.postgresql.Driver"

                    sampleURL="jdbc:postgresql://{host}[:{port}]/[{database}]"

                    useURL="true"

                    defaultPort="5432"

                    defaultDatabase="postgres"

                    defaultUser="postgres"

                    webURL="https://jdbc.postgresql.org/"

                    propertiesURL="https://jdbc.postgresql.org/documentation/head/connect.html#connection-parameters"

                    description="%driver.postgresql.description"

                    categories="sql">

                    <file type="jar" path="maven:/org.postgresql:postgresql:RELEASE[42.2.25]" bundle="!drivers.postgresql" />

                    <file type="jar" path="drivers/postgresql" bundle="drivers.postgresql" />


                    <parameter name="serverType" value="postgresql" />

                    <property name="loginTimeout" value="20" />

                    <property name="connectTimeout" value="20" />

                </driver>

                ...

            </drivers>

        </datasource>

    </extension>
It is the actual PostgreSQL driver definition (irrelevant configuration elements were skipped).
The full driver ID is
. It is made up of two parts: the data source provider ID and the driver definition ID.
Note: for most non-standard drivers, you must add a new driver definition to the Generic plugin (
org.jkiss.dbeaver.ext.generic
) because it only works with plain JDBC API.
Adding driver definition in UI (optional).
You can add a new driver configuration manually in the plugin.xml. But you can also generate this configuration in the DBeaver user interface.
Adding custom driver configuration in the UI is described here: Database Drivers.
After that, you can find your driver definition in the
(see
Administering drivers ). Then, you can copy it into the appropriate plugin.xml file.
Maven
All drivers need some 3rd party jar files (actual driver executable code).
For CloudBeaver Community Edition, 3rd party jars must be in a public Maven repository (Maven Central is preferred). Line
<file type="jar" path="maven:/org.postgresql:postgresql:RELEASE[42.2.25]">
refers to an external Maven artifact that must contain the driver jar files.
Drivers and bundles
In the driver definition example (see above), you can see two lines:
<file type="jar" path="maven:/org.postgresql:postgresql:RELEASE[42.2.25]" bundle="!drivers.postgresql" />

<file type="jar" path="drivers/postgresql" bundle="drivers.postgresql" />
The first one refers to the actual Maven artifact. The Second one refers to some weird path
. What does it mean?
The DBeaver Community does not contain any drivers’ jars. It downloads them on demand. But DBeaver EE and CloudBeaver Community Edition, and other products may contain drivers out of the box, so users will not need to download them.
These two lines configure the driver for these two different situations. If you do not plan to include your driver configuration in DBeaver, then you may skip the first line.
Testing and contributing (optional)
After you add your new driver in plugin.xml, you must be able to connect to your database in DBeaver UI by choosing your new driver in the new connection wizard:
- Build the DBeaver desktop app (run
in the root folder).
- Run the dbeaver executable in the product/standalone/target/products/…/dbeaver folder (path differs for different OSes).
- Open the “New Connection” wizard. Configure your connection and click the “Test Connection” button.
If everything is fine then you can create a Pull Request and contribute your changes in the main DBeaver repository. This part is optional, you can leave everything in your local version or your forked version of DBeaver. In this case, you will need to fix the CloudBeaver Community Edition build script (the default build script uses the main dbeaver repository as a platform source code).
Tip: For detailed guidelines, see Contribution Guide.
You need to configure the driver in CloudBeaver Community Edition separately because it does not include all existing drivers from DBeaver.
Adding Maven artifact
You must include a driver in the server build. All 3rd party jars must be available for the server during the startup. By default, the CloudBeaver Community Edition build script downloads 3rd party jars from Maven Central, but you can add a custom logic there.
- Explore directory server/drivers.
- Create a new sub-folder
. You can copy-paste some existing driver directory for simplification.
- Add the
file to the new directory. It is a standard Maven pom. It can look like this:
<project xmlns="http://maven.apache.org/POM/4.0.0" xmlns:xsi="http://www.w3.org/2001/XMLSchema-instance" xsi:schemaLocation="http://maven.apache.org/POM/4.0.0 http://maven.apache.org/xsd/maven-4.0.0.xsd">

  <modelVersion>4.0.0</modelVersion>

  <artifactId>drivers.postgresql</artifactId>

  <version>1.0.0</version>

  <parent>

      <groupId>io.cloudbeaver</groupId>

      <artifactId>drivers</artifactId>

      <version>1.0.0</version>

      <relativePath>../</relativePath>

  </parent>

  <properties>

      <deps.output.dir>new-driver-id</deps.output.dir>

  </properties>

  <dependencies>

      <dependency>

          <groupId>new.driver.vendor</groupId>

          <artifactId>new-driver-artifact.id</artifactId>

          <version>new-driver-artifact-version</version>

      </dependency>

  </dependencies>

</project>
Add your new driver id (equal to the new directory name) to the main server/drivers/pom.xml in the
section.
Include driver in server configuration
- Open file server/bundles/io.cloudbeaver.resources.drivers.base/plugin.xml
- Add line
<resource name="drivers/new-driver-id" />
- Add line
<bundle id="drivers.new-driver-id" label="New driver files" />
- Add line
<driver id="full-driver-id" />
That’s it.
Deploy and test
See Build and deploy. Then just run the
script in the
folder. You will get your brand new driver included in the CloudBeaver server configuration.
Start the server. Examine log files – if something goes wrong, you will see warnings or error messages in the server log.