Projects
In Team Edition, projects serve as organizational units for managing and sharing database resources. These resources include database connections, tasks, SQL scripts, diagrams, datasets and bookmarks.
Note
In Team Edition, projects are shared. Access to each project is managed by an administrator.
Administrators maintain full visibility over all projects, except for those marked as private. They control project access by assigning users and roles, which defines who can view or work with the project’s resources.
The visibility, editing permissions, and other interactions with the project's resources can vary depending on the user's permissions.
Projects management
The user interface (UI) for managing projects in Team Edition may differ slightly between the web and desktop versions. However, the functionality remains consistent across both platforms, ensuring a uniform user experience, except for the Multiple projects feature.
Note
Viewer and Editor roles are not supported in the desktop version of Team Edition. For more information on user roles, refer to role management article.
Create new project
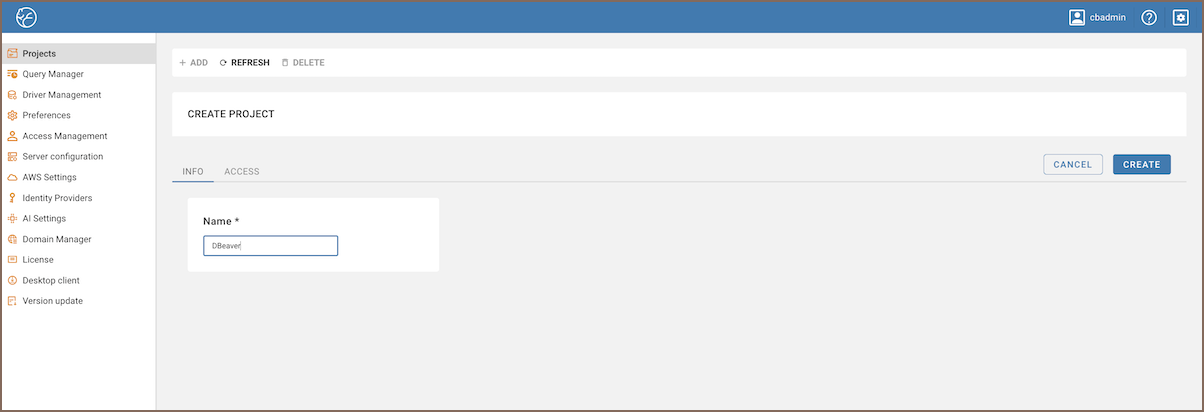
- As administrator, go to Settings -> Administration.
- Click on the Projects tab.
-
Click the + Add button and enter the project name.
-
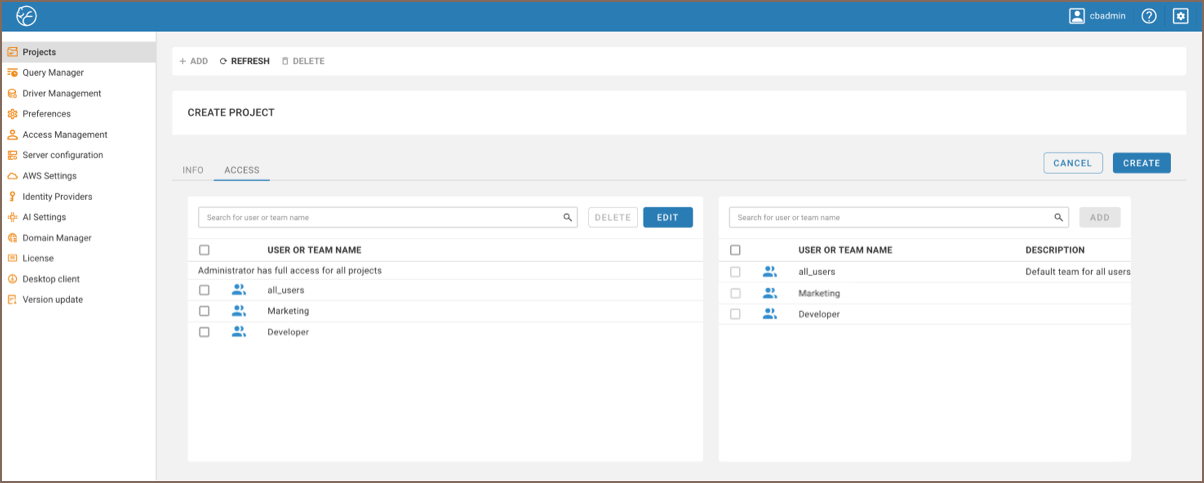
For access permissions, go to Access, click Edit, and select users or teams.
-
To add users or teams, check the box next to their names and click the Add button.
-
As administrator, navigate to the Projects view.
Tip
If the Projects view is not open, access it by going to Window -> Projects.
-
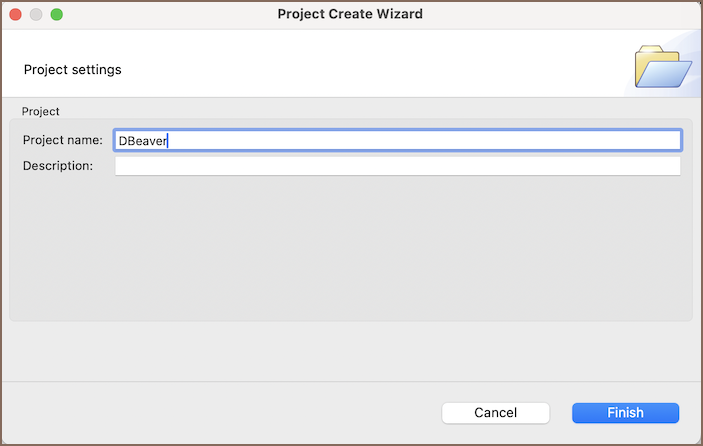
Click on the Create Project button
 .
. -
Enter the project name and provide a description (optional).
-
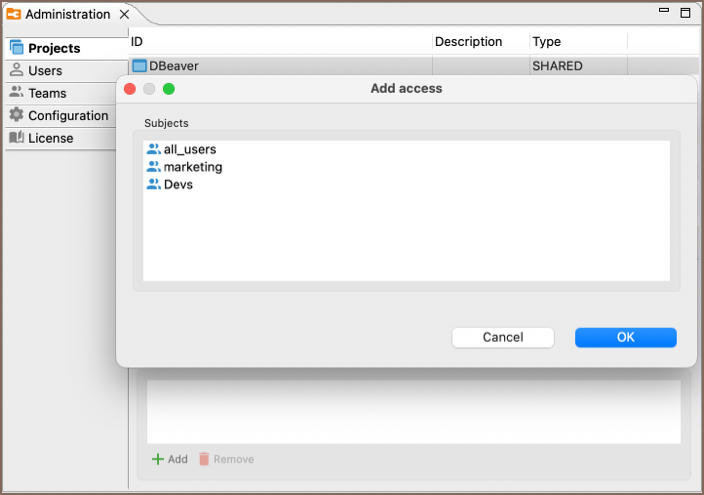
For access permissions, go to Window -> Show View -> Administration, and select the newly created project.
-
To add users or teams, press the + Add button, choose one or more users/teams, and click OK.
Edit access
- As administrator, go to Settings -> Administration -> Projects and select the project.
- Select the Access tab.
- To modify access permissions:
- To add new users or teams, click Edit, check the box next to their names in the right window and click the Add button.
- To remove existing users or teams, select them in the left window and click the Delete button.
- As administrator, navigate to Window -> Show View -> Administration.
- Select the Projects tab.
- To modify access permissions:
- To add new users or teams, press the + Add button, choose one or more users/teams, and click OK.
- To remove existing users or teams, select them in the Access window and click the Remove button.
Tip
You can also manage project access directly through the Users and Teams configuration interfaces.
Delete project
- As administrator, go to the Settings -> Administration -> Projects.
- Select the checkbox next to the project you wish to remove.
- Click on Delete button.
- Confirm the deletion to permanently remove the project.
- As administrator, navigate to the Projects view.
- Select the project you wish to remove, right-click on it, and click Delete button.
- Confirm the deletion to permanently remove the project.
Importing projects
Administrators can import projects from DBeaver Community, Lite, Enterprise, or Ultimate editions into Team Edition. For more information, see Team Edition Migration.
How to switch between projects
To switch between different projects you have access to, click the Project Selector button, located in the Toolbar.

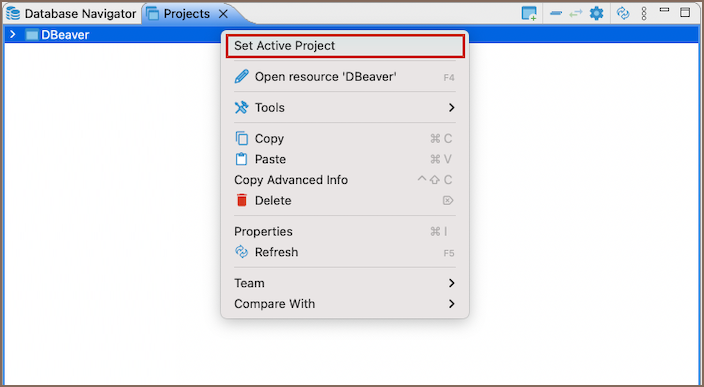
In the desktop version, access the Project view to see all the projects available to you. To open a project and make it active in the Database Navigator, right-click on the desired project and select Set project as active.
Note
Depending on the selected project, a different set of database connections, tasks, SQL scripts, Diagrams, datasets and bookmarks will be displayed.
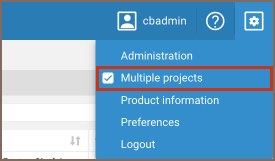
Multiple projects
Note
This feature is only available in the web interface of the Team Edition.
You can display multiple projects simultaneously in the Database Navigator.
To enable this feature:
-
Use the checkbox Multiple projects in Settings to allow multiple projects in the Database Navigator.
-
Choose the projects you want to see in your Database Navigator. Click the Project Selector button, located in the Toolbar.
Private project
By default, users have a project named Private where they can create connections, scripts, tasks, diagrams, bookmarks and
datasets that are not visible to the administrator. This project operates as a personal space, safeguarding sensitive
information and providing a workspace free from disturbances.
To enable or disable the creation of private projects, an administrator needs to go to Settings -> Administration -> Server Configuration and toggle Enable private connections.
To access your private project, select the Private project using the Project Selector button. If you have enabled the
Multiple projects feature, you can open several projects simultaneously, including your private one.
To access your private project in the desktop interface, navigate to the Private project in the Project view,
right-click on it and select Set project as active.