Managing Truststore Settings
Note: This feature is available in Lite, Enterprise, Ultimate and Team editions only.
Table of contents
You can manage trust store settings in DBeaver to enable secured driver downloads and establish SSL connections. This is achieved by adding or removing certificates from the Custom Truststore. Certificates are integral to establishing secure connections, allowing necessary driver files to be downloaded, and enabling SSL connections to databases. Without the appropriate certificates, you might encounter an error message.
System-specific Features
On Windows operating systems, a system-specific trust store, known as the Windows Truststore, is available. However, this is a read-only trust store.
Note: You cannot import any certificates into this system trust store, it will appear empty. This Windows-specific the option does not display on MacOS or Linux systems.
Viewing certificates is permitted for the Java Truststore, but modifications are impossible.
To modify or manage certificates, DBeaver provides the Custom Truststore.
Managing Certificates
Import Certificates
To import a certificate into the Custom Truststore, follow the steps below:
1) Navigate to Windows -> Preferences -> General -> Security -> Certificates Trust Store and click the Import button.
2) Browse your file system, locate the certificate file (.cer or .crt), and select it.
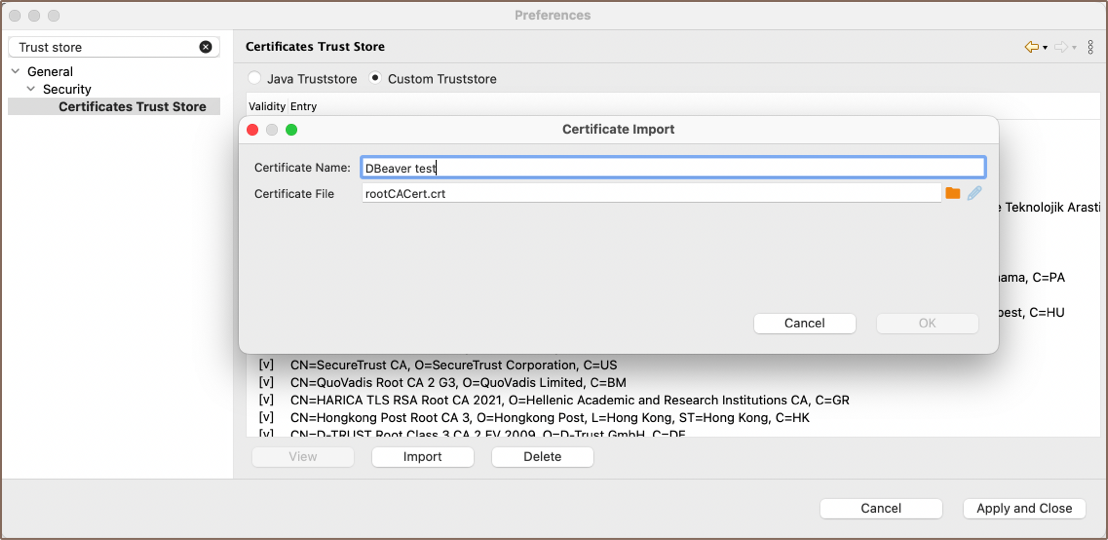
3) Assign an alias to the certificate and click OK.

4) After applying changes to the trust store and clicking Apply and Close, DBeaver prompts a dialog suggesting a restart for the trust store changes to take effect.
Once a certificate is added to the trust store, it enables secure connections and authentication. You can verify the validity of a certificate based on its expiration date.
Viewing and Deleting Certificates
In the Custom Truststore section, select the certificate and click the View button to see detailed information about the certificate. If you need to remove a certificate from the trust store, select the appropriate certificate and click the Delete button.