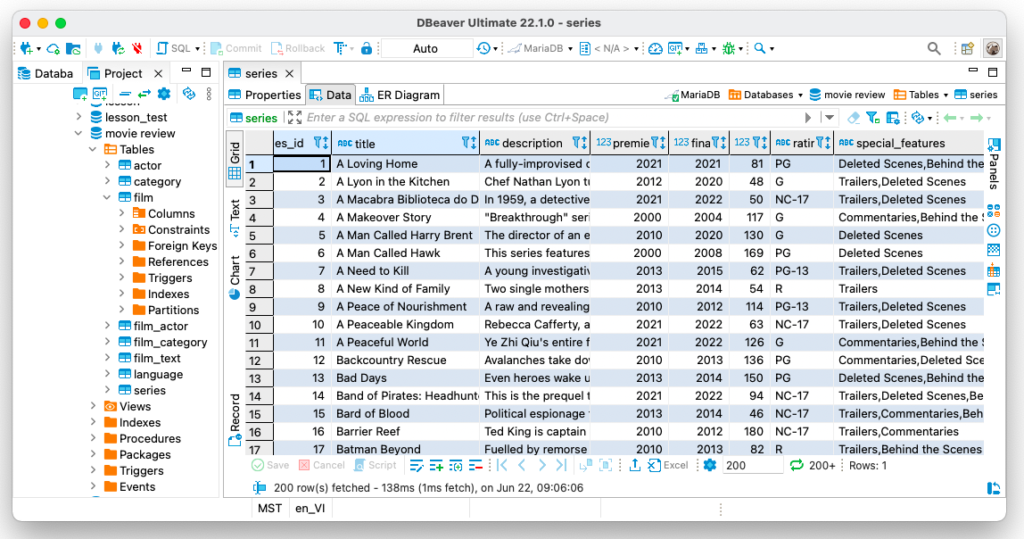
Our readers are already familiar with Louis, who not only uses DBeaver for his work but also uses it for his favorite hobby. He has a website where he regularly publishes information about films, and he stores all the necessary data in a database. Louis realized one day that it was not only he but also his readers who were interested in information about popular TV series.
Louis knows that some actors star in both films and TV series, and it’s convenient for him to add a new table to an existing catalog. The problem is that our friend Louis stores all the information about the series in an XLSX format. Is it possible to import data from it without wasting much time? Yes, it’s quite simple, and today we will tell you how Louis has solved this issue.
How to upload data
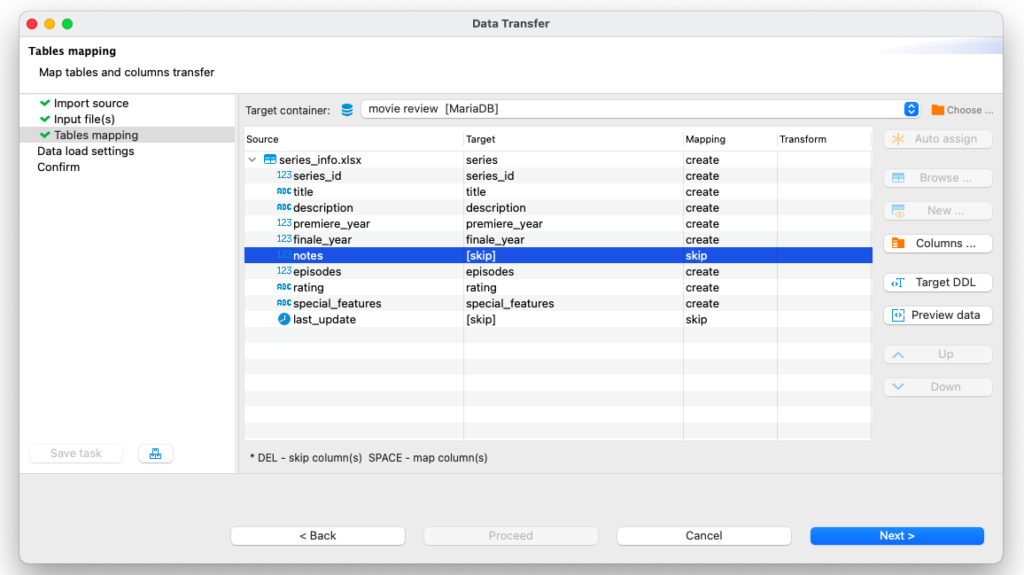
Louis collected information about the TV series in an excel format before he started working with DBeaver. His file already contains all the necessary columns but our hero does not want to transfer some of them to the database as they were created for his personal use and are not relevant to the site visitors. To quickly load only the data that he needs for the site, he can use DBeaver’s data import feature.
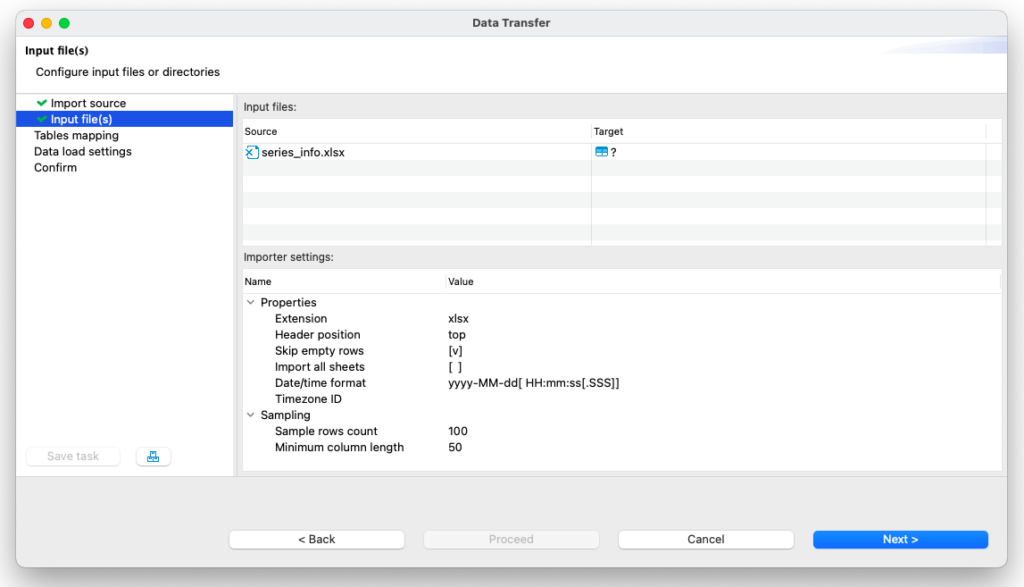
First, Louis needs to right-click on the connection in the navigation tree and select “Import data”. Using the wizard window that opens, he can upload his XLSX file from his hard drive.
DBeaver PRO supports the import of files in CSV, XLSL and XML formats.
The Community version only works with the CSV format.
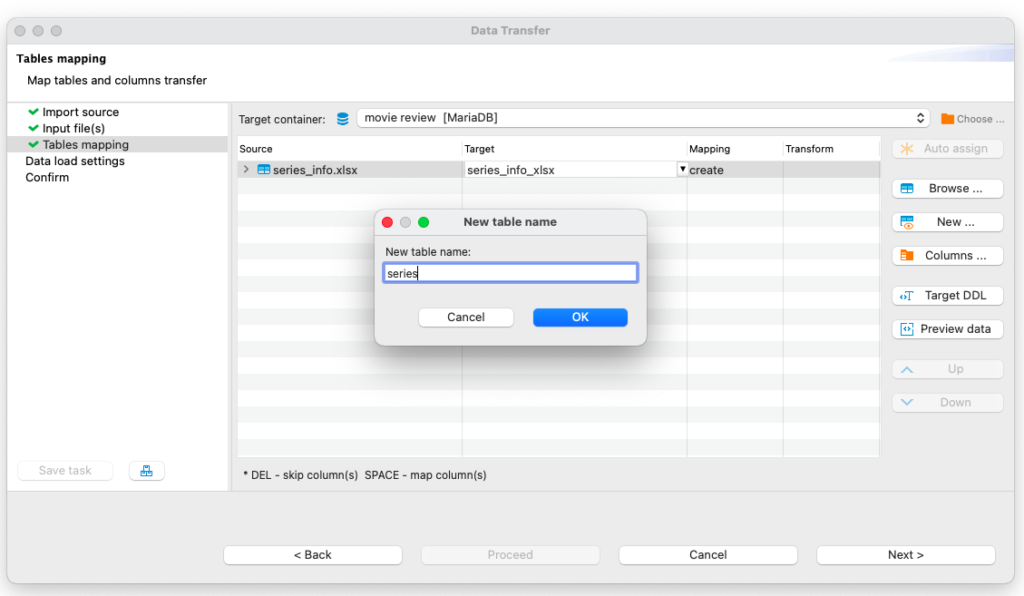
Louis has a file with all the necessary data, however, there is still no suitable table in the database yet. He can create it now by clicking on the NEW button and entering the desired name.
Also at this step, our hero can exclude unnecessary columns from the import. To do this, he just needs to select a column and click the DEL button.
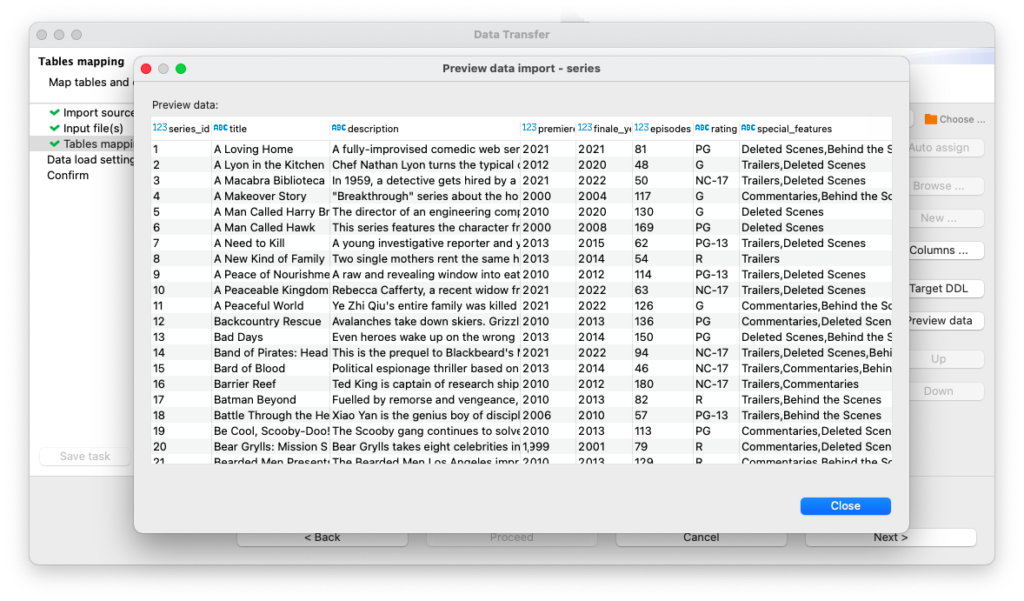
To make sure that all the data will be loaded in the right way, he needs to click the “Preview data” button. After seeing that everything is correct, Louis can now move on to the next step.


