Note: This feature is available in Enterprise and Team Edition editions only.
Driver Management
This wiki guide provides a step-by-step instruction for managing drivers using the product interface, including creating a new custom driver and editing an existing one.
Before you start managing drivers, it is important to note that administrative privileges are required. Only users with administrator rights can perform actions such as creating, editing, or deleting drivers.
Creating a Custom Driver
Follow the steps below to create a new custom driver:
- Navigate to the
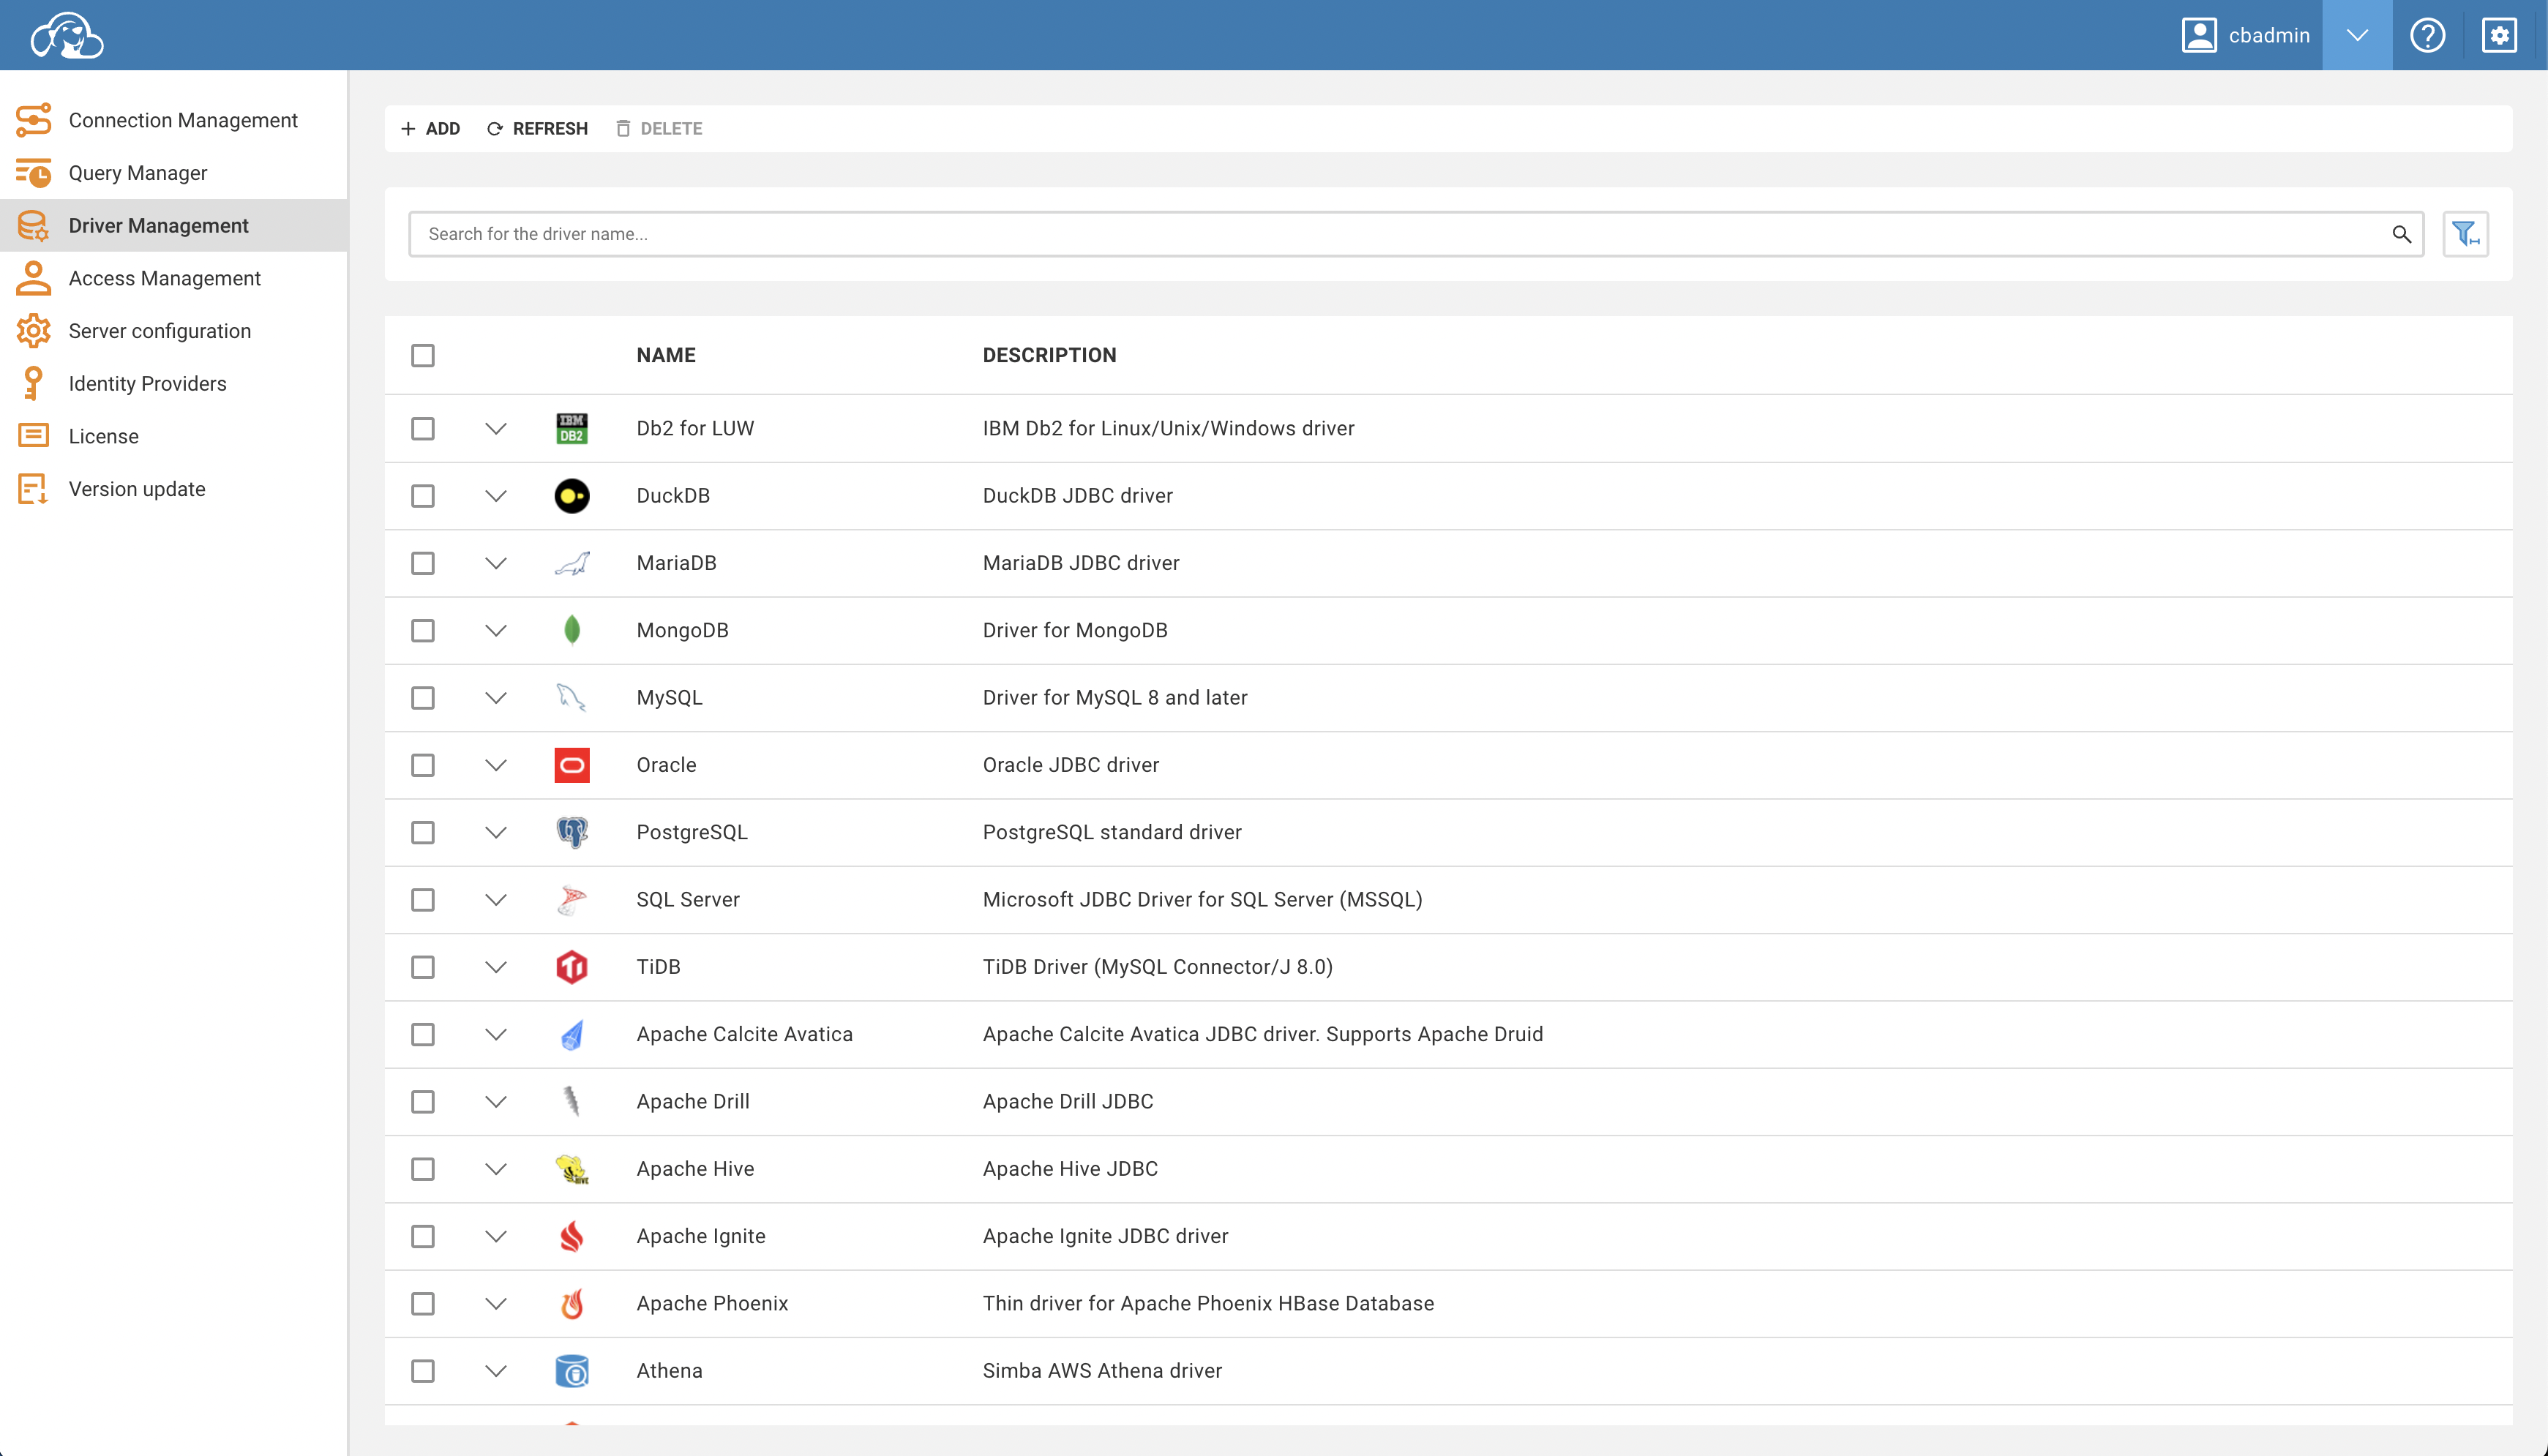
Administrationpage of the interface. - Select the
Driver Managementtab. - Click on the
Addbutton. - A form will appear. Fill in the necessary fields with the appropriate information.
- Once completed, click
Create.
Your new custom driver should now be successfully created.
Uploading Binary Files

In order to make your new driver functional, you will need to upload .jar binary files. Here's how:
- Locate your newly created driver on the
Driver Managementtable. - You can filter for your custom drivers by checking the relevant checkbox in the table filters.
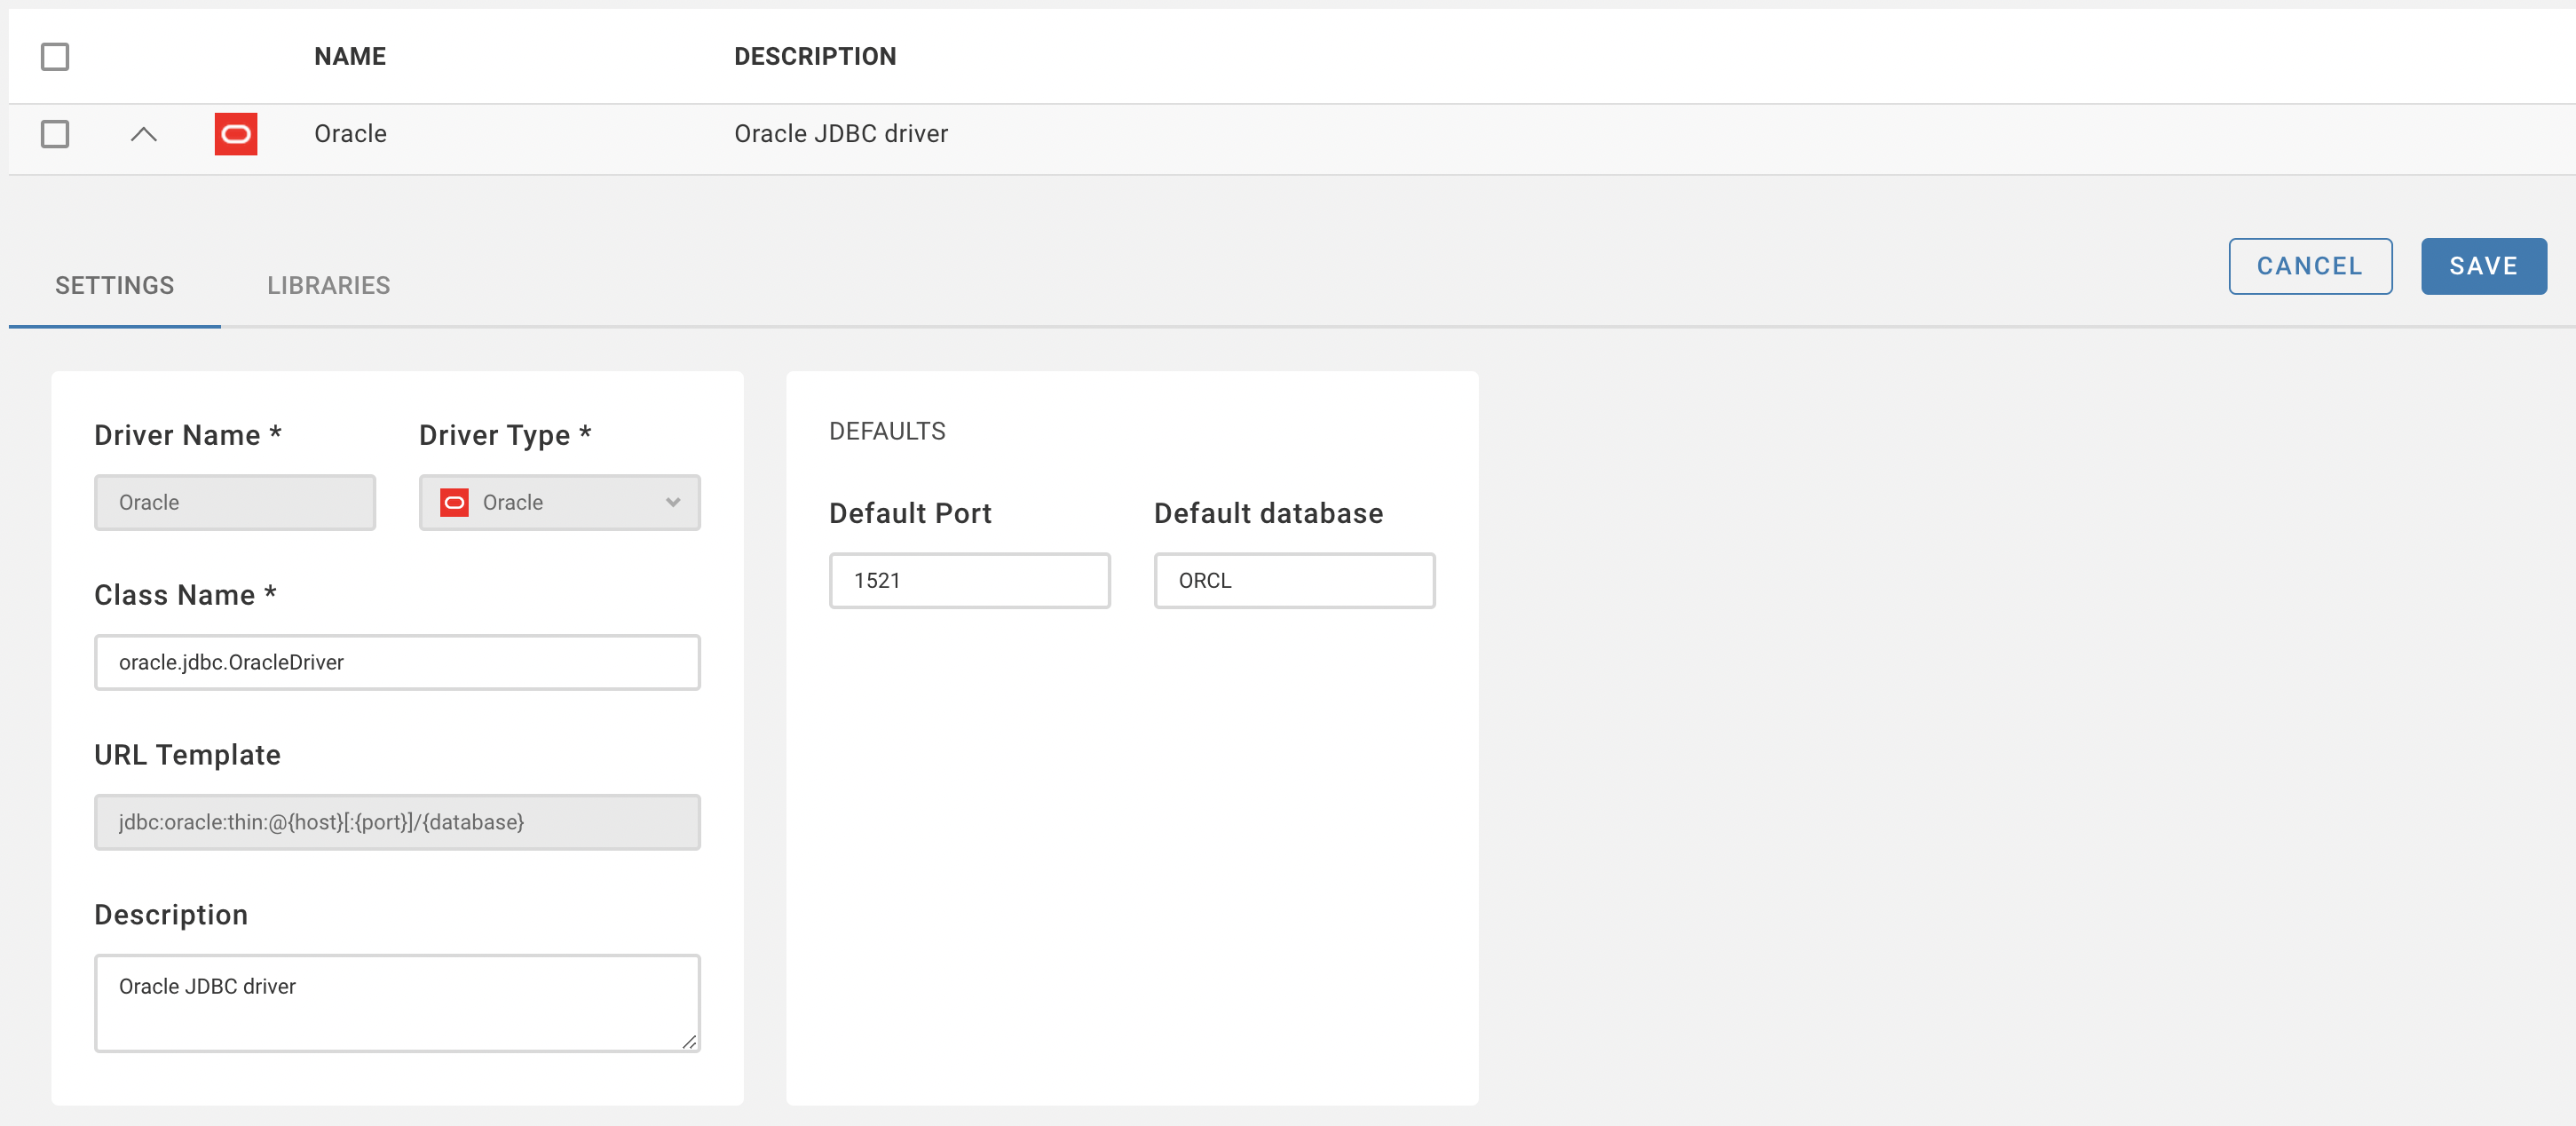
- Click on your custom driver to open it.
- Navigate to the
Librariestab. - Click
Upload Files, then select your.jarfiles. - Confirm that your files have appeared in the table.
- Click
Save.
Once the binary files are uploaded, your custom driver is ready to use. It can be selected from the driver list when required.
Editing an Existing Driver
You can also edit any existing driver. Here are the steps:
- Open the desired driver from the
Driver Managementtable. - Modify the fields as required.
- Click
Saveto preserve your changes.
Your driver is now updated and can be continued to be used with the modified settings.
Please note: Ensure you have the appropriate permissions and are aware of the potential impact before proceeding with these modifications.