Resource Loading
Permissions
To use this method, you need an account on Amazon Marketplace with the following permissions:
Deployment
- Log in to Amazon Marketplace, find CloudBeaver AWS, and press Continue to Subscribe button.
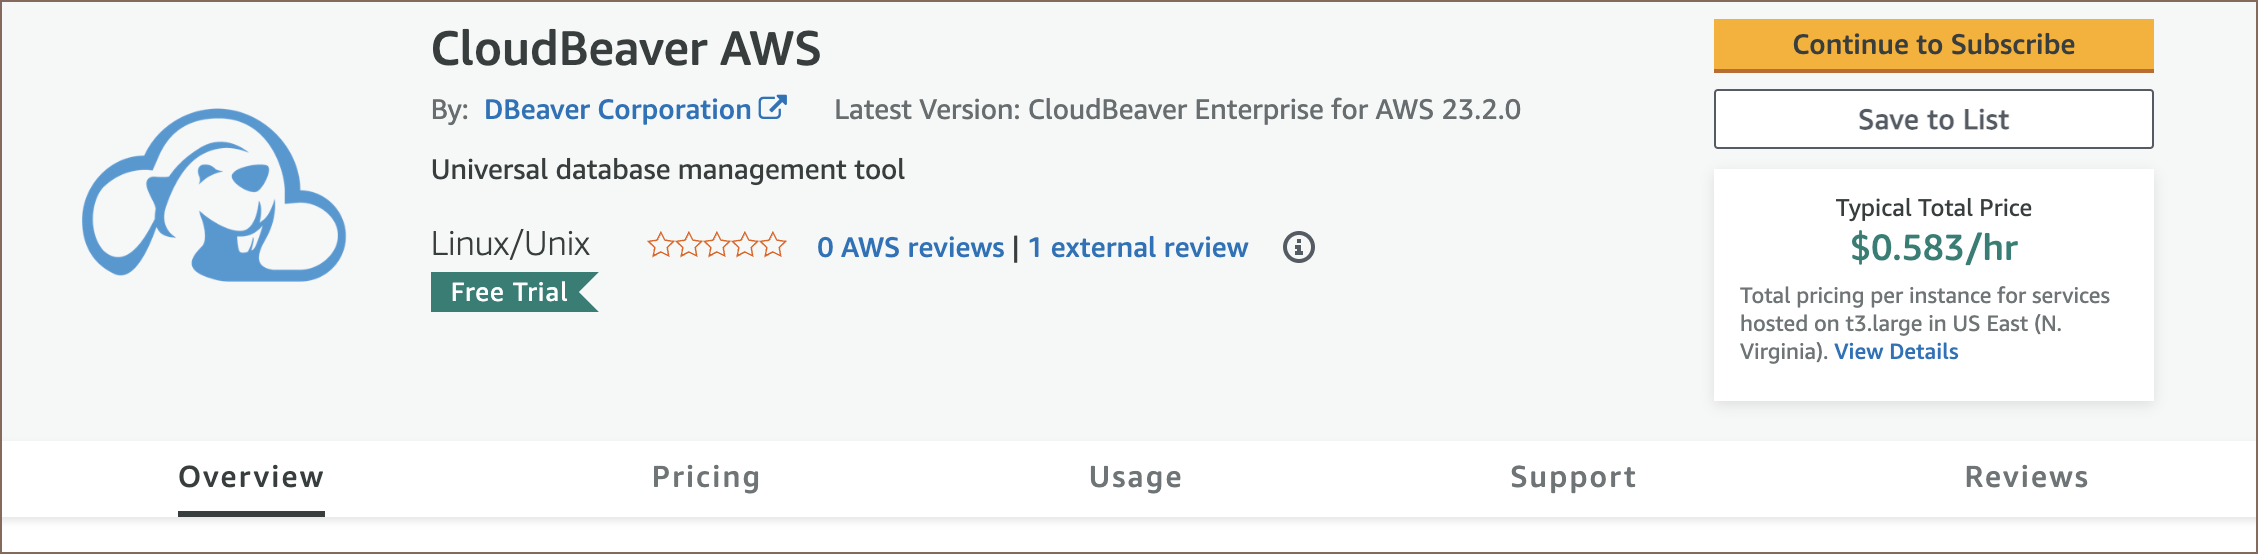
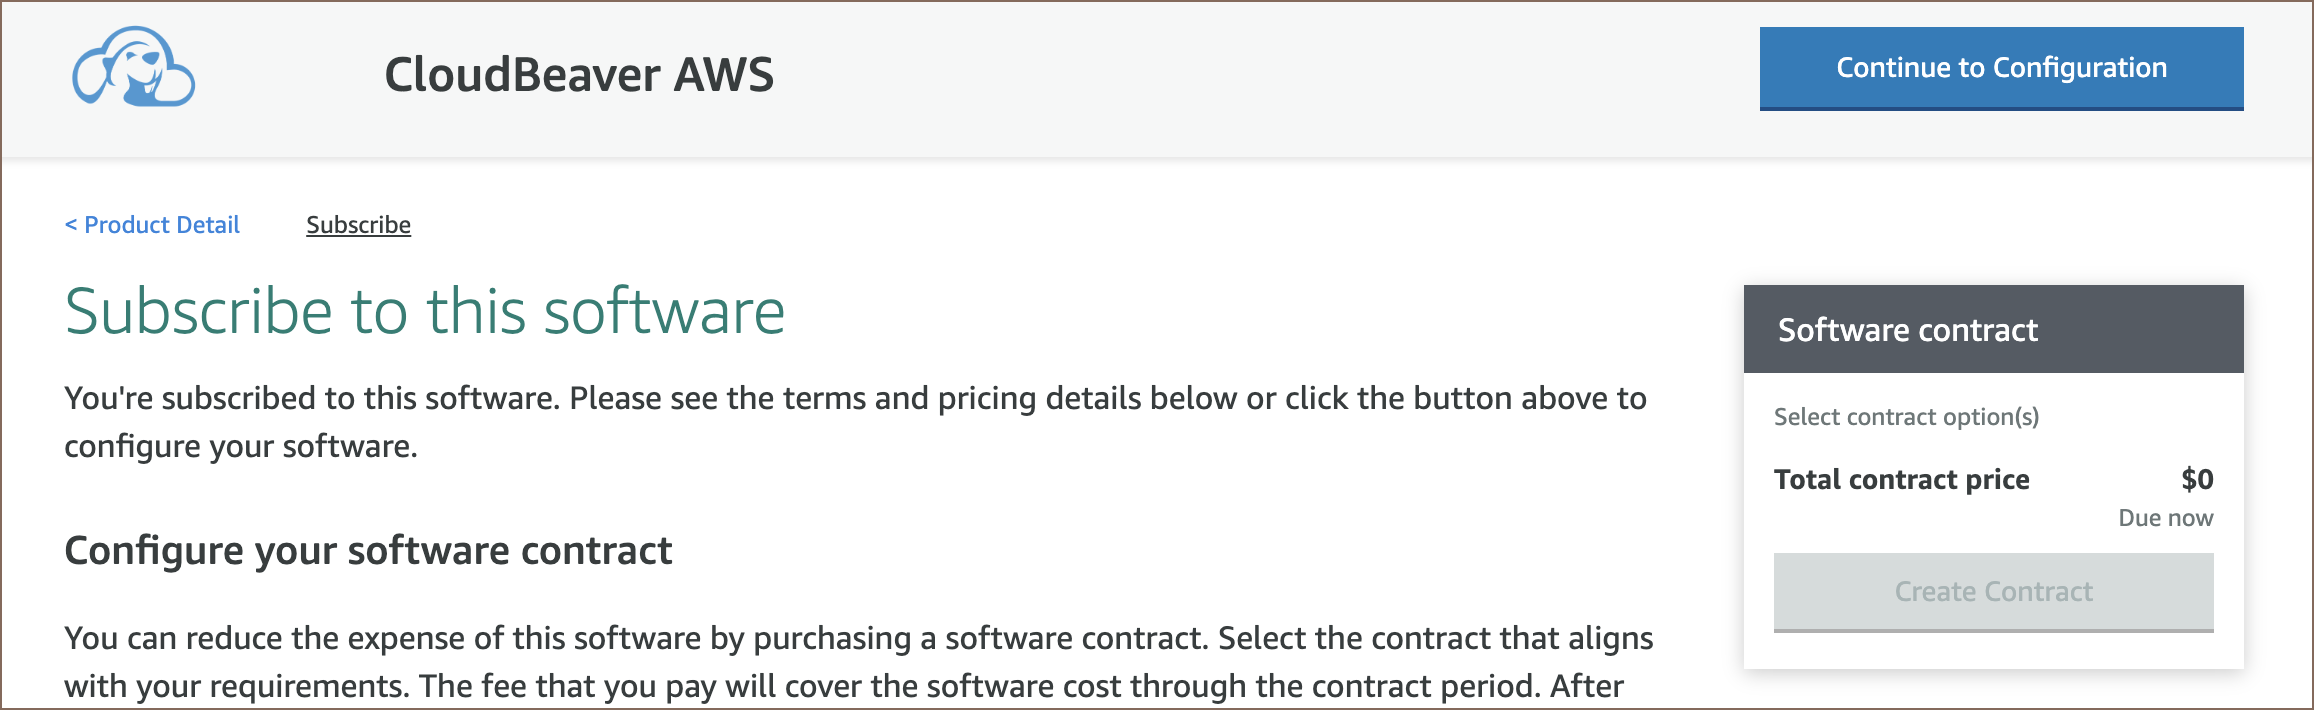
Then press Continue to Configuration.
-
Select CloudBeaver version you need in Software version field, select region, and press Continue to Launch.
-
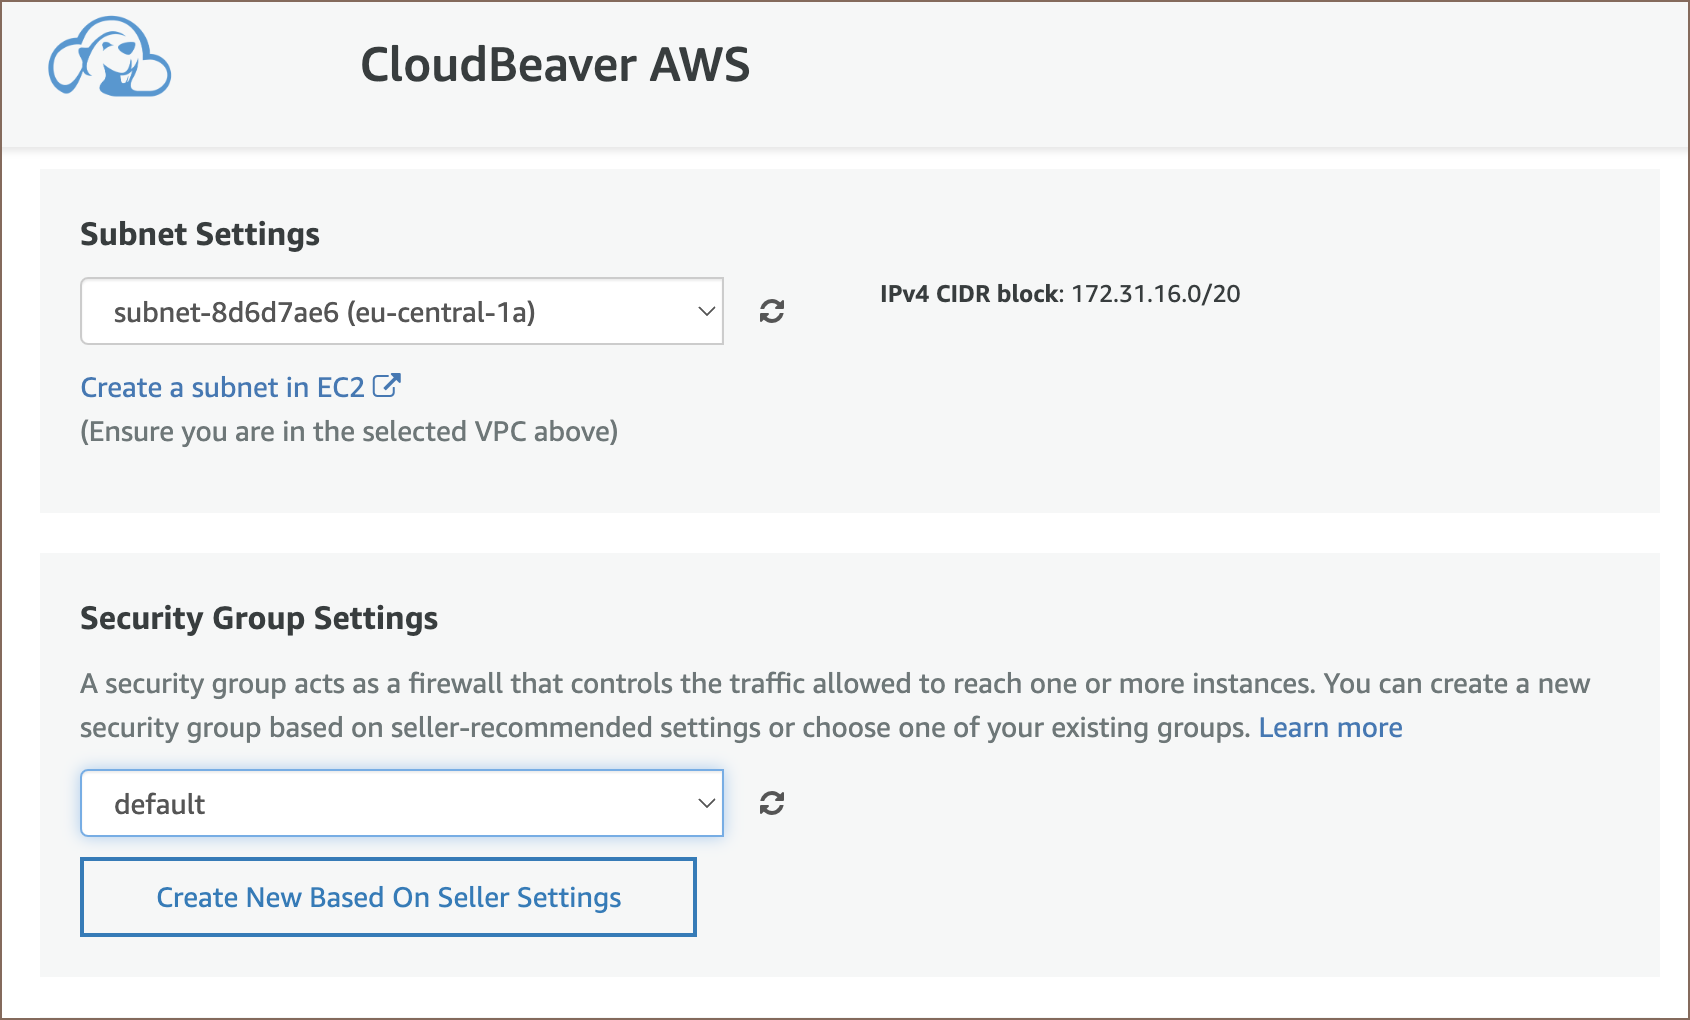
Select the desired configuration:
-
In the EC2 Instance Type select t2.medium or more.
- In Security group settings, press Create New Based On Seller Settings. Then press Launch.
- Great! CloudBeaver instance is successfully deployed on EC2.
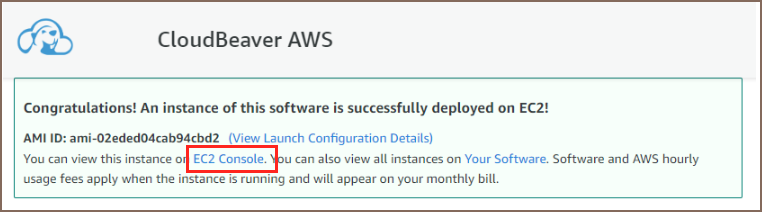
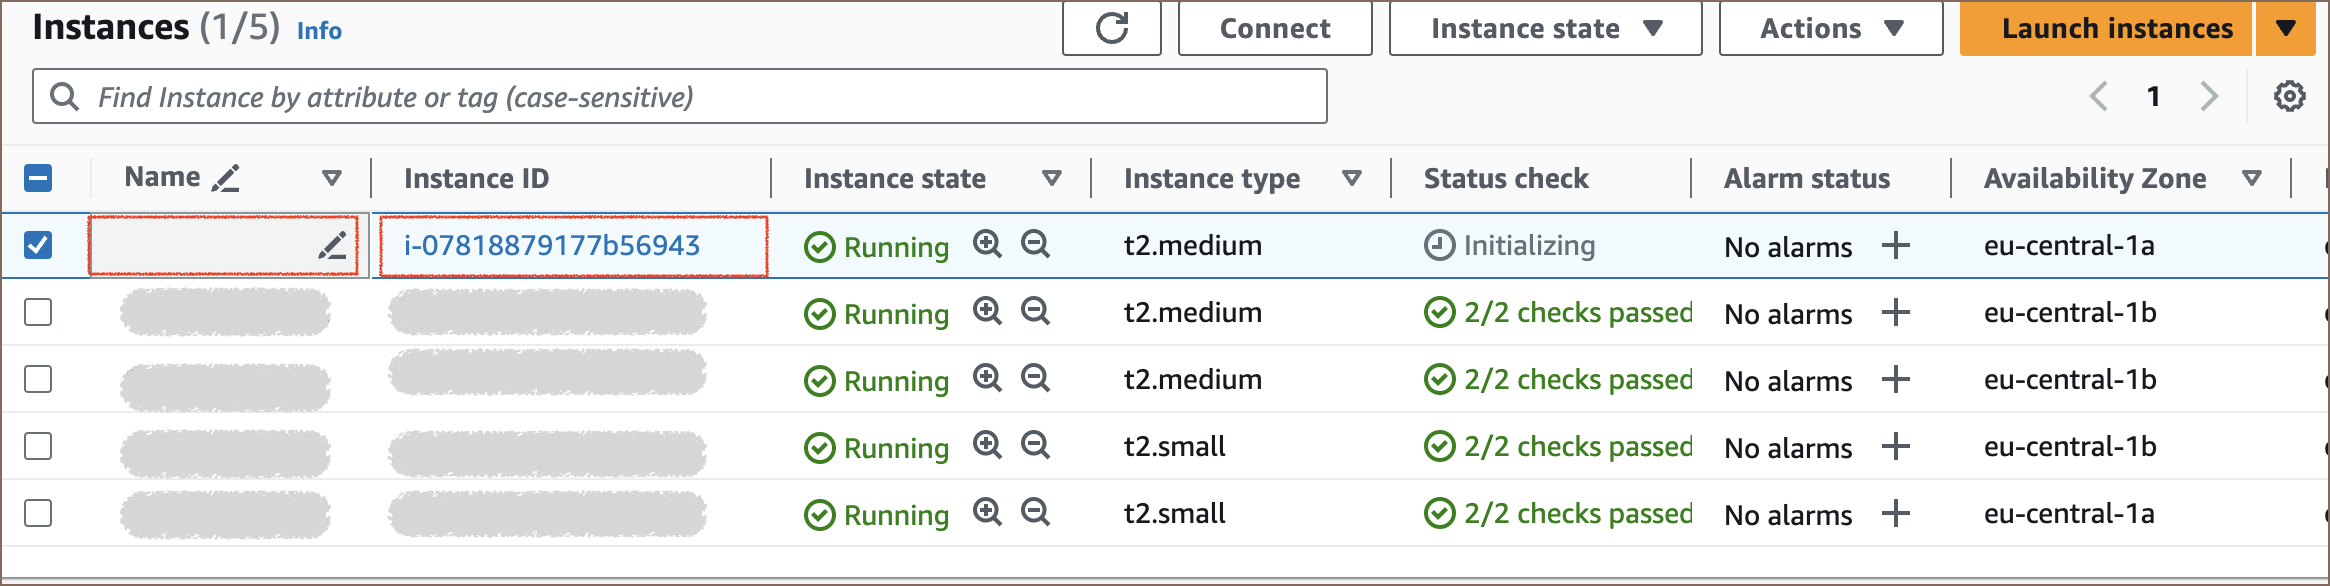
- Click EC2 Console link, and you will see the list of your instances. The new instance will be the last one and without a name.
- Click on the empty field to give the instance a name.
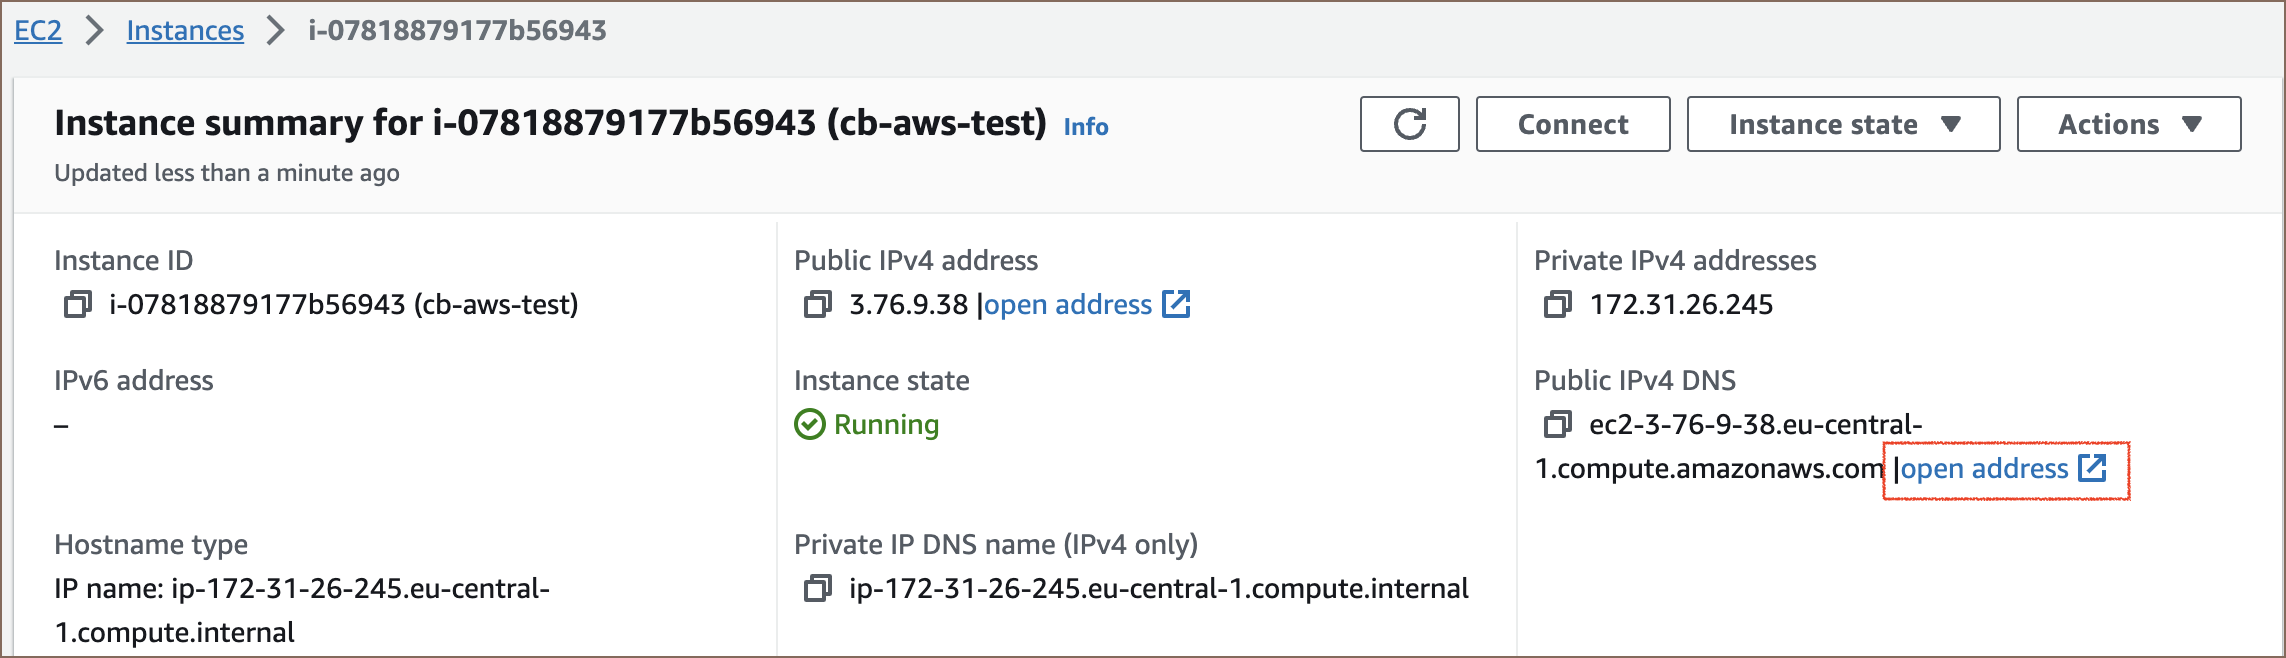
- Click on the Instance ID, and you will see the Instance summary.
- Click on the open address link in the Public IPv4 DNS section.
- The page in your default web browser will be opened. You need to agree to use the self-signed certificate and change it later.
That's all done! CloudBeaver AWS instance is ready to use. On the first page, you will see the server configuration wizard.