Secret provider setup example
Note
This feature is available in Enterprise and AWS editions only.
This guide shows a basic setup for a secret provider using the web UI. The example uses HashiCorp Vault, but the same approach applies to other providers.
Enable KV secrets engine
- Open the Vault UI.
- Go to Secrets Engines.
- Click Enable new engine +.
-
Select KV, set Path to
secret, and click Enable Engine.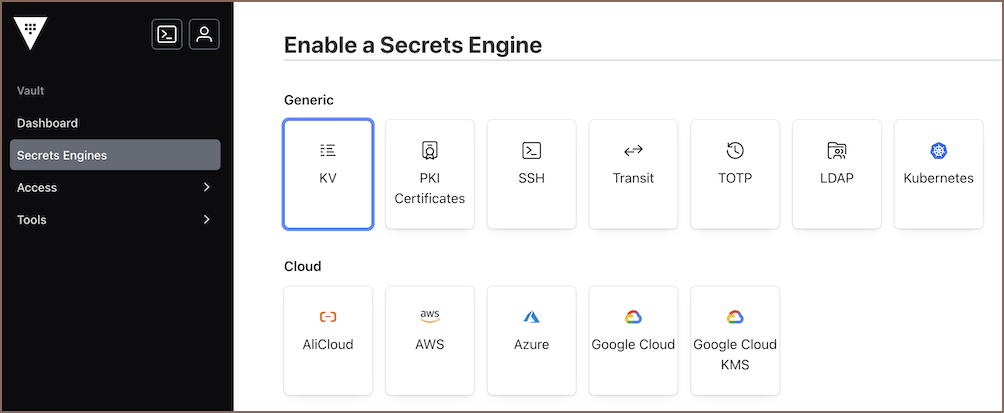
Tip
If KV is already enabled, reuse the existing mount path.
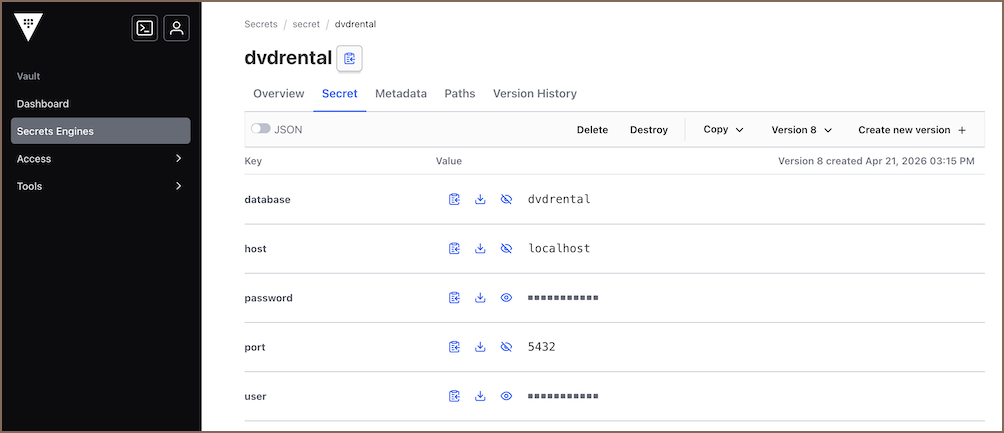
Create a secret
- Go to Secrets Engines -> secret.
- Click Create secret +.
- Enter name.
-
Add key-value pairs.
-
Click Save.
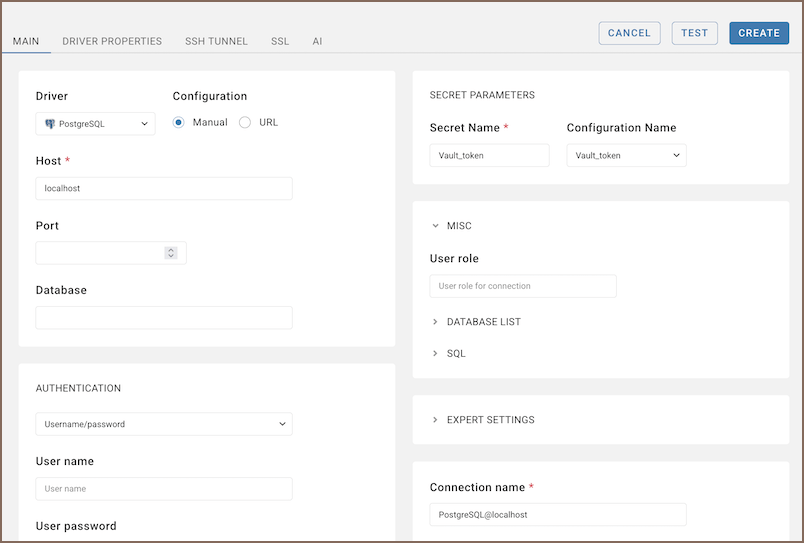
Create a connection
- Start creating a connection.
-
In the Create Connection wizard, go to the Main tab, choose a Configuration Name and enter the Secret Name in the Secret Parameters section.
Note
Secret name format depends on the provider. See Secret name format.
-
If required fields are missing in the secret, enter them manually.
- Click Test to verify your settings.
- Click Create to save the connection.