

Generate API token
Note
This feature is available in Enterprise, AWS, and GCP editions only.
The CloudBeaver allows you to generate API tokens for automating tasks and interacting with the GraphQL API.
Note
Each user must create their own tokens.
How to generate API token
- Enable the API token switch in Settings -> Administration -> Server configuration -> Authentication settings.
- Navigate to your Profile page in the CloudBeaver.
-
Open the API Token tab.
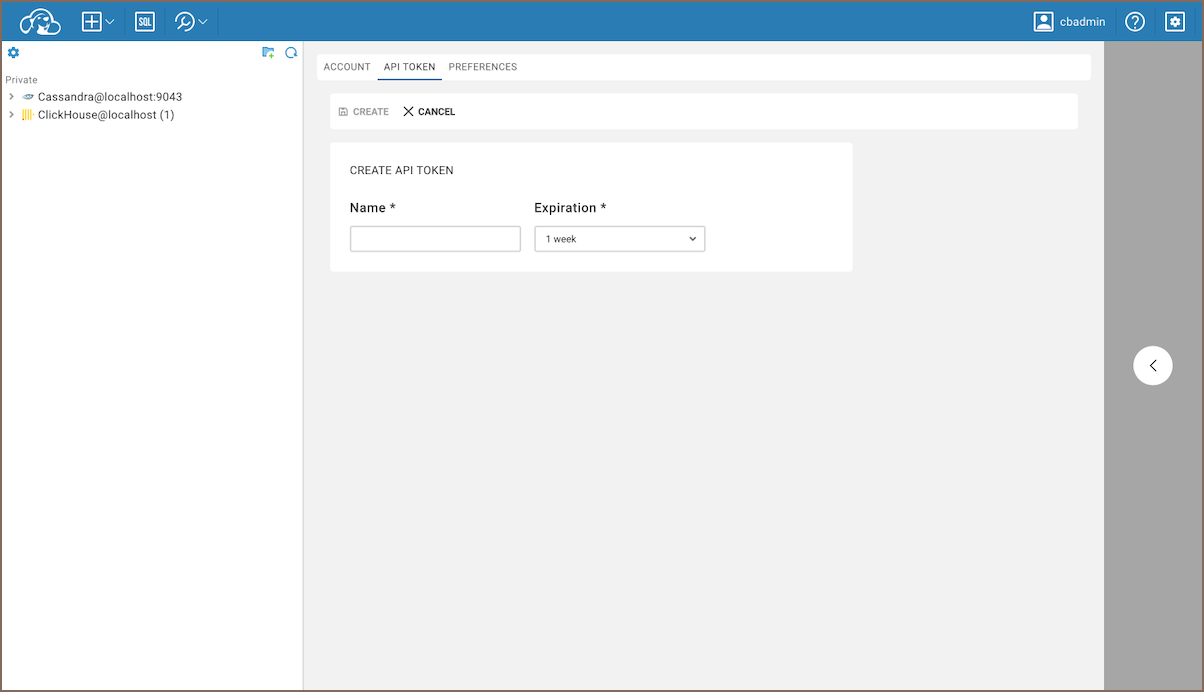
-
Click + Add.
Note
Users can create up to 5 tokens.
-
Enter a Name and select an Expiration date.
Note
The expiration date is required. You can't create a token without one. The maximum token lifetime set by your administrator.
-
Copy the token after it’s generated.
Important
Tokens are displayed only once during creation.
Set the maximum token lifetime
Administrators can limit how long API tokens stay valid.
- Go to Settings -> Administration -> Server configuration.
- In the Server Information section, set the Maximum API token lifetime, days value.
Info
The default is 30 days. Users can't set an expiration date beyond this limit.
How to delete API token
- On the API Token tab.
- Find the token you want to delete and click the Delete icon.
- Confirm the deletion in the confirmation dialog.
Note
Deleting a token doesn’t immediately end an active session. Users must log in again for the deletion to take effect.
Using the API token with GraphQL
Authenticate with the GraphQL API console using your token by including it in the query.
- Example query:
query authLogin($credentials: Object) {
  authLogin(
    provider: "token"
    credentials: $credentials
  ) {
    authId
    userTokens {
      userId
    }
    authStatus
  }
}
- Variables:
- Example response:
