Data transfer
Table of contents
Data transfer is a crucial feature that enables you to export and import data in various formats as well as moving data between tables in the same or to different databases.
Note: The data transfer operation runs in the background, allowing you to continue working with your database during the export or import process. However, try to avoid changing data in the tables that have been selected for export or import until the process is complete.
Export data
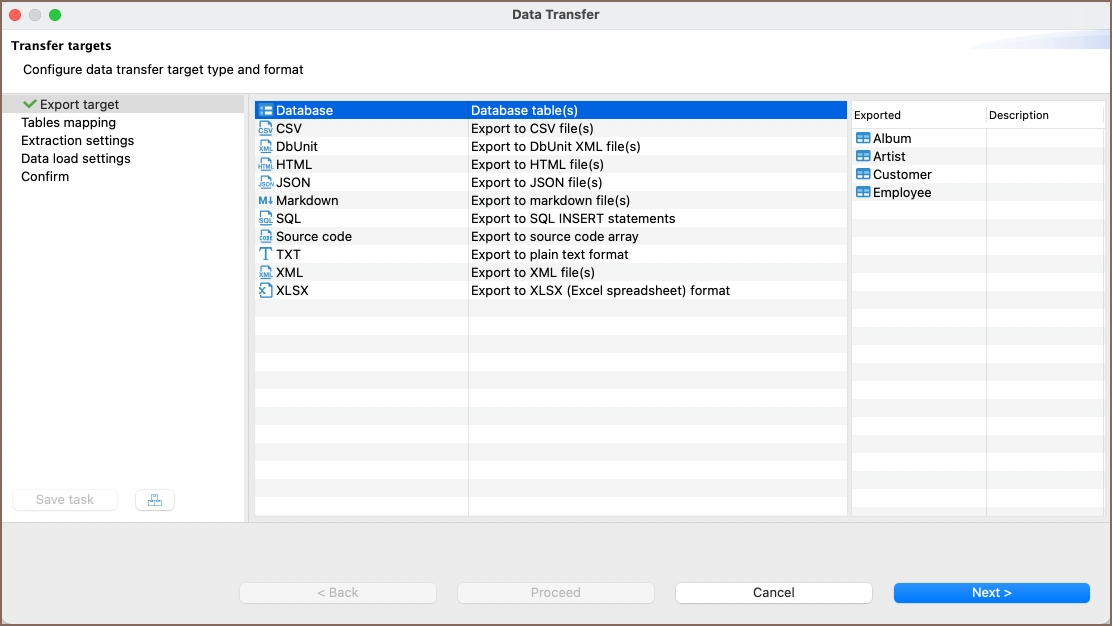
You can transfer data from one database to another or export it in different types and formats:
CSV
XLSX
(Excel spreadsheet)HTML
XML
TXT
JSON
Markdown
filesSQL
statements- Source code arrays
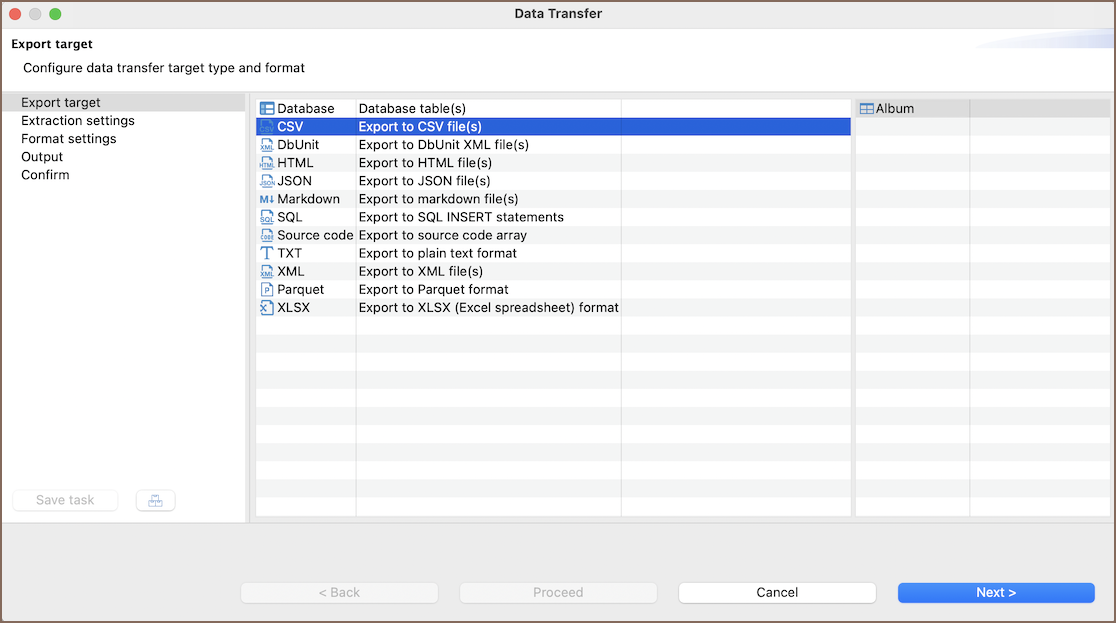
The process of exporting data follows a similar procedure for the supported formats. Therefore, in this guide, we will focus on the data exporting process using the CSV
format.
Select the table or tables you want to export. In the context menu, choose Export Data.
Note: you can also export data from custom SQL query results. To do that, choose Export data in the results context menu.In the window that appears, choose
CSV
and click Next.Set your data extraction options (how the data will be read from the tables). This may affect the extraction's performance. And set the export format option. They are specific to the data format you chose in step 2:
Setting name Description Maximum threads Number of threads used for data extraction. Extract type Defines the method of data extraction ( Single query
orMultiple queries
).Segment size The size of data segments to be extracted at a time (active while Multiple queries are selected as an Extract type). Open new connection(s) Opens a new physical connection for data reading, recommended if you plan to continue working with the database during the export process. Select row count Queries row count before performing export to track progress, but may cause performance issues in some cases. Fetch size Number of rows the driver retrieves in one batch from the database. Tip: The Maximum threads option is active when exporting data from multiple tables. It is recommended to set the number of threads to match the number of cores in your computer for optimal performance.
Configure the format settings.
At this stage you configure the format settings for the output file. These settings determine how the data will be presented and encoded in the exported file.
Setting name Description Formatting Selects the formatting settings for the exported data. Reed more in the related article Binaries Specifies how binary data is represented in the export. Encoding Sets the character encoding for the exported file. Value display format Chooses the format for displaying values in the export. Configure columns Allows you to set which columns to export. Configure the columns to export by clicking Configure. In the Action column, use the down arrow on a row to toggle between skip or export for that column/table.
Note: The options within the Exporter settings section will vary and provide specific controls tailored to the format selected for export.
Set options for output files or clipboards.
Tip: You can export files to a remote file system via Cloud Storage using the Browser remote file system button . This feature is exclusively available to users of the Ultimate Edition, Team Edition, and CloudBeaver versions.
Review what you want to format and which format you will export. You can also save all your settings as a task in this step or change the task variables:
Press finish. See extraction progress. You can keep working with your database during the export process as the extraction will be performed in the background.
Import data
You can import data to your database from CSV
, XLSX
, and XML
files.
Importing data from CSV file
Select one or more tables to which you want to import data. In the context menu, choose Import Data:
In the window that appears, choose
CSV
and click Next.Select the input
CSV
file for each table you want to import. You can change the Importer settings (format specific) during this step:
Tip: You can import files from a remote file system using the Cloud Storage by clicking the Browser remote file system button . This feature is exclusively available to users of the Ultimate Edition, Team Edition, and CloudBeaver versions.
Set mappings. Please refer to our mapping process guide for more detailed information.
Set options for loading data in the database. These options may affect the loading's performance:
Read our guide on Data Import and Replace to learn more about the replacing method option.
Review which file(s) and to which table(s) you will import. You can also save all your settings as a task in this step:
Press finish. See extraction progress. You can keep working with your database during the export process as the data loading will be performed in the background. In the end, you will see the following status message:
Importing data from Excel file
Note: This feature is available in Lite, Enterprise, Ultimate and Team editions only.
1) Choose the database table (or tables) you want to import data into. Do this by right-clicking on the table name in the Database Navigator section and then clicking on Import Data.
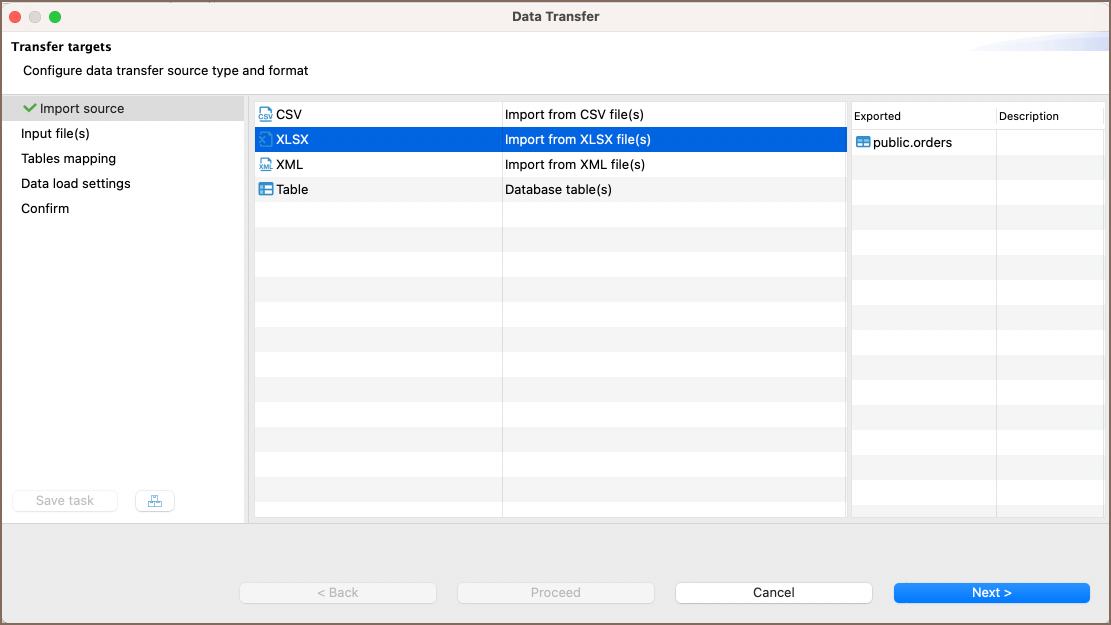
2) In the window that appears, choose XLSX
and click Next.
3) In the following window, choose the file that contains the data you wish to import into the table. Select the appropriate settings described in the section below, then click Next.
Tip: You can import files from a remote file system using the Cloud Storage by clicking the Browser remote file system button . This feature is exclusively available to users of the Ultimate Edition, Team Edition, and CloudBeaver versions.
4) In the next window, set XLSX-to-table mappings. Please refer to our mapping process guide for more detailed information.
5) Select your data load settings in the subsequent window, and then click Next. For more information, please refer to our article's section Data load settings article.
6) In the final window, you can review all the settings you selected earlier. If you missed something, you could go Back and fix it. When you are ready, finish the import by clicking Proceed.
7) If the XLSX
file is valid and there are no errors, you will see a notification window with information about the
completion of the task. You can keep working with your database during export, as the data
loading will be performed in the background.
Import parameters
Setting name | Description |
---|---|
Header position | Determines the location of the column names in the Excel table, either at the top or none. This setting specifies whether the column names are located in the first row of the Excel table or if there are no column names present. |
Skip empty rows | If this setting is enabled, any open string values encountered during the data processing will be ignored and not inserted into the corresponding cells in the row. If the setting is disabled, all cells in the row will be filled with a NULL value if an empty string is encountered. |
Import all sheets | Specifies that all sheets in the file should be imported during the data import process. |
Specific sheet name | Enables you to choose a particular sheet from the Excel file for importing during the data transfer process. |
Date/time format | Use this setting to specify the date format used in the XLSX file. This is used to clarify the date format during the import process and does not affect the output data. You can refer to the section Patterns for data import for details on the format pattern syntax. |
Timezone ID | The local machine timezone is used by default. There are three ways to specify the timezone: 1) Local zone offset: Specify the offset from UTC in the format of either a positive or negative number (e.g., +3, -04:30). 2) Specific zone offset: Specify the offset from GMT or UTC in the format of GMT+/-X or UTC+/-X (e.g., GMT+2, UTC+01:00). 3) Region-based: Specify the timezone using a region-based identifier such as UTC, ECT, PST, etc. |
Sample rows count | Determines the number of rows that will be used as a sample to estimate the length and data types of the imported data. |
Minimum column length | This value is used when creating a new column and, if necessary, specifying its type. It indicates the minimum number of characters or digits expected in the column. This information helps determine the appropriate data type and size for the column during the creation process. |
Save task | Opens the Save Task window to assist in creating a task during the data transfer process. This window provides options and settings for creating and configuring a task related to the data transfer operation. |
Additional features
When importing from Excel files, DBeaver provides additional features to enhance your data transfer experience:
Allow importing multiple sheets into different tables: DBeaver allows you to import multiple sheets from a single
XLSX
file into different tables in your database.
Importing data from XML file
1) Select the database table (or tables) where you want to import data. Do this by right-clicking on the table name in the Database Navigator section, then clicking on Import Data.
2) In the window that appears, select XML
and then click Next.
3) In the following window, select the XML
file that contains the data you want to import, then click Next.
Tip: You can import files from a remote file system using the Cloud Storage by clicking the Browser remote file system button . This feature is exclusively available to users of the Ultimate Edition, Team Edition, and CloudBeaver versions.
4) In the next window set XLSX-to-table mappings. Please refer to our guide for detailed information on the mapping process.
5) select your data load settings in the subsequent window, and then click Next. For more information, please refer to our article's section Data load settings.
6) In the final window, you can review all the settings you selected earlier. If you missed something, you can go back and adjust it. Once you are happy with everything, finish the import by clicking Proceed.
7) If the file is valid and there are no errors, you will see a notification window with information about the completion of the task. You can keep working with your database during export, as the data loading will be performed in the background.
Importing data from the database table
DBeaver offers seamless data migration capabilities, allowing you to transfer data from one database table to another. For more detailed instructions and insights on data migration, you can refer to our Data Migration guide.
Patterns for data and time format
When specifying the date/time format for data import, ensure that you use the correct format specifiers. A common issue
involves confusing format codes, such as using MM
(for months) when mm
(for minutes) is intended.
Refer to the table below for a list of common format symbols and their meanings.
Symbol | Meaning | Presentation | Examples |
---|---|---|---|
G | era | text | AD; Anno Domini; A |
u | year | year | 2004; 04 |
y | year-of-era | year | 2004; 04 |
D | day-of-year | number | 189 |
M/L | month-of-year | number/text | 7; 07; Jul; July; J |
d | day-of-month | number | 10 |
Q/q | quarter-of-year | number/text | 3; 03; Q3; 3rd quarter |
Y | week-based-year | year | 1996; 96 |
w | week-of-week-based-year | number | 27 |
W | week-of-month | number | 4 |
E | day-of-week | text | Tue; Tuesday; T |
e/c | localized day-of-week | number/text | 2; 02; Tue; Tuesday; T |
F | week-of-month | number | 3 |
a | am-pm-of-day | text | PM |
h | clock-hour-of-am-pm (1-12) | number | 12 |
K | hour-of-am-pm (0-11) | number | 0 |
k | clock-hour-of-am-pm (1-24) | number | 0 |
H | hour-of-day (0-23) | number | 0 |
m | minute-of-hour | number | 30 |
s | second-of-minute | number | 55 |
S | fraction-of-second | fraction | 978 |
A | milli-of-day | number | 1234 |
n | nano-of-second | number | 987654321 |
N | nano-of-day | number | 1234000000 |
V | time-zone ID | zone-id | America/Los_Angeles; Z; -08:30 |
z | time-zone name | zone-name | Pacific Standard Time; PST |
O | localized zone-offset | offset-O | GMT+8; GMT+08:00; UTC-08:00; |
X | zone-offset 'Z' for zero | offset-X | Z; -08; -0830; -08:30; -083015; -08:30:15; |
x | zone-offset | offset-x | +0000; -08; -0830; -08:30; -083015; -08:30:15; |
Z | zone-offset | offset-Z | +0000; -0800; -08:00; |
For more information on valid patterns, see the Java DateTimeFormatter Patterns.