Secret provider setup example
Note
This feature is available in Lite, Enterprise, and Ultimate editions only.
This guide shows a basic setup for a secret provider using the web UI. The example uses HashiCorp Vault, but the same approach applies to other providers.
Enable KV secrets engine
- Open the Vault UI.
- Go to Secrets Engines.
- Click Enable new engine +.
-
Select KV, set Path to
secret, and click Enable Engine.
Tip
If KV is already enabled, reuse the existing mount path.
Create a secret
- Go to Secrets Engines -> secret.
- Click Create secret +.
- Enter name.
-
Add key-value pairs.
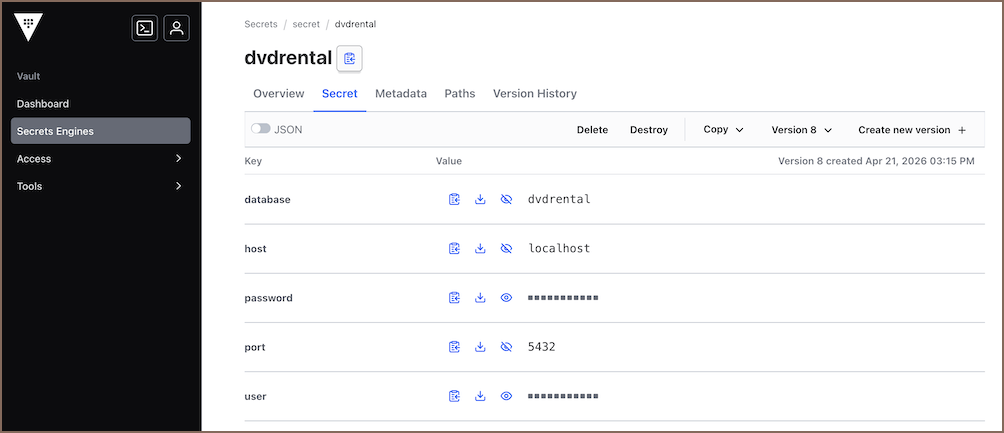
-
Click Save.
Create a connection
- Start creating a connection.
-
In the Create Connection wizard, go to the Main tab, choose secret provider configuration and enter the secret name in the Secret parameters field.
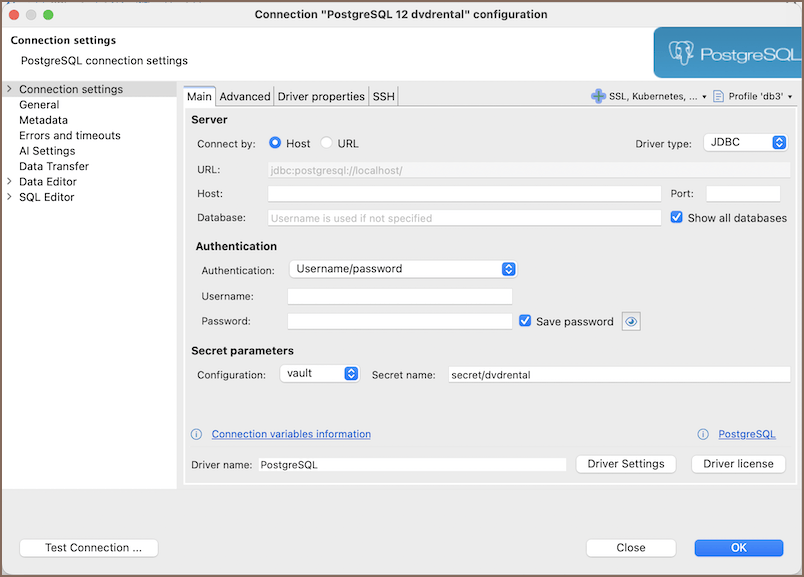
Note
Secret name format depends on the provider. See Secret name format.
-
If required fields are missing in the secret, enter them manually.
- Click Test Connection to verify your settings.
- Click Finish to save the connection.